
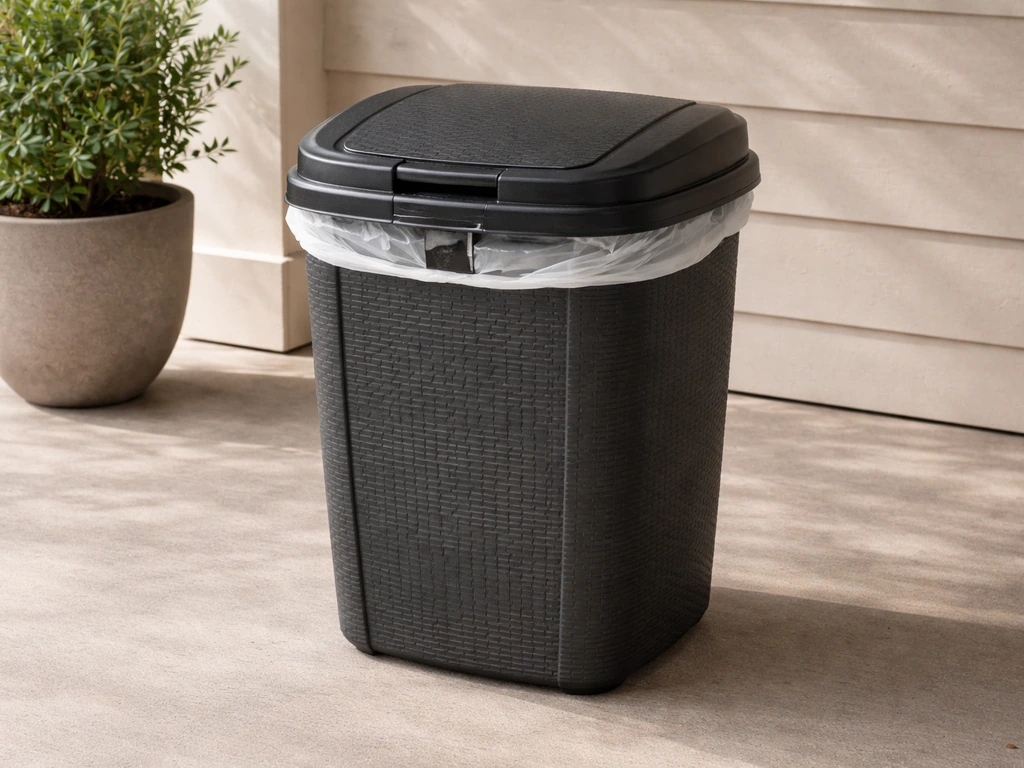
For most patios, a 20 to 32-gallon outdoor trash can with a tight-fitting, locking or hinged lid, made from UV-resistant HDPE or powder-coated steel, placed within arm's reach of your main seating area but angled away from guests, is the right setup. If you're looking for patio trash can ideas, focus on the size, lid type, and placement that fit how you actually use your outdoor space. That combination handles a week's worth of household waste, keeps rain and animals out, and won't become an eyesore. Everything below helps you dial in the specifics for your situation.
Patio Outdoor Trash Can Buying Guide: Size, Setup, and Odor Control

Miles Sutton
3 May 2026
How to pick the right size and capacity
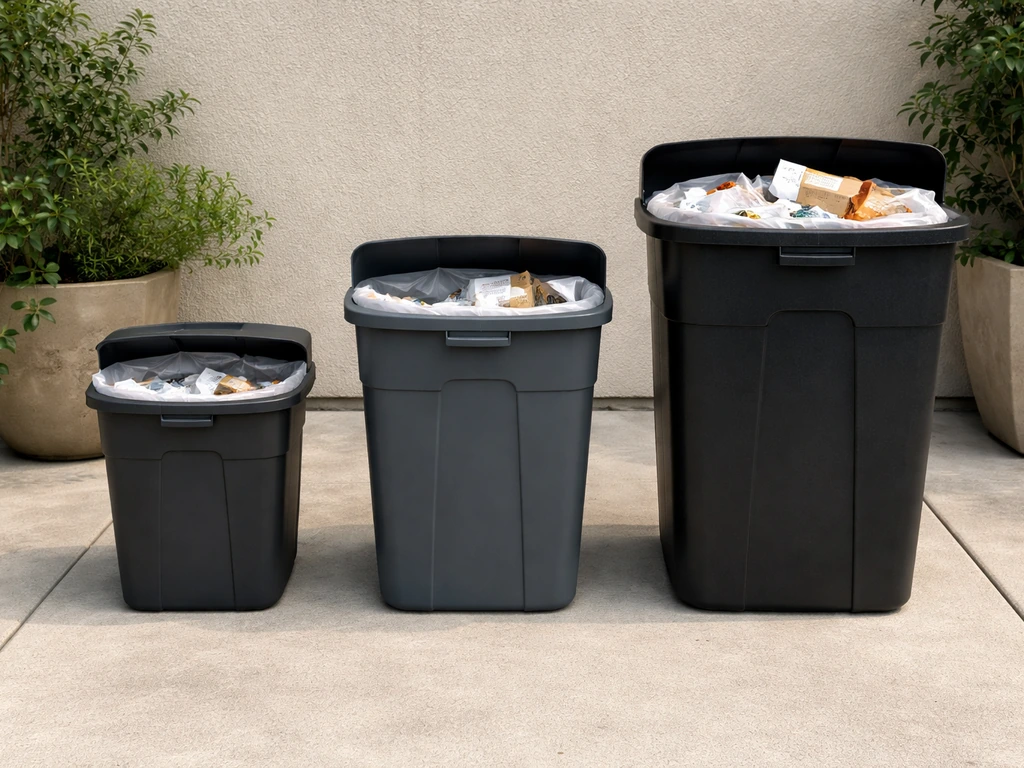
The easiest way to size an outdoor patio trash can is to think in terms of time between pickups, not just household size. Wayfair's practical rule of thumb puts outdoor bins in the 20 to 32-gallon range because that's what it takes to hold up to a week's worth of typical household trash without overflowing. If your pickup is twice a week, you can get away with a 20-gallon bin. Once-a-week pickup for a family of four or five? Go with 28 to 32 gallons.
Here's how the numbers break down by household scale, using guidance from iTouchless and Trash Cans Unlimited as a starting point:
| Household Size | Recommended Capacity | Best For |
|---|---|---|
| 1–2 people | 13–20 gallons | Small patio, weekly pickup, minimal food waste |
| 3–4 people | 20–28 gallons | Standard family patio, weekly pickup |
| 5+ people / entertaining often | 28–32+ gallons | High-traffic patio, frequent cooking or hosting |
| Utility / work areas | 21–32 gallons | Tool storage, yard waste, heavy-duty use |
One sizing mistake to avoid: going too big thinking it'll save you emptying trips. An oversized bin that sits half-full for a week in summer heat becomes a serious odor problem. Size it so you're emptying it on or just before collection day, not letting it sit for two weeks.
Where to actually put the thing (placement done right)
Placement is one of those decisions that seems obvious until you get it wrong. The goal is to balance three competing priorities: easy access for guests and yourself, minimal odor drift toward seating areas, and enough visual discretion that it doesn't become the first thing people notice about your patio.
Put the can at the edge of the patio, not the center. A corner spot near a gate, fence, or side yard access point works great because it's close enough to use without a long walk, but naturally sits outside the main social zone. If you have a covered patio or pergola, placing the bin just outside the roof line keeps it accessible without trapping odors under the structure.
For odor management specifically, prevailing wind direction matters. If your seating area catches a summer breeze from the west, don't put the trash can on the west side of the patio. Take five minutes to notice where wind typically comes from during the times you actually use the space, then place the bin downwind of that.
- Keep the bin within 10 to 15 feet of your main seating or cooking area so guests actually use it instead of leaving trash on tables
- Avoid placement directly next to a door or window where odors can migrate indoors
- Shaded placement slows bacterial growth and odor development, so a spot under an overhang or near a fence line beats full sun
- If curb appeal matters, use a bin with a neutral or complementary color and consider a simple enclosure, planter screen, or lattice panel to tuck it out of the sightline
Weatherproof features that actually matter
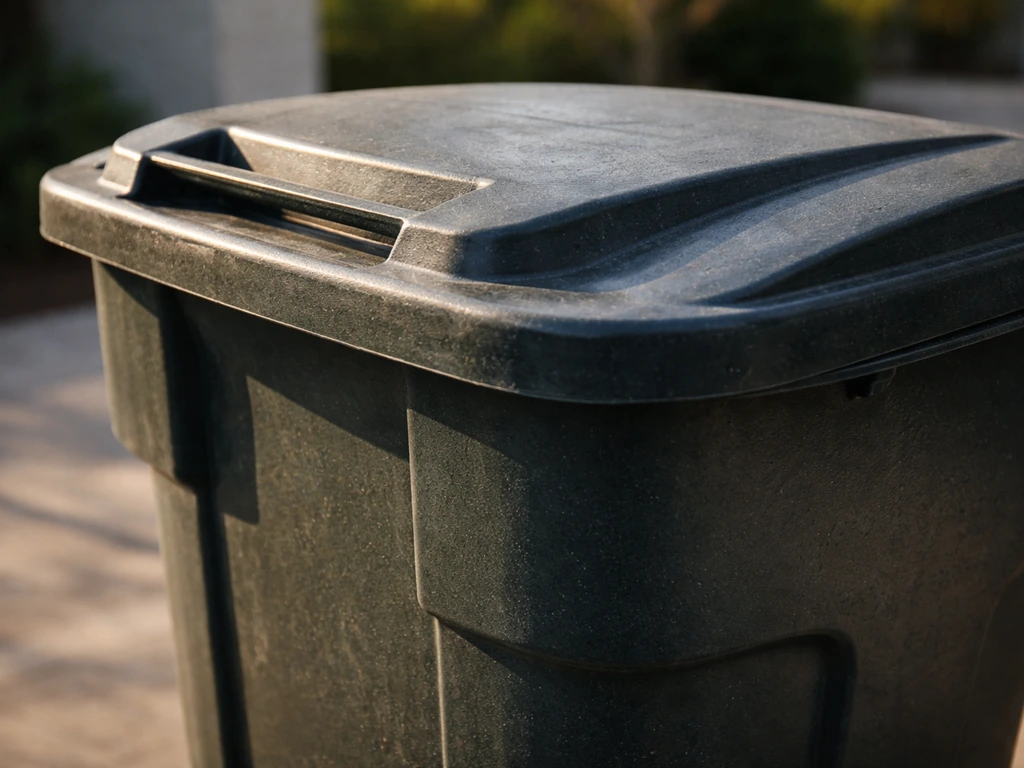
Not every bin sold as 'outdoor' is built to handle real outdoor conditions. Here's what to look for when you're comparing options.
Material
HDPE (high-density polyethylene) plastic is the most practical choice for most patios. It resists UV fading, doesn't rust, handles freezing and extreme heat without cracking, and is easy to rinse clean. Powder-coated galvanized or stainless steel looks sharper and holds up well, but check that it's fully coated with no raw edges that can rust over time. Avoid thin, cheap polypropylene bins sold as indoor/outdoor since they crack in freezing temps and fade quickly in direct sun.
Lid design
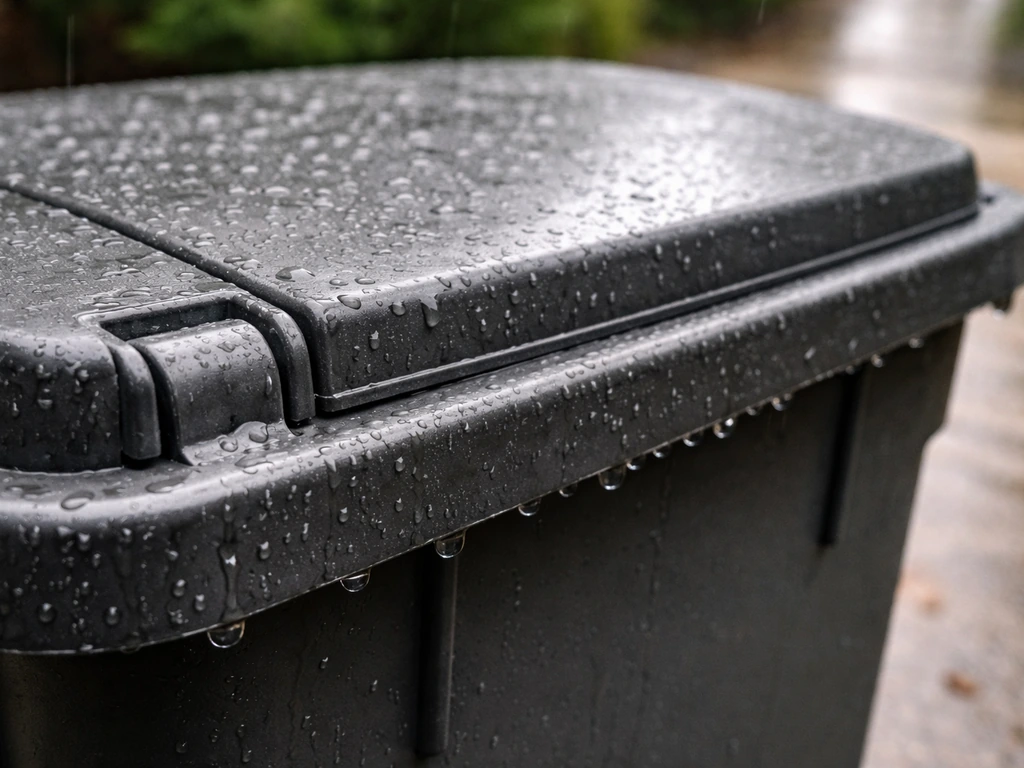
A tight-fitting lid is non-negotiable for outdoor use. You want a lid that seals against rain intrusion (a lid that just rests on top will let water pool inside and turn your trash can into a soup), resists wind lifting it off, and opens easily enough that people actually use it. Hinged lids with a stay-open mechanism are the most practical. Step-open lids work well if the bin is against a wall or structure. Flip-top lids are fine for light rain but not for areas that get significant rain or snow accumulation.
Drainage
Even with a good lid, water can get in (from rain splash, wet bags, or condensation). Look for a bin with a drainage plug or small drainage holes near the base. This prevents the foul standing water that makes cleaning a nightmare and accelerates odor. If your bin doesn't have drainage, drilling a few small holes in the bottom yourself is a legitimate fix.
Bear-resistant and pest-resistant options
Whether you're dealing with bears, raccoons, squirrels, or just rats, the principle is the same: a loose or lightweight lid is an open invitation. DC Health's guidance specifically calls out tight-fitting lids on outdoor waste containers as a key measure for preventing rodents from getting inside, and notes that open or overflowing bins attract pests and wind-blown litter that compounds the problem.
If you live in bear country, this goes well beyond convenience. Cities like Boulder, Colorado have ordinances requiring bear-resistant containers or enclosures for residents in designated areas, especially if trash is put out the night before pickup.
The blank" rel="noopener noreferrer">City of Boulder’s waste regulations specify that bear-resistant containers are required when residents put out trash or compost the night before pickup Cities like Boulder, Colorado have ordinances requiring bear-resistant containers or enclosures for residents in designated areas, especially if trash is put out the night before pickup. .
A 'bear-resistant' container isn't just a heavy bin; it typically means a reinforced container with a latching mechanism specifically designed to prevent bear access, or a sturdy five-sided enclosure with a secure door and latch. Storing waste outdoors in standard plastic bins, even heavy ones, is generally considered less effective than a proper enclosure or certified bear-resistant cart.
Washington State's Department of Fish and Wildlife frames it simply: stash, latch, and secure. For non-bear areas, a bin with a locking or bungee-compatible lid handles raccoons and most smaller pests reliably. If raccoons are persistent, a bin with a locking mechanism (rather than just a friction-fit lid) is worth the extra few dollars.
| Pest Type | Minimum Lid Requirement | Extra Measure if Needed |
|---|---|---|
| Rodents / small pests | Tight-fitting hinged lid | No gaps at base; drainage plug closed when not in use |
| Raccoons | Locking or bungee-compatible lid | Weighted lid or bin anchor stake |
| Bears | Certified bear-resistant container or enclosure | Check local ordinances; enclosed structure may be required |
Setting up your patio trash can the right way
A five-minute setup makes the difference between a bin that's a pleasure to use and one that becomes a chore. Follow this sequence when placing a new or freshly cleaned outdoor bin.
- Place the bin in your chosen spot before adding anything to it. Confirm it's stable on the surface (rubber-footed bins resist tipping on pavers or decking), then open and close the lid a few times to make sure it operates easily from the angle you'll use it.
- Add a bin liner sized to the container. For a 20 to 32-gallon outdoor bin, use a liner in that same range and tie or secure the top edge over the rim so it can't slip down into the bin. Outdoor liners with extra thickness (2.0 mil or higher) resist punctures from yard debris better than standard kitchen bags.
- If your bin doesn't have a drainage plug in the bottom, consider placing a folded piece of cardboard or a few inches of cat litter in the base before inserting the liner. This absorbs any liquid that drips down and reduces interior residue buildup.
- Sprinkle a tablespoon or two of baking soda in the bottom of the liner before use. This is a simple first-line odor defense that costs almost nothing.
- On collection day, bring the bin to the curb (or pull the liner for curbside pickup) within your municipality's allowed hours. If your community prohibits leaving bins at the curb overnight, plan to move it back the same day. If you have a bear or pest concern and your collection day liner will sit outside the night before, make sure the bin lid is latched or the bin is brought inside until pickup.
- After the liner is removed, do a quick visual check of the interior. Any visible residue or liquid should be rinsed immediately rather than waiting for the weekly clean. A quick rinse now takes 30 seconds; skipping it means a much harder clean later.
Keeping it clean and odor-free
Odor in an outdoor trash can is almost always caused by one of two things: liquid residue from leaking bags or loose trash sitting in the bottom, and bacterial buildup from not cleaning the interior regularly. The good news is both are easy to manage with a simple monthly routine.
Basic monthly cleaning routine
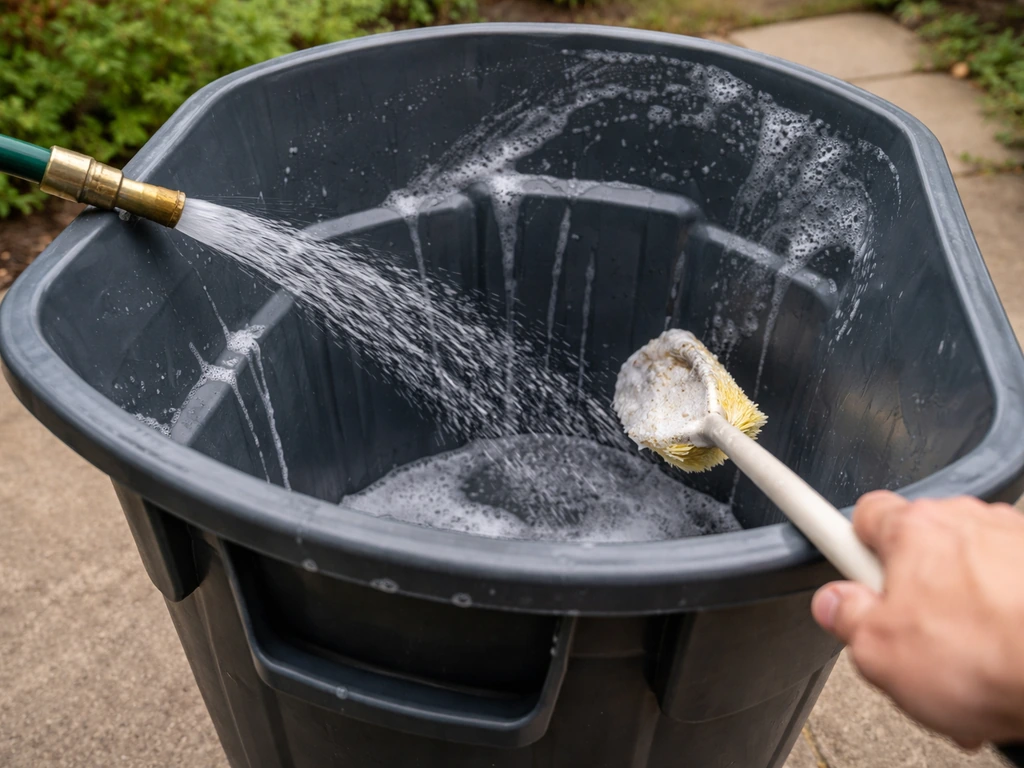
- Empty the bin completely and remove any loose debris.
- Rinse the interior with a garden hose to loosen residue.
- Scrub with dish soap and warm water, or make a baking soda paste (baking soda mixed with just enough water to form a spreadable consistency) for stubborn spots and odor areas.
- Spray the interior with undiluted white distilled vinegar, let it sit for a few minutes, then rinse thoroughly. Vinegar neutralizes odor-causing bacteria and is safe for all standard bin materials.
- For deeper sanitation, you can use a diluted bleach solution. Turn the bin upside down to drain completely and let it air dry in the sun before reinserting a liner. Sunlight also helps kill remaining bacteria.
- Once dry, add fresh baking soda to the bottom of the new liner, or use a commercial trash can deodorizer product (like Arm & Hammer's dedicated trash can and dumpster deodorizer) between cleanings.
Between monthly cleanings, a quick spray of white vinegar after each liner change takes less than a minute and dramatically reduces between-cleaning odor. If you use the bin heavily during summer grilling season, bump the cleaning frequency to every two to three weeks.
Common mistakes and how to fix them fast
Most patio trash can problems come down to a handful of predictable mistakes. Here's what goes wrong most often and how to course-correct without starting over.
- Wrong lid type for your climate: A flip-top or loose-fit lid in a rainy region fills with water and turns into a pest magnet. Fix: Switch to a hinged, gasketed, or locking lid. This is often available as a replacement lid from the manufacturer or as a retrofit at a hardware store.
- Bin is too far from the seating area: Guests won't walk across the patio to use it and will leave trash on tables. Fix: Relocate the bin or add a secondary small (10 to 13-gallon) bin closer to seating for immediate use, with the main outdoor bin nearby for transfer.
- No liner, or wrong liner size: Without a liner, residue bonds directly to the bin interior and becomes extremely hard to remove. A liner that's too small slips down and lets debris hit the walls. Fix: Always use a liner rated for the bin's gallon capacity, secured over the rim.
- Bin placed in full sun: Heat accelerates bacterial growth and odor production dramatically, especially in summer. Fix: Relocate to a shaded spot, or build a simple lattice or fence panel enclosure on the sun-facing side.
- Skipping drainage maintenance: Even bins with drainage plugs get clogged with debris. A clogged drain means standing water, accelerated odor, and a heavier bin to move. Fix: Check and clear the drain plug monthly when you do your cleaning routine.
- Oversizing and underusing: A 32-gallon bin that sits half-full for two weeks in August will smell worse than a 20-gallon bin emptied weekly. Fix: Right-size to your actual weekly volume and empty on schedule.
- Ignoring local pest or bear regulations: Assuming a standard bin is fine without checking local ordinances can result in fines and actual wildlife problems. Fix: Check your city or county's waste regulations before finalizing your bin choice, especially if you live near wildlife habitat or in designated bear zones.
Where to shop and what to expect on price
You can find solid outdoor patio trash cans at most big-box home improvement stores, warehouse clubs, and online retailers. Each channel has trade-offs on price, selection, and how easy it is to see the product in person before buying. Big-box stores like Home Depot and Lowe's carry a practical range of mid-tier options you can take home the same day, which is useful if you want to check lid operation and material weight before committing.
You can also find patio garbage can options at Home Depot, including bins with locking or hinged lids that help keep pests out. Warehouse clubs like Costco sometimes offer larger capacity bins at competitive per-gallon pricing, though selection rotates seasonally. If you're shopping for a patio trash can costco option, pay attention to lid type and capacity since warehouse selections rotate.
Local searches can also surface specialty outdoor and waste management retailers that stock commercial-grade bins with better hardware than typical retail options. If you want to compare pricing and value, Costco often carries patio trash can options that are worth checking alongside other major retailers patio trash can costco.
Budget around $30 to $60 for a reliable 20 to 32-gallon HDPE bin with a proper hinged lid from a mainstream retailer. Heavy-duty or bear-resistant certified containers run $80 to $150 or more, and that's before any enclosure construction. If you're building a full enclosure, materials alone typically run $100 to $300 depending on size and materials, with professional installation adding to that cost.
FAQ
If my neighborhood pickup is less frequent, should I always size up a patio outdoor trash can?
Yes. If your pickup happens more than once a week, consider a 28 to 32-gallon bin, and still empty at least on collection day. Also, keep the lid sealed and dry liners off the bottom, since extra volume only reduces overflow, it does not prevent odor from liquid residue.
What lid style works best if my patio gets frequent rain?
Use the lid type as your main decision point. Hinged lids with a stay-open feature are easiest for frequent use, step-open lids work well against a wall, and flip-tops are best only where rain exposure is light. For heavy rain or snow, choose a lid that seals against rain pooling.
My outdoor trash can smells after it rains, what should I check first?
If you notice standing water after rain, prioritize drainage. Choose a bin with a drainage plug or small holes near the base, or drill a few small holes only after moving the bin to a safe area and checking for stable, non-surface runoff. Without drainage, odor buildup accelerates even if you clean the inside.
How often should I deep clean, and should I rinse it or just wipe it?
Rinse-out should be spot cleaning with a hose and mild soap when needed, and monthly deep cleaning to prevent bacterial buildup. Use liners for wet waste, and avoid putting unbagged garbage directly into the bottom since it increases residue even with a strong lid.
Downwind placement helps, but where is the worst place to put a patio outdoor trash can?
Place the bin downwind, but also avoid direct “heat trap” spots like tight corners where air circulation is poor. Shade and airflow help slow odor, while direct afternoon sun can heat liquids and speed residue breakdown.
Do compostable liners make odor control harder for an outdoor trash can?
If you use compostable bags, expect them to break down faster when warm and wet, which can leave more liquid residue. Switch to standard trash liners for odor-prone weeks (or double-bag) and keep the interior dry by draining wet food scraps before bagging.
How can I tell if a bin’s lid will actually stay sealed in strong wind?
Test lid fit and wind resistance before committing. If the lid has any noticeable flex, gaps, or easy lift, gusts can pull it open slightly. A locking lid or lid that resists lifting is worth it in windy locations.
Can I use bungee cords or add-on locks to make a patio trash can more pest-proof?
Yes, but confirm it matches the bin design. Some bungee-compatible setups still rely on a secure lid, so you may need a locking lid if you have persistent raccoons. Also, secure the bin so it cannot slide away from the wall or corner.
What’s the quickest way to stop raccoons from getting into a patio outdoor trash can?
If you see animals getting in, the fastest fix is improving the closure system first, then sanitation. Clean any residue buildup, use a tightly sealed liner, and switch to a locking mechanism if you get repeated attempts. Lids that “rest” on top often fail even when they look tight.
I live in bear country, does a heavy HDPE bin replace a bear-resistant container?
For bear areas, a standard bin typically is not enough. Look for a reinforced, latching bear-resistant container or a secure five-sided enclosure with a latch, and ensure it is rated or designed for bear access rather than just “heavy-duty.” Store waste in the enclosure, especially if you have to put trash out before pickup time.
What’s the best way to handle drainage and cleaning if the bin sits on patio pavers?
A bin with a simple drainage plug can be handled, but avoid leaving water to pool on the surface. After draining or cleaning, fully dry before liners if possible, and ensure the bin sits on a surface that does not hold moisture around the base.
What should I verify when buying a patio outdoor trash can online?
When shopping online, verify the actual lid operation and capacity range, not just the stated gallon number. Look for user photos that show whether the lid seals tightly when closed, and confirm the bin is made for outdoor temperature swings so it does not crack or fade quickly.