
The best patio trash can setup is one you'll actually use: a weatherproof can with a tight-fitting lid, placed within arm's reach of where you eat or cook, and screened or enclosed so it doesn't become the focal point of your outdoor space. Whether you go with a simple resin hideaway cover, a cedar enclosure built into a corner, or a freestanding double-bin station, the key decisions are type, placement, enclosure style, and size, in that order.
Patio Trash Can Ideas: Placement, Covers, and Setup Tips

Miles Sutton
23 May 2026
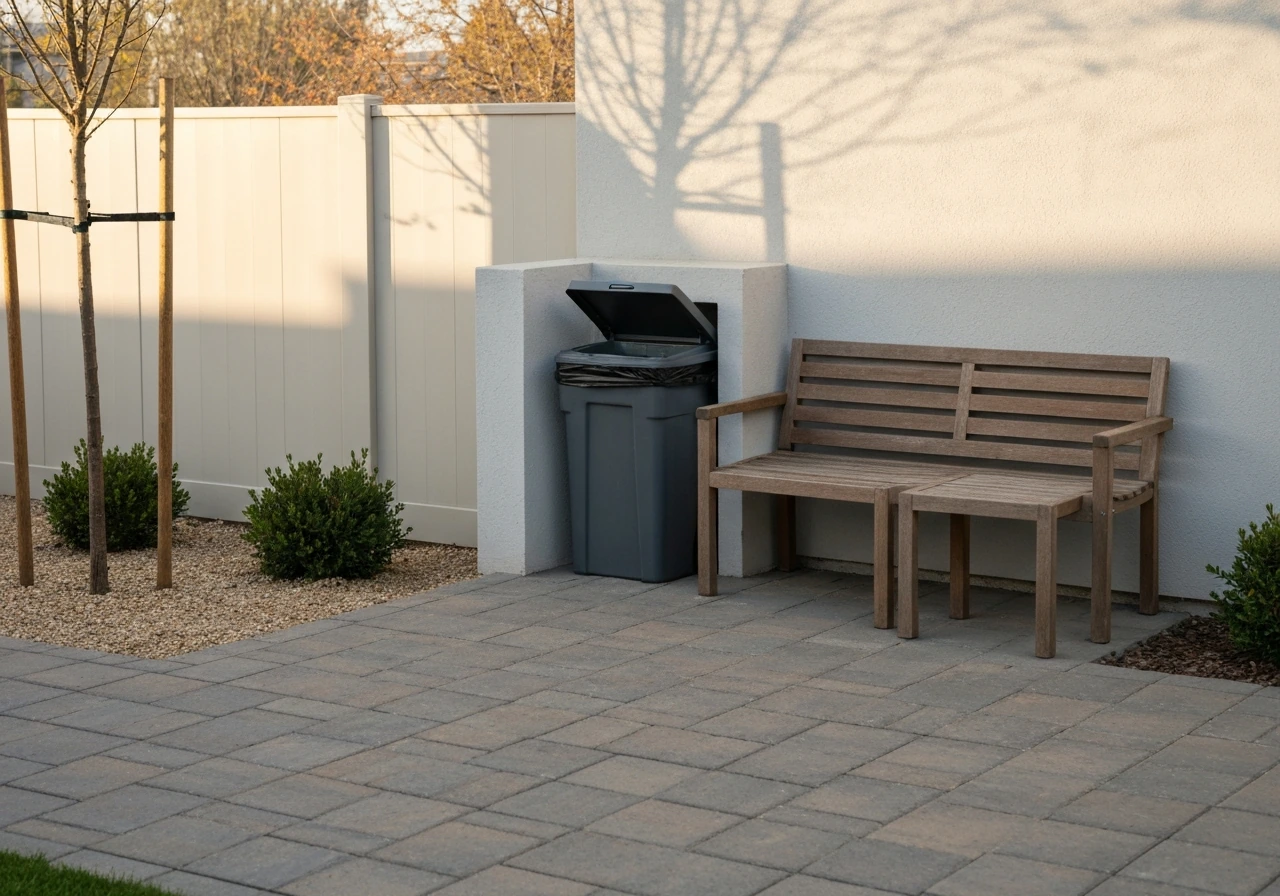
Picking the right type of patio trash can setup
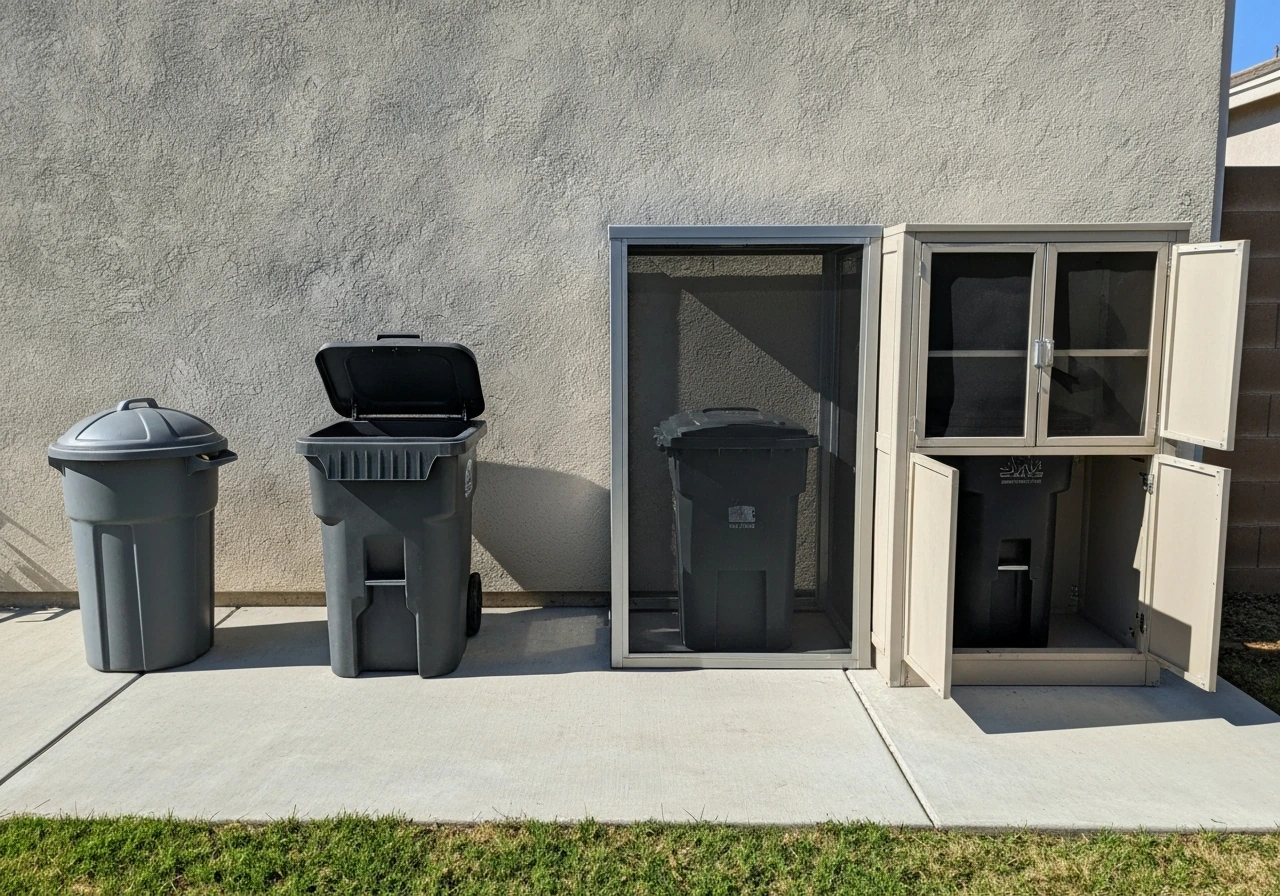
There are really four categories of patio trash can setups, and which one fits your situation depends on how much trash you generate outdoors, how visible the area is, and whether you want a permanent or flexible solution.
| Setup Type | Best For | Typical Capacity | Key Trade-off |
|---|---|---|---|
| Standalone can with lid | Small patios, minimal outdoor cooking | 13–32 gallons | Visible, no screening |
| Resin or plastic hideaway cover | Renters, budget-conscious setups | 30–33 gallons | Can look cheap; less durable |
| Freestanding enclosure or shed | Larger patios, multiple bins, side yards | 32–64+ gallons | Takes floor space; needs level surface |
| Built-in or furniture-style station | Permanent patios, aesthetic-first homeowners | 32–44 gallons | Higher cost; may need a pro |
For most homeowners with a mid-size patio, a freestanding enclosure hits the sweet spot. Products like the Lowe's Volenca double enclosure handle 32 to 64-gallon bins with synchronized lids so you can deposit trash hands-free, genuinely useful when you're carrying plates or entertaining. If you want something more finished-looking, furniture-style enclosures using powder-coated marine-grade aluminum or bamboo composite (like CITIBIN's line) are designed for 32 to 44-gallon cans and include padlock-ready hasps if you need to secure the area.
If you cook outdoors frequently or host regularly, plan for at least two bins: one for trash and one for recycling. A double enclosure handles both without doubling your footprint, and it makes cleanup after a cookout dramatically faster.
Placement that actually works
The most common mistake people make is tucking the trash can as far away as possible to hide it, then ignoring it for weeks because it's inconvenient to reach. Placement is a balance between concealment and usability. Here's what actually works on a real patio.
Distance from the door and cooking area
Keter's guidance (and basic common sense) says to keep bins away from doors and windows to minimize odor infiltration into the house. Keter also recommends keeping trash bins out of direct sunlight, away from doors and windows, and placing them on a flat, stable surface within a ventilated outdoor enclosure [keep bins away from doors and windows to minimize odor infiltration into the house. ](https://www. keter.
com/en-us/sheds/trash-can-storage-sheds/). That said, you don't want the can so far from your grill or dining area that nobody uses it. A good rule: place it no more than 10 to 15 feet from your main cooking or dining zone, positioned so it's behind or beside your setup rather than directly in sightlines from seating.
If you're searching for a patio trash can near me, measuring this distance helps you pick a location that gets used instead of avoided a good rule: place it no more than 10 to 15 feet from your main cooking or dining zone. A corner near the house wall, just off the edge of the cooking zone, is usually the sweet spot.
Traffic flow and access
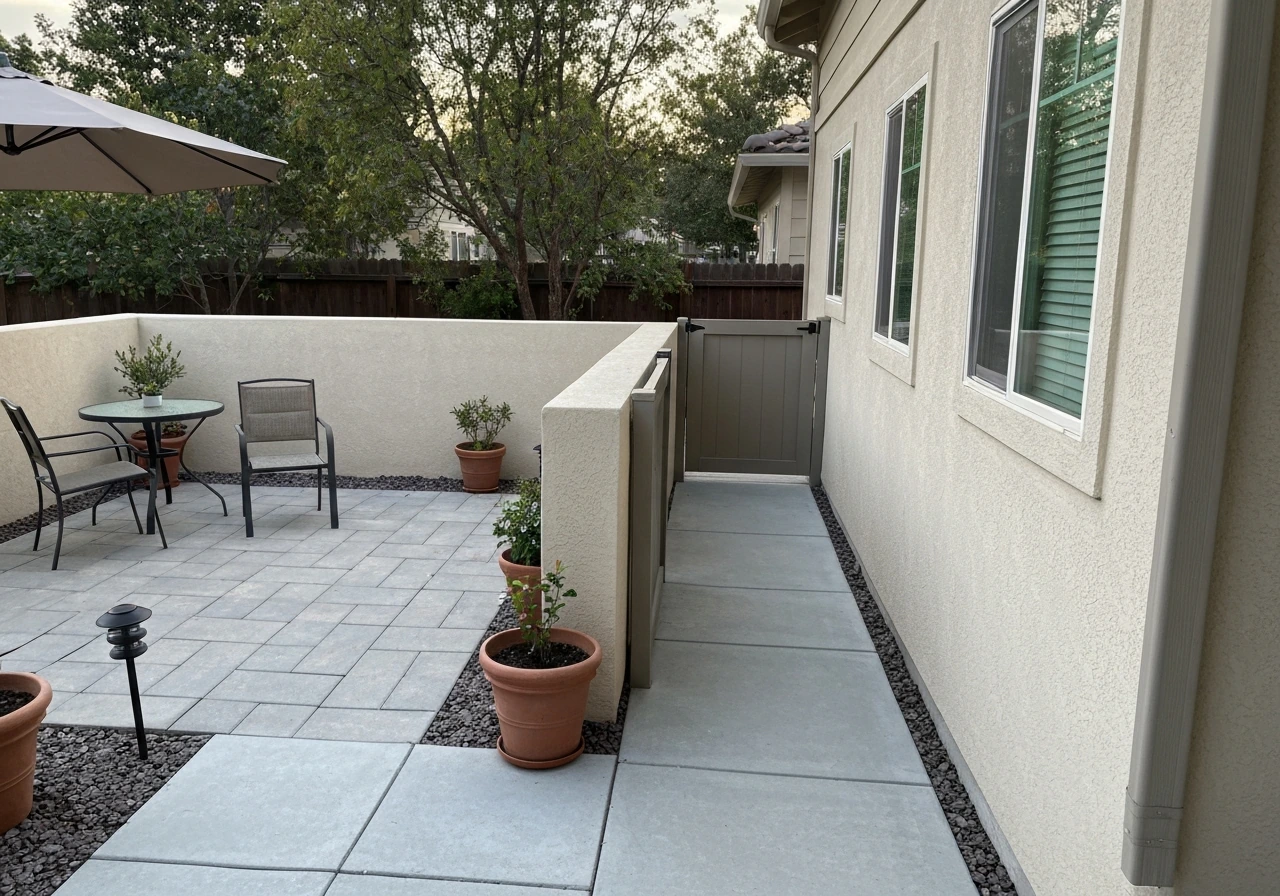
Think about how people move around your patio. You want the trash can on a path that people naturally walk, not somewhere they have to detour to reach. If your patio has a gate or a side yard access point, positioning the enclosure near that route also makes it easier to roll or carry bins to the curb on collection day without hauling them across the entire yard.
Sightlines and visual impact
Check where guests and family members will be sitting and what they'll see. If your seating faces a specific direction, toward a garden, the yard, or a fire pit, the trash area should be positioned outside that sightline. Corners work well because they're naturally out of the primary view from most seating arrangements. Behind a planter, a low fence section, or a privacy screen are all solid options that keep the can accessible while removing it from the visual center of the space.
Hide or integrate: covers, enclosures, and screening ideas
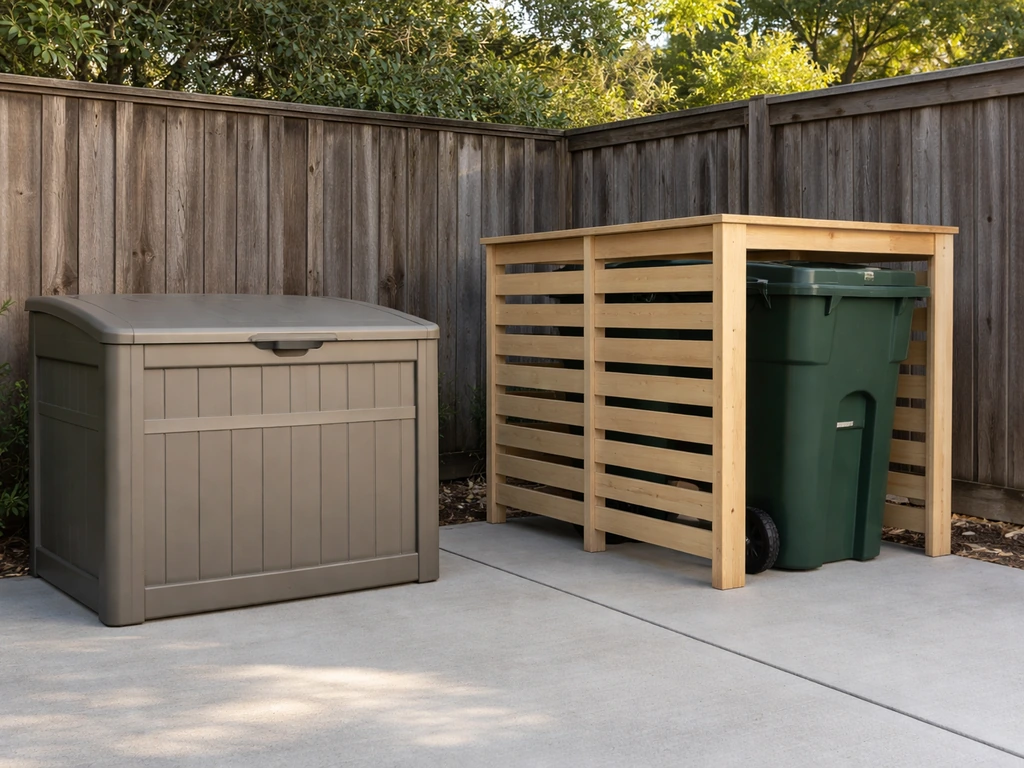
You don't need to spend a fortune to make a trash can area look intentional. Here are the most practical options, roughly in order from easiest to most involved.
- Resin hideaway covers: Products like the Suncast Trash Hideaway are designed for 30 to 33-gallon bags, have a paneled exterior that blends with most patio styles, and cost under $100. Easy to move, no installation needed. The downside is they look like what they are — a plastic bin cover — and they won't fool anyone up close.
- Lattice or slatted privacy screens: A freestanding screen with a hinge or a U-shaped screen arrangement around the can area costs $50 to $200 in materials and takes an afternoon to set up. It works especially well if you grow climbing plants that can cover the lattice over time.
- Planter-and-screen combo: Place a large planter or a row of tall ornamental grasses between the seating area and the trash zone. This softens the visual break and adds greenery without building anything.
- Freestanding enclosure with a roof: Metal or wood enclosures designed specifically for trash cans (the Hanover Trash and Recyclables Storage Shed is one example) look like small garden sheds and position the trash area as a dedicated utility zone. These are the best option if you're keeping bins outside full-time.
- Built-in cabinet or furniture-style station: If you have an outdoor kitchen or a fixed pergola structure, a built-in trash cabinet using exterior-grade wood, concrete board, or aluminum framing gives you the most integrated look. This is where a pro or a skilled DIYer can really elevate the space.
For a cohesive look, match the enclosure material to your existing patio elements. Cedar enclosure on a wood deck. Powder-coated aluminum next to modern concrete pavers. Painted wood slats alongside a painted fence. The trash area doesn't have to be invisible, it just needs to look like it belongs.
Weather, odor, and pests: features and materials to choose
This is where a lot of setups fall apart. People buy an attractive enclosure but end up with a damp, smelly, pest-attracting mess because they didn't think through ventilation, drainage, and lid security. Here's what to specifically look for.
Ventilation matters more than you think
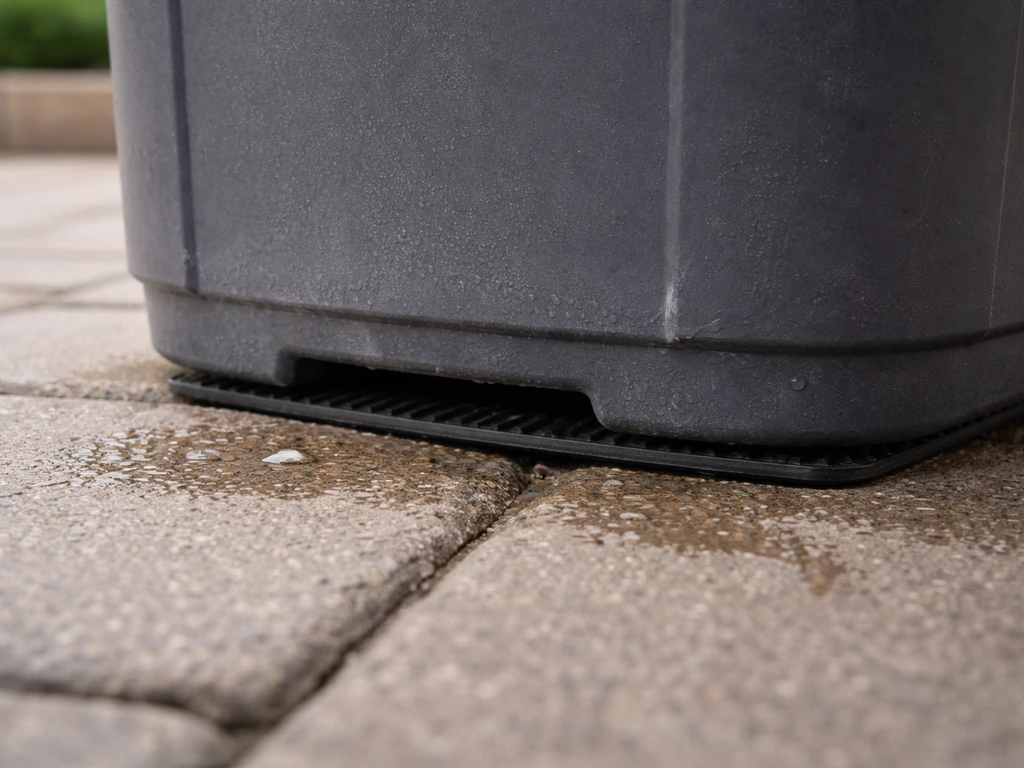
A tightly sealed enclosure traps heat and humidity, which accelerates odor and creates condensation inside. Keter's research on storage sheds makes this point clearly: a well-ventilated structure is significantly less humid than a sealed one. Look for enclosures with vented side panels or gaps in the slatting that allow airflow. The Home Depot even filters outdoor cans specifically by "vented" as a configuration, which tells you how common the demand is. If your enclosure doesn't have built-in ventilation, leaving a small gap at the top or bottom of the door is better than sealing it completely.
Drainage and odor control
Standing water at the bottom of a trash can is one of the biggest odor drivers outdoors. Glad's outdoor can guidance recommends rinsing bins after each collection day and drilling a few small drainage holes in the bottom if your can doesn't have them already. Even if you have a cover or enclosure, rain can sneak in and rainwater off lids can pool. A can with drainage holes placed on a slightly sloped or gravel surface solves this without any ongoing effort.
Pest prevention: lids and materials
The CDC, the EPA, and every pest control resource agrees on one thing: tight-fitting lids on thick plastic or metal cans are the single most effective barrier against rodents and other pests.
A Home Depot-linked Hanover product listing PDF frames this kind of trash and recyclables storage shed as a way to keep outdoor pests out of the garbage by acting as an enclosure barrier tight-fitting lids on thick plastic or metal cans are the single most effective barrier against rodents and other pests.
No holes, no gaps, no propped lids. If you're in an area with wildlife pressure (raccoons, rats, opossums), look for cans with a locking or latch mechanism and pair them with an enclosure that also latches. A padlock-ready hasp on an enclosure like CITIBIN's gives you an extra layer of security if needed. The EPA also notes that covered areas prevent rainwater accumulation, which reduces conditions that attract pests in the first place.
Material durability for outdoor conditions
For the can itself: thick HDPE plastic or galvanized steel are the most durable outdoor options. Thin resin cracks in UV exposure after a few years. For enclosures: powder-coated aluminum won't rust, cedar and redwood resist rot naturally, and composite or resin structures handle moisture without warping. Avoid raw pine or particleboard in any outdoor application, they'll deteriorate quickly and can harbor mold.
Sizing, measurements, and clearance checklist for your patio
Get this part wrong and your enclosure won't fit your can, or your can won't fit where you planned to put it. Measure before you buy anything.
Key measurements to take
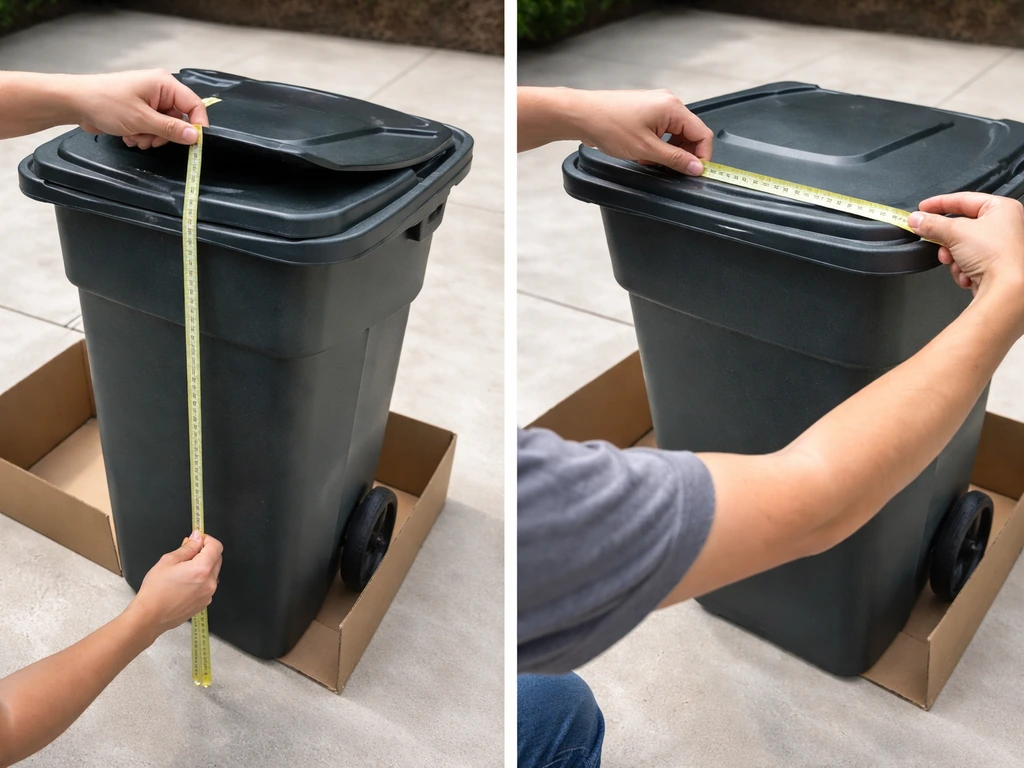
- Can height and diameter: A standard 32-gallon wheeled cart is typically around 40 to 43 inches tall and 20 to 22 inches wide. Measure your specific can before buying an enclosure.
- Enclosure height: The enclosure should be at least 4 inches taller than your can to allow for the lid to open fully and for airflow at the top.
- Door swing clearance: If the enclosure has a front-opening door, you need at least 24 to 30 inches of clearance in front of it so the door can open fully and you can comfortably access the can.
- Patio floor space: Measure the footprint of the area where you plan to place the setup. A single-bin enclosure typically needs about 24 x 30 inches of floor space minimum; a double-bin unit runs 48 to 60 inches wide.
- Pathway width: If the can needs to be rolled to the curb, make sure the path from the enclosure to the street is at least 24 inches wide — the minimum to roll a standard bin without maneuvering issues.
- Surface level: Bins and enclosures need a flat, stable surface. If your patio has a slope or uneven pavers, plan for a leveled concrete pad, compacted gravel base, or adjustable leveling feet under the enclosure.
If you're ordering an enclosure online and matching it to an existing can, the CITIBIN "SMALL" sizing (designed for 32 to 44-gallon cans) is a useful reference point for what fits in a compact enclosure. Republic Services also publishes dimensional reference drawings for standard cart sizes if you need to confirm measurements for a specific bin type.
DIY vs pro installation: what to do yourself and what to plan for
Most patio trash can setups are completely DIY-friendly. Here's how to think about which path makes sense for your situation.
Do it yourself if...
- You're using a freestanding enclosure or hideaway cover that requires no anchoring or foundation work
- You're building a simple cedar or composite slatted screen using pre-cut lumber (a weekend project for someone comfortable with basic cuts and fasteners)
- You're adding a privacy screen or planter arrangement to visually break the sightline — no building required
- Your patio already has a flat, stable surface where the enclosure can sit without modification
Consider a pro if...
- You want a built-in trash cabinet that's integrated into an outdoor kitchen or a fixed pergola structure — this involves framing, possibly concrete work, and finishing that benefits from a contractor's experience
- You need a concrete pad poured for a permanent enclosure placement — a small pour is straightforward for a pro and takes a day, versus a learning curve for a first-timer
- You're anchoring an enclosure to a wall or fence (for high-wind areas or security reasons) and aren't confident working with masonry anchors or structural fasteners
- The project involves electrical work, like adding a light or motion sensor to the trash area — always hire a licensed electrician for outdoor electrical
Honestly, the majority of homeowners can handle a patio trash setup as a weekend project. A freestanding enclosure from a retailer (options are available at Home Depot, Lowe's, Costco, and specialty vendors) ships flat-packed and assembles in a few hours. If you're shopping for a patio trash can, you can compare models and sizes at stores like Lowe's to find an option that fits your enclosure plan.
If you are shopping for patio garbage can options at Home Depot, focus on vented designs, secure lids, and the right bin capacity so the enclosure and can work together. If you are shopping for a patio trash can, comparing Costco options can help you find a solid enclosure at a good price. Save the pro budget for projects where the work involves permanent structures or trades you're not comfortable with.
Your next steps before you buy anything
Before you order or build, run through this quick checklist. It takes 15 minutes and saves you from returning an enclosure that doesn't fit or realizing your planned spot doesn't actually work.
- Measure your existing trash can (height, diameter, lid clearance when open) and note the gallon size
- Walk your patio and identify two or three candidate spots that are near your cooking or dining zone but outside primary sightlines from seating
- Check each spot for surface levelness, clearance in front of the door opening, and proximity to the route to the curb or alley
- Decide whether you need one bin or two (trash plus recycling) — this determines whether you need a single or double enclosure
- Choose your enclosure material based on what else is on your patio: cedar for wood-heavy setups, powder-coated aluminum or composite for modern or low-maintenance patios, resin for a budget-friendly movable option
- Confirm the enclosure height is at least 4 inches taller than your can and that the door opens fully in the chosen location
- Plan for drainage: check whether your can has drainage holes, and make sure the surface it sits on won't pool water after rain
Once you've worked through those, you'll know exactly what type of enclosure to look for, what size fits your can, and where it's going on your patio. From there, it's just a matter of picking a style that matches your space, and you'll have a setup that's actually usable, not just Instagrammable.
FAQ
How do I choose a location if my grill and dining areas are on opposite sides of the patio?
Aim for a spot that stays useful in real life, not just from seating. If you have a grill area and a dining area, pick one “trash corner” that serves both, typically 10 to 15 feet from the main activity zone, and position it so you can reach it without walking across foot traffic.
What can I do to prevent odors if my patio trash can is enclosed?
When your enclosure has ventilation gaps, don’t expect odor to be eliminated. Add an internal odor layer by placing a small trash odor absorber or baking soda container under the bag (not loose around food surfaces), and rinse the bin after collection day to reduce buildup that causes smells.
What’s the best way to handle rainwater and standing water under a covered trash setup?
Use a “slightly sloped base” approach, even if it’s not a raised pad. A thin layer of gravel under the can area helps water drain, and if your can lacks holes, drill only a few small drainage holes in the bottom before regular use (and plan for easy cleaning).
Can I use a tall liner bag or bags with handles in a covered or latching patio trash setup?
Yes, but do it without undermining odor and pest control. Replace bags before they sit for long periods, avoid overfilling so lids fully close, and ensure the enclosure doors or slats do not force the lid to remain ajar.
What should I buy if pests are a major issue (raccoons, rats, opossums) on my patio?
If raccoons or other wildlife are common, prioritize both a sealed lid and a locking system. Choose thick HDPE or galvanized steel bins with a latch, then use an enclosure with its own latch or padlock-ready hasp so the entire unit is harder to access.
How do I keep a two-bin (trash and recycling) enclosure usable when space is tight?
If you use a double-bin enclosure, stagger the placement so the recycling access does not block trash access. Also confirm both bins clear the door opening when lids are lifted, and keep enough side clearance so you can swap liners without tipping the cans.
How do I pick the right bin size if I host parties or cook outdoors often?
For frequent entertaining, choose capacity based on your event patterns, not just household size. If you regularly host, a 32 to 44-gallon setup is often workable for one or two events before removal, but for high-volume weekends, consider two bins to avoid overfilling and leaving garbage exposed.
What exact measurements should I take before buying an enclosure for an existing trash can?
Don’t guess on measurements, especially for “cart-style” bins and corner enclosures. Measure the can footprint, lid clearance when open, and the distance from the enclosure door to the floor, then compare to the enclosure’s internal dimensions before ordering.
What’s the difference between a vented enclosure and a sealed one, and what should I do if mine feels damp?
If your enclosure blocks airflow, you may notice condensation inside the structure even with a vent. Add a small gap only where airflow is intended (top or bottom), keep the interior dry by rinsing bins promptly, and avoid fully sealing all sides of the enclosure.
Is it better to prioritize odor control near windows and doors, or convenience near the grill?
Keep the can away from doors and windows, but also avoid putting it in the far corner where nobody reaches it. If odor infiltration is your main worry, place it behind or beside your cooking zone with a privacy screen, then confirm the lid always closes fully after use.
What are the most common DIY mistakes that ruin patio trash can enclosures?
For DIY setups, most failures come from fit and drainage. Do a test fit with the actual empty can and lid closed and open, then check the base level and ensure rain can drain away from the enclosure area, not toward it.
Why shouldn’t I use raw pine or particleboard for a patio trash can enclosure?
Raw pine and particleboard degrade quickly outdoors because they swell with moisture and can grow mold in the enclosure’s humid microclimate. If you want a wood look, choose cedar or redwood, or use a composite/resin enclosure that handles wet conditions.
How can I make a patio trash can enclosure look cohesive without sacrificing functionality?
Yes, and it can help keep the enclosure looking intentional. But keep it practical by aligning the enclosure materials with nearby patio elements (decking, fence slats, pavers) and maintaining access to the latch or door so you still use it consistently.