
Getting the patio table top view right means capturing the exact top-down measurements of your table: the full width or diameter of the tabletop surface, the overhang beyond the legs, the edge thickness, and the position of any umbrella hole. With those numbers in hand, you can confidently order a replacement top, cut a new one, plan your seating layout, and make sure chairs and walkways actually fit around it.
Patio Table Top View: How to Measure, Plan, and Order

Miles Sutton
11 May 2026
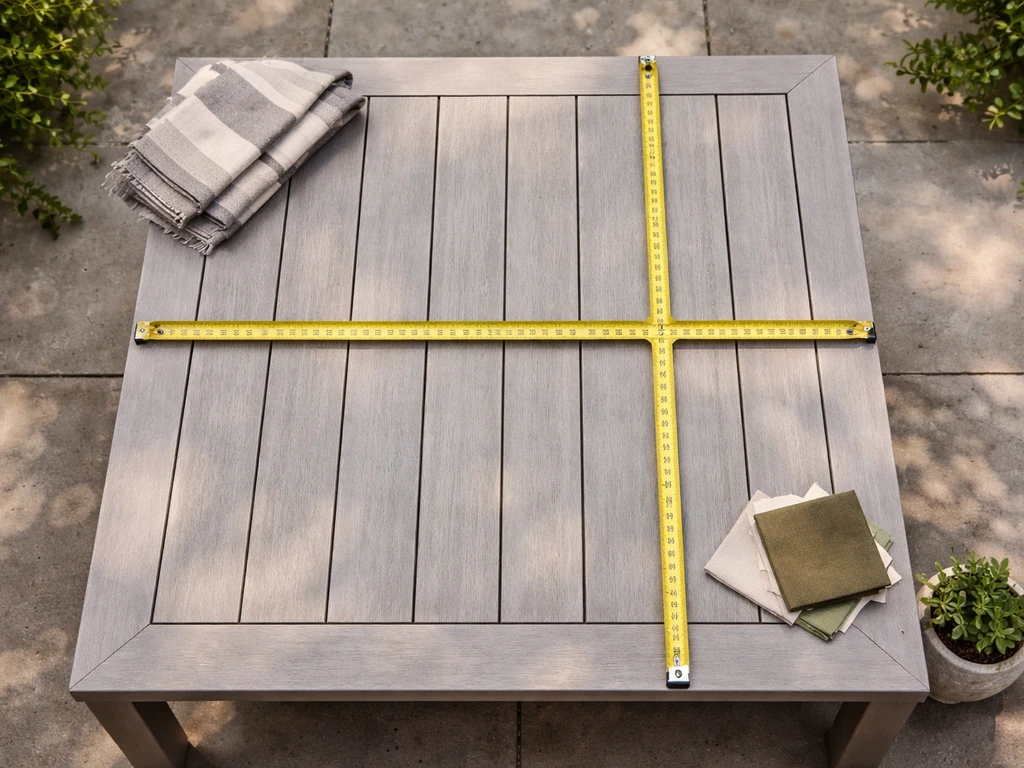
What 'table top view' actually means for a patio setup
When most homeowners search 'patio table top view,' they want one of two things: either a true top-down dimensional drawing of their table (useful for ordering a replacement glass or stone top, or for planning furniture placement on paper), or a bird's-eye layout of the whole patio space showing where the table sits relative to chairs, walkways, and the rest of the space. Both interpretations matter, and this guide covers both.
A top-down view of just the tabletop itself captures: the overall length and width (or diameter for round tables), the edge profile and thickness, the overhang past the leg or base frame, and the position of the center umbrella hole if there is one. A full patio layout view zooms out further to show clearance zones, traffic paths, and how the furniture arrangement flows. You need both perspectives to make smart decisions about buying, building, or replacing a patio table.
How to measure your patio table accurately
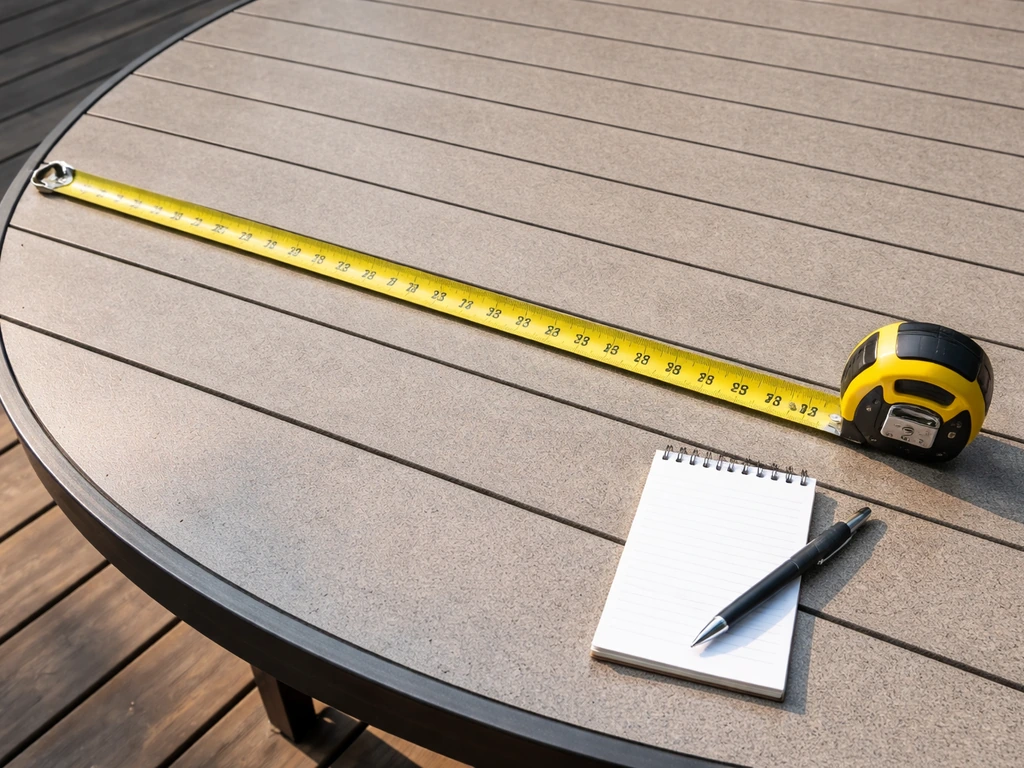
Pull out a tape measure, a notepad, and ideally a helper. Measure from the top-down perspective first, then work your way around to the supporting structure. Here is what to capture:
- Overall length and width (or diameter): For rectangular and square tables, measure the full outer edge on both axes at the widest point. For round tables, measure straight across the center from one edge to the opposite edge at the midpoint. That center-to-center measurement across the top is your true diameter.
- Overhang: Measure how far the tabletop extends past the legs or base frame on each side. This affects chair fit and determines the structural support zone. Even a few inches of overhang difference matters when ordering a replacement.
- Edge thickness: Use a tape measure or a small ruler held against the edge. Outdoor tabletops commonly run from about 0.25 inch (tempered glass) up to 1.5–2 inches for solid wood or concrete. Thickness affects both fit in a frame and visual weight.
- Leg footprint and spread: Measure the distance between the legs (inside dimension) and the outer dimension of the base frame. This tells you the 'landing zone' the top needs to support itself.
- Umbrella hole diameter: If your table has a center hole for a patio umbrella, measure the inside diameter of the hole with a ruler. Most table holes land in a range of roughly 1.8 to 2.4 inches, and your umbrella pole should fit snugly — the general rule is the hole should be no more than about 0.25 inch wider than the pole for stability.
- Table height: While not a top-view measurement, note the overall table height (typically 28–30 inches for a standard dining table). It confirms you are working with a dining-height versus bar-height setup, which changes chair and clearance requirements.
Write all measurements down before you do anything else. If you are ordering a replacement glass top, double-check your diameter by measuring in two directions on a round top, slight variations can reveal whether the top is truly round or slightly oval, which matters for ordering.
Choosing the right tabletop shape and size
Shape and size are not just aesthetic choices. They determine how many people comfortably sit, how much circulation space you lose, and how well the whole patio layout functions. Here is a practical breakdown.
Round tables
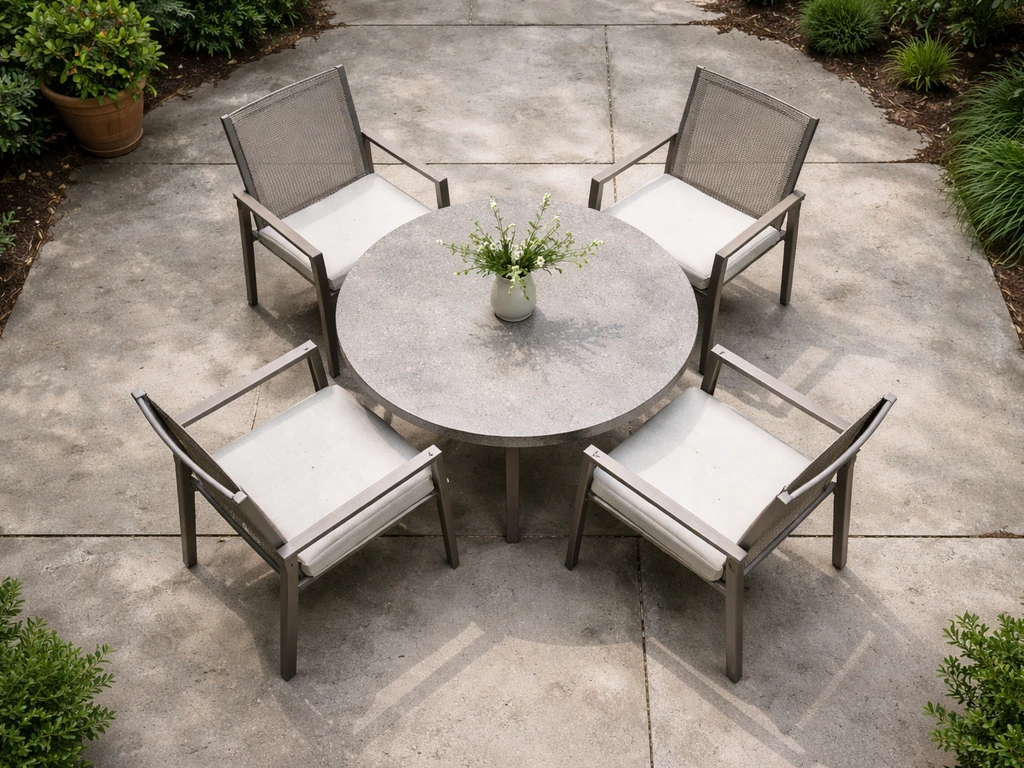
Round tables encourage conversation and work well in square patio spaces. A 48-inch round seats four comfortably; a 60-inch round can manage six. The downside is they can feel large in narrow spaces because the diameter extends equally in all directions. No corners also means no 'head of the table,' which some households prefer and others find disorienting.
Rectangular tables
Rectangular is the most versatile shape for most patios, especially long narrow spaces. A standard 6-person outdoor dining table typically runs around 72 inches long by 36–40 inches wide. An 8-person table commonly reaches 84–96 inches long. Budget roughly 24 inches of table-edge space per person as a minimum comfortable place setting, which means a 72-inch length comfortably handles three people per side.
Square tables
Square tables are great for four-person setups in a compact patio. A 36-inch square handles two per side in a pinch; a 48-inch square is more comfortable for four. Beyond four seats, square tables get awkward because the center of the table becomes hard to reach.
Custom shapes and sizes
If your patio has an unusual footprint or you are working around a built-in feature like a fire pit or a curved wall, a custom-cut top may be worth the extra cost. Glass and concrete fabricators can work from a simple paper template or dimensioned sketch. This is especially useful if you are replacing a worn top on an older table with a non-standard base.
| Shape | Best for | Common sizes | Seats |
|---|---|---|---|
| Round | Square spaces, conversation-first layouts | 48 in, 60 in diameter | 4–6 |
| Rectangular | Long patios, larger groups | 60–96 in x 36–40 in | 6–10 |
| Square | Small patios, 4-person setups | 36–48 in per side | 4 |
| Custom | Unusual footprints, replacement tops | Built to template | Varies |
Materials, thickness, and weatherproofing for outdoor tabletops
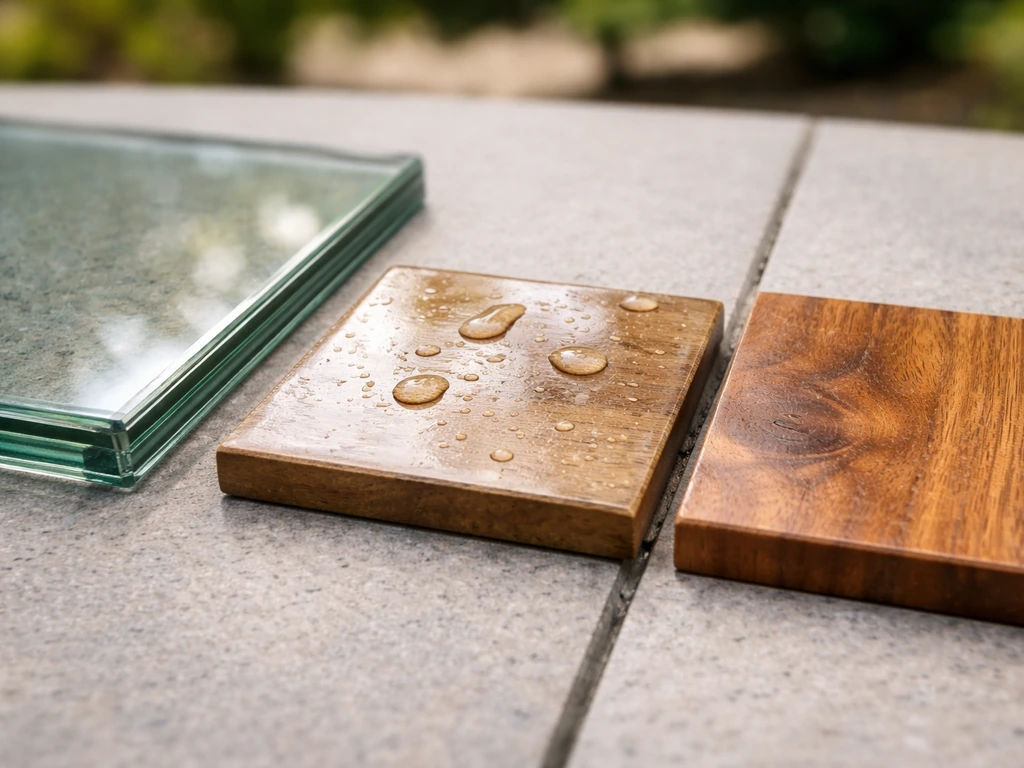
Outdoor tabletops live in a harsher environment than indoor ones. UV exposure, moisture cycles, and temperature swings will degrade most materials over time unless you pick the right one for your climate and maintain it consistently. Here is how the common options compare.
Tempered glass
Glass is a popular replacement-top choice because it is easy to clean and shows off decorative bases. Outdoor glass tops should be tempered (for safety) and typically run 0.25 inch to 0.375 inch thick. The downside: glass heats up fast in direct sun, shows water spots, and can shatter if something heavy drops on it. In areas with high wind, glass tops also need rubber bumpers and a solid base to prevent sliding.
Teak and hardwood
Teak is one of the most weather-resistant woods available for outdoor use thanks to its natural oils. Tops typically run 1 to 1.5 inches thick and need periodic maintenance to look their best. There is genuine disagreement among furniture brands about the right approach: some recommend applying teak oil annually to preserve the golden color, while others explicitly advise against any wood oil on teak used outdoors, arguing it can promote mildew. The safer consensus for most homeowners: let teak weather naturally to a silver-gray patina, clean it annually, and reseal if needed once a year (or twice a year in saltwater or high-humidity coastal environments).
Concrete and stone
Concrete and natural stone tops are heavy, durable, and look striking. The weight (often 50–150 pounds or more depending on thickness) means your base and any replacement process need to account for safe handling. Both materials require sealing on installation and periodic resealing to prevent staining and moisture absorption.
HDPE and powder-coated metal
High-density polyethylene (HDPE) tabletops are built with UV stabilizers that resist fading and cracking through all-weather conditions. They need very little maintenance beyond occasional cleaning. Powder-coated steel and aluminum frames under any top surface offer strong corrosion resistance, but if the coating chips, moisture can get in. Inspect powder-coated frames each season and touch up any chips before rust can start.
| Material | Typical thickness | Weather durability | Maintenance level |
|---|---|---|---|
| Tempered glass | 0.25–0.375 in | Moderate (wind/heat concerns) | Low (wipe clean) |
| Teak/hardwood | 1–1.5 in | High if maintained | Medium (annual cleaning/resealing) |
| Concrete/stone | 1.5–2+ in | High if sealed | Medium (reseal periodically) |
| HDPE | 0.75–1 in | Very high (UV stabilized) | Very low |
| Powder-coated metal | Thin panel | Good if undamaged | Low (inspect annually) |
Designing the patio layout around the table
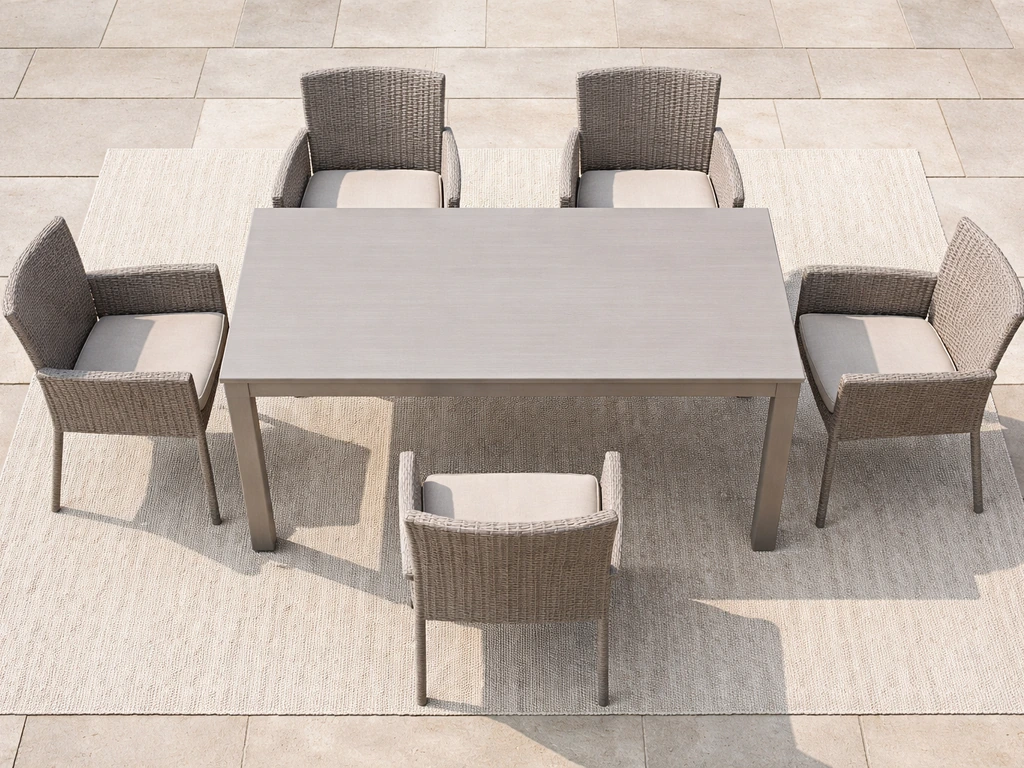
A top-down layout view is only useful if you account for the space the chairs and people actually need, not just the table footprint. This is where most homeowners underplan, and then end up with a patio that looks great in a photo but is frustrating to use.
Most outdoor dining chairs take up about 22 to 26 inches in width and 22 to 26 inches in depth when pushed in. When pulled out to sit down, add another 12 to 18 inches behind the chair. That means for each chair position, you need a clearance zone that extends roughly 36 to 42 inches from the table edge to any wall, planter, railing, or other obstruction. A minimum of 36 inches around the table is the standard recommendation for comfortable seating and the absolute minimum for wheelchair passage.
For walkways and traffic paths that run past the dining area (not just in and out of chairs), aim for at least 36 inches of clear passage. If the path is the main circulation route on your patio, 44 to 48 inches is more comfortable and aligns with accessibility guidance. It is easy to forget this when you are drawing a layout on paper and only looking at the furniture footprints.
A practical way to plan this: tape out your table dimensions on the patio surface with painter's tape before buying anything. Add another ring of tape 36 to 42 inches out from the table edge to simulate the chair pull-out zone. Walk around it. Sit down in a real chair placed at the tape line. You will immediately feel whether the layout works or needs to shift. A common solution is to place a patio directly on top of grass with a stable base layer so the surface stays level and safe patio on top of grass.
If your patio has other features nearby, like a fire pit, a built-in grill, or a canopy structure overhead, factor those footprints into the layout too. The table does not exist in isolation, and the top-down view only makes sense when you can see how everything sits together.
Finishes, maintenance, and protection for long-term durability
Even the most durable outdoor tabletop material will degrade faster without a basic maintenance routine. A patio top coat can add an extra layer of protection against UV, moisture, and everyday wear. The good news is that most of it is simple and takes less than an hour a year.
- Cover or store the table when not in use for extended periods. Storing outdoor furniture indoors or under a quality cover significantly extends its service life, regardless of material.
- Clean the surface each spring before the season starts. A mild soap and water solution handles most grime on glass, HDPE, and sealed wood. Avoid abrasive pads on glass or powder-coated surfaces.
- For teak and hardwood tops, clean annually and assess whether resealing is needed. In coastal or high-humidity environments, plan on sealing twice per year.
- Inspect powder-coated metal frames and legs for chips or scratches at the start of each season. Touch up immediately with matching spray paint to prevent rust from spreading.
- For glass tops, check the rubber bumpers and clips that hold the glass on the base. Replace them if they are cracked or compressed, since a loose top is a safety risk.
- If the table has a center umbrella hole, confirm the hole insert or grommet is intact. A cracked grommet allows water to pool and can stain or crack the top over time.
If the top already shows significant wear such as deep scratches in stone, crazing in glass, warped wood boards, or rust staining from a deteriorating frame, cleaning and sealing will not fix it. That is when replacement or refinishing becomes the real conversation.
DIY or professional: when to replace, rebuild, or call someone
Most tabletop replacements are a reasonable DIY project, especially for glass and HDPE tops where you are essentially ordering a cut-to-size piece and setting it on the existing base. If you have accurate measurements (all of the ones covered earlier in this guide), placing the order and doing the swap is straightforward.
Here is where DIY makes sense and where it does not:
| Situation | DIY reasonable? | Notes |
|---|---|---|
| Replacing a glass top (same size) | Yes | Order from a local glass shop with your measurements; handle carefully with gloves |
| Replacing an HDPE or plastic top | Yes | Usually straightforward if replacement matches base mount points |
| Sanding and resealing a teak top | Yes | Follow product directions; not difficult but time-consuming |
| Custom-cut concrete or stone top | No | Weight and precision cuts require professional fabrication |
| Repairing a cracked base or corroded frame | Maybe | Depends on severity; structural integrity matters for safety |
| Full custom table build | No (unless skilled) | Involves joinery, finishing, and load-bearing considerations |
| Uneven or unlevel table on existing patio surface | Yes (minor) | Leveling feet or shims handle most cases; serious unlevel means the patio surface itself may need attention |
If the base frame is corroded or structurally compromised, replacing just the top is a waste of money. Fix or replace the base first. And if you are working with a heavy material like thick concrete or natural stone, the fabrication and installation genuinely benefit from professional help, both for the precision cutting and for safe handling of a top that can weigh well over 100 pounds.
For anyone designing a patio from scratch around a new table, taking the top-down layout approach from the start, mapping out table size, chair clearance, traffic flow, and overhead coverage, will save you from expensive rearrangements later. For Calgary homeowners, roof top patios benefit from careful tabletop sizing and clearances so seating stays comfortable even with tighter balcony layouts patio from scratch around a new table. If you are also thinking about a patio top coat for the surface underneath or planning features like a canopy structure overhead, mapping those into the same top-down plan before committing to furniture placement will keep the whole space cohesive and functional.
Your next step: take those measurements today, sketch the top-down view on grid paper or in a free tool like Floorplanner or RoomSketcher, and confirm your clearances before ordering anything. Getting the view right on paper costs nothing. Getting it wrong after you have already bought the table costs a lot more.
FAQ
When people say “patio table top view,” which dimensions matter most for a replacement order?
Measure the tabletop’s widest and longest points directly from the surface, not from the leg span. For round tops, confirm by measuring two perpendicular diameters (if they differ, treat it as oval and order the larger dimension, then confirm the manufacturer’s tolerance). Also measure the overhang at 4 to 8 points, since some bases sit slightly off-center and change the true “top footprint.”
What should be included in a tabletop top-down drawing so fabricators can actually use it?
A “top-down view” should show the true usable surface boundaries, including rounded corners or tapered edges, plus the edge thickness and any hardware offsets. If your drawing only captures the overall width and misses things like umbrella-hole location or a notch for a base brace, many glass and stone shops cannot guarantee a clean fit without a redo.
How can I quickly tell if my layout will fit before I order chairs or a new top?
Do one sanity check with simple math: estimate chair-centered spacing by using your clearance zone. If the table edge needs about 36 to 42 inches to clear chair pull-out, your total occupied width becomes table width plus clearance on both sides. If that number is bigger than your available patio width, you likely need fewer seats, a narrower chair, or to rotate the table to shorten the required clearance.
Do I need to place the umbrella hole exactly in the drawing, and how do I measure it accurately?
Yes, especially for umbrella tables. If the umbrella hole is offset, treat the hole as a fixed reference point and measure from a clearly defined edge (for rectangular tops) or from a center point you mark on the drawing (for round tops). Also confirm whether the hole is a straight-through cut or includes a reinforcement ring, since that changes the required dimensions for replacement tops.
What’s the most common measurement mistake when taking a patio table top view?
Avoid measuring from the floor level. Measure from the tabletop surface (or a straight board laid across the top) and record edge thickness separately from total height. Many replacement tops are made to match the top thickness and mounting style, so mixing up “edge thickness” and “overall top height” leads to poor alignment or a rocking fit.
If I order the same diameter or width, why might a replacement top still not fit?
Ask the fabricator what mounting system your base uses (direct set, clips, brackets, or leveling feet). A top can be “the right size” and still not fit if the underside has a different groove pattern, fastener spacing, or a recess depth. If you can, take a few photos of the underside and any frame attachment points along with the top-down dimensions.
Should I measure the worn tabletop as-is, or use the original manufacturer dimensions?
If the tabletop already has warping or uneven wear, trust your measured top-down footprint, not the nominal size printed in the product listing. For glass, check whether the corners and edges are truly intact, and for wood, verify the widest point after any seasonal movement. If the base is out of square, the replacement may need to match the measured top footprint rather than the original spec.
Are there special considerations for ordering a heavy stone or concrete tabletop based on my patio table top view?
For stone or concrete, consider a “handling allowance” in your plan and ordering timeline. Measure access routes for moving the top (doorways, steps, turns) and ask the shop about their cutting and finishing approach (polish, sealed edges, and whether they deliver with protective coverings). Weight also affects whether DIY installation is practical or whether professional handling is safer.
How do clearance recommendations change if accessibility is a priority?
Treat safety margins like part of the layout, not an afterthought. If you need wheelchair passage, plan for at least 36 inches around the seating zone as the minimum guideline, and prioritize 44 to 48 inches on the main circulation path when possible. Then test it by taping the zones and actually rolling a chair or using the intended mobility device if you have one available.
What’s the best way to “test” a top-down patio table top view on-site?
Painter’s tape works for simulating chair pull-out and walking paths, but confirm using at least one real-world test: sit in an outdoor dining chair placed at the tape line and have someone gently slide the chair in and out. If the chair hits a wall or planter, shift the table before ordering, because replacing the top after furniture is in place is usually harder than re-centering the table.