
Most patio problems trace back to a handful of mistakes made during planning or installation: wrong size, poor drainage slope, bad material choices, and skipped base prep. Fix those core issues and almost everything else falls into place. This guide walks through every major failure point, tells you what went wrong, and gives you a concrete next step to correct it, whether you're redesigning an existing patio or planning a new one.
Patio Design Mistakes: Fix and Redesign Your Patio Fast

Miles Sutton
4 May 2026
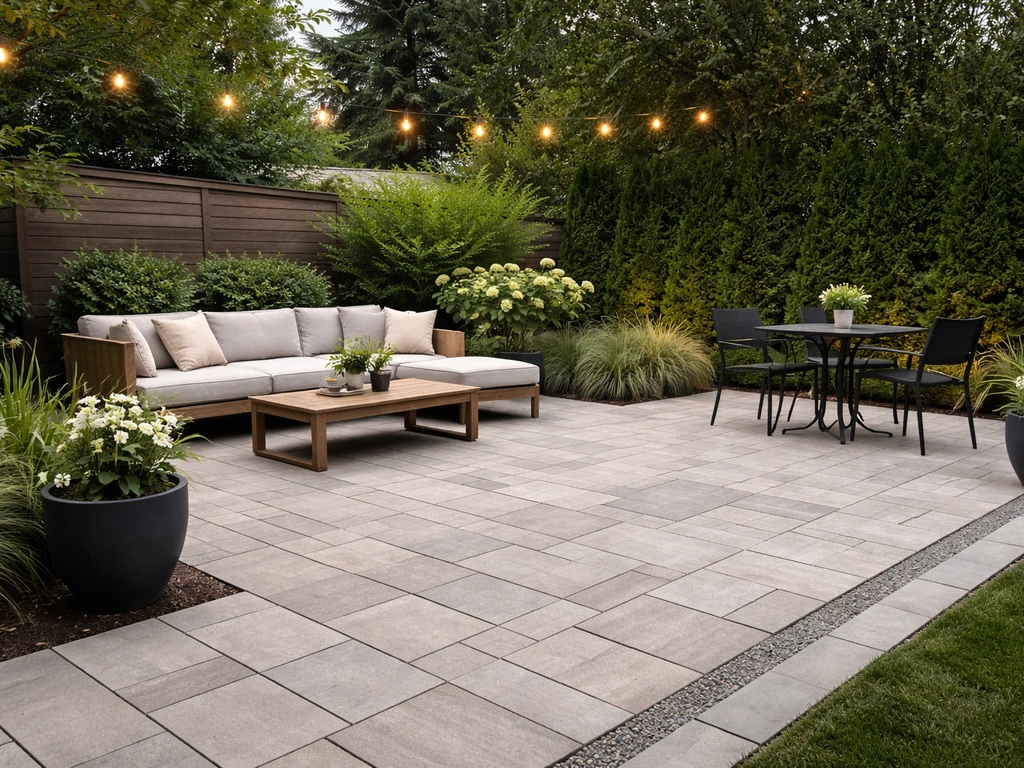
Common Patio Design Mistakes That Ruin Look and Function
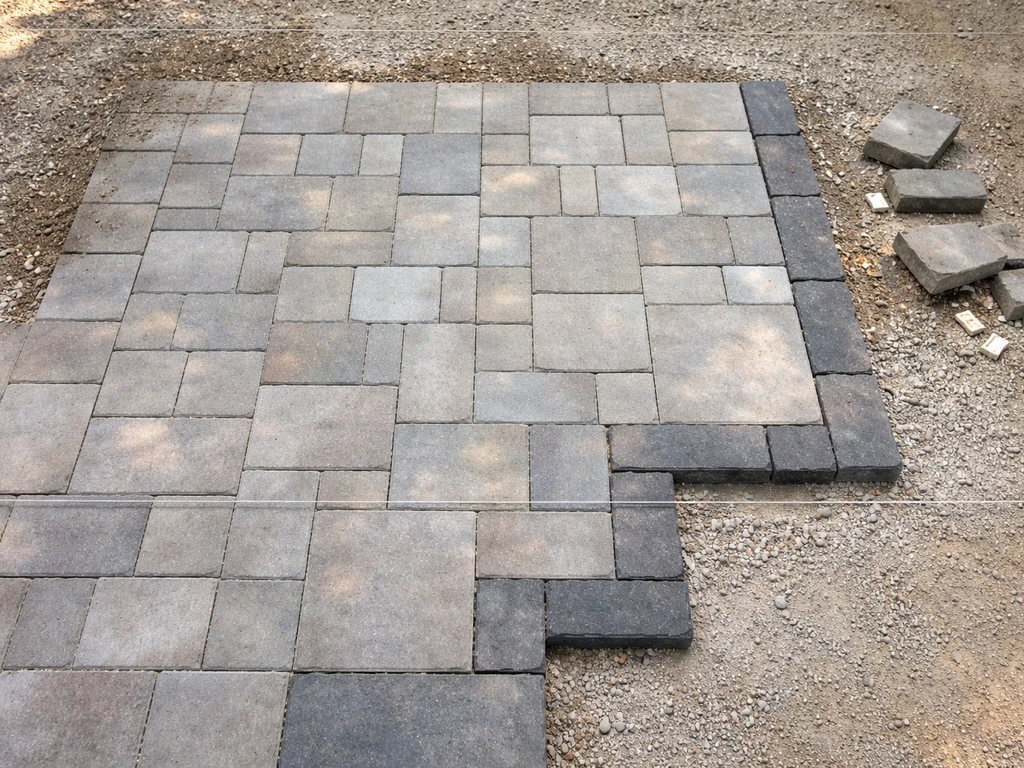
The most damaging patio mistakes aren't the obvious ones like choosing an ugly color. They're the structural and planning errors that get buried under your furniture and pavers, invisible until something fails. Water pools after every rain. Pavers shift after the first winter. The space feels cramped even though it looked big enough on paper. These problems share a common root: decisions made without measuring, without checking grades, or without thinking through how the space will actually be used day to day.
Before you buy a single paver or string a single light, it's worth running through a checklist of the most common failure points. That's exactly what this guide is built around. You'll find specific measurements, material guidance, and real-world cost context at each step, so you're not just diagnosing the problem, you're equipped to actually fix it.
Sizing, Layout, and Traffic Flow Errors
Building a patio that's too small (or the wrong shape)
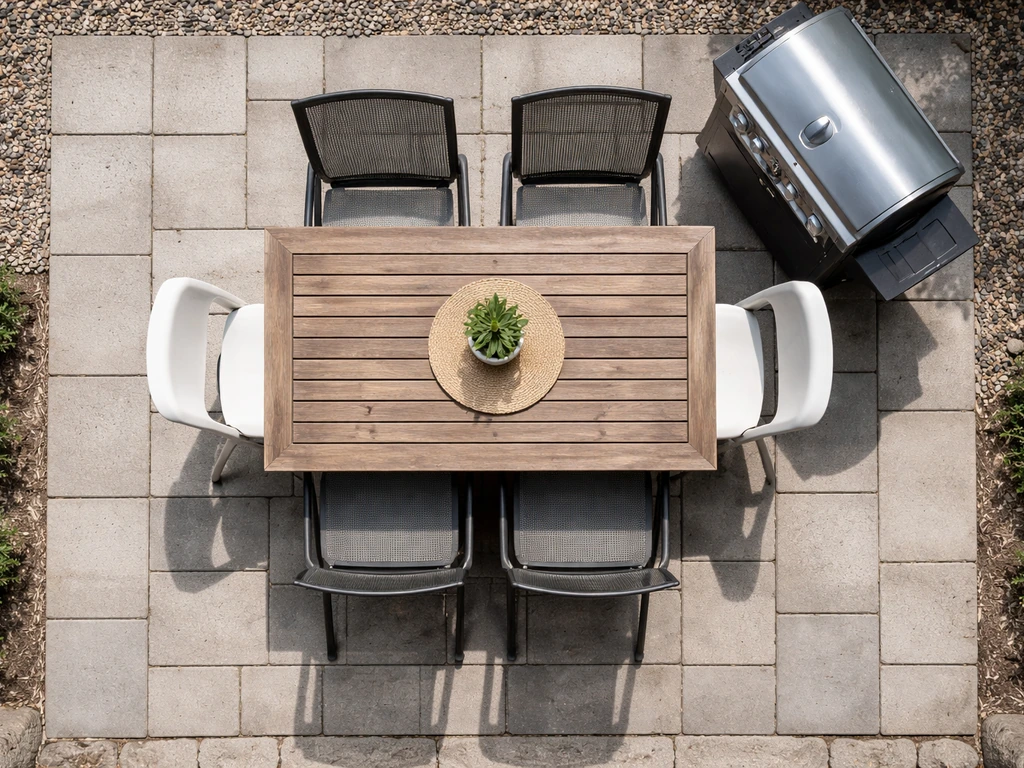
This is the single most common design complaint homeowners share after a patio is built. The space looked generous in a sketch but feels tight once a table, chairs, and a grill are in it. A good rule of thumb: map out your actual furniture on the ground using chalk or masking tape before you finalize dimensions. A standard outdoor dining set for six needs at least 12x12 feet just for the furniture, and you need another 3 feet of clearance on every side for chairs to push back and people to walk past. Most residential patios work best at a minimum of 12x16 feet for a mixed dining and lounging setup.
Awkward door and path placement
A patio that forces you to walk around furniture just to get from the back door to the yard is a layout problem, not a furniture problem. Traffic paths through a patio should be at least 36 inches wide to allow comfortable single-file movement, and 48 to 60 inches if two people need to pass each other regularly. That aligns with ADA accessible route guidance of a minimum 36-inch continuous clear width, but honestly, even for non-accessibility reasons, anything narrower than 36 inches feels like a squeeze in a social setting. Map your main circulation paths before you set your furniture zones, not after.
Ignoring the relationship between the patio and the rest of the yard
A patio shouldn't just float in the backyard. It needs to connect logically to the house exit points, any garden paths, and the lawn or landscape beyond it. If your patio placement requires guests to cut across a garden bed or navigate around a fence corner to reach it, that's a layout error worth correcting in the planning stage. Think about the natural lines of movement from your back door and orient the patio shape to follow them. A slight L-shape or an angled corner can often solve an awkward orientation without requiring a complete rebuild.
Surface, Drainage, and Material Choices That Cause Problems
Getting the drainage slope wrong
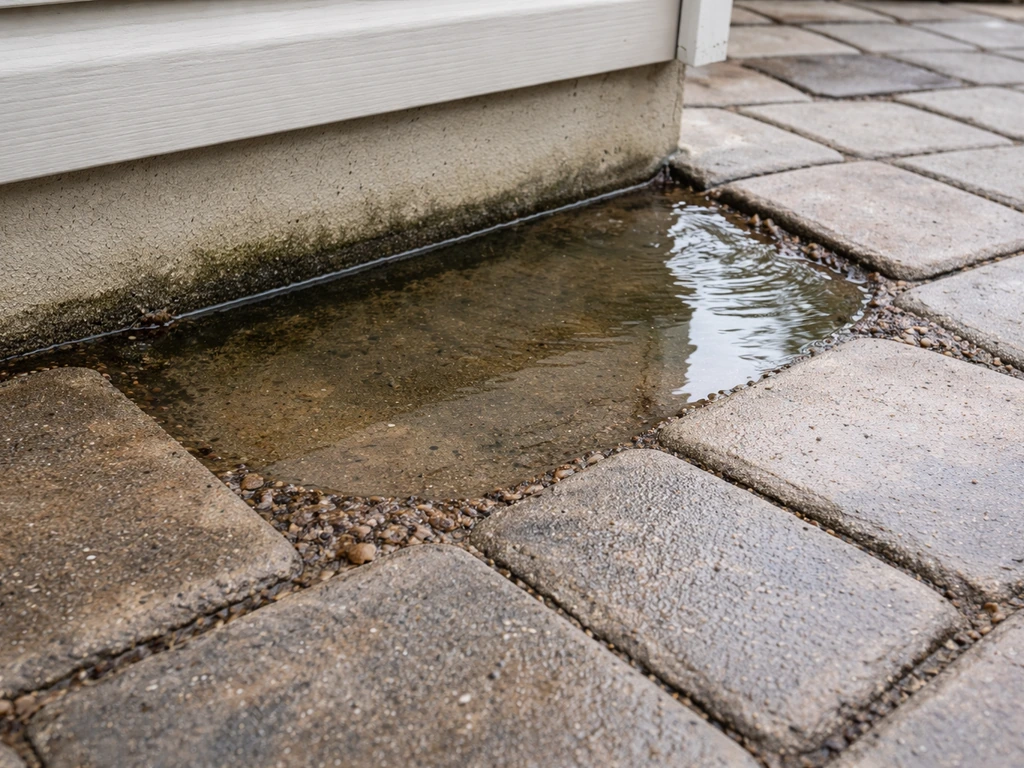
This is the mistake that causes the most long-term damage. If your patio doesn't slope away from your house, water pools, jointing sand erodes, algae and mold grow, and in freeze-thaw climates pavers heave. The correct grade is about 1/4 inch per foot of patio depth, which works out to roughly a 2% slope. Some experts recommend a slightly gentler fall of 1:60 to 1:80 (about 12 to 17 mm per meter) leading away from the structure.
Either way, the water needs a clear path away from your foundation. If your existing patio slopes toward the house or sits dead-flat, you'll need to either re-grade the surface or install a channel drain at the low point to intercept water before it reaches the wall.
Skipping or underdoing the base
The base layer is invisible once the patio is done, which is exactly why people cut corners on it. A proper paver system runs: blank" rel="noopener noreferrer">compacted subgrade, compacted aggregate base, bedding sand, pavers, then jointing material. In freeze-thaw climates, the total excavation depth commonly runs 7 to 9 inches to accommodate an adequately deep, well-draining base. Skip proper compaction at any layer and you'll see uneven settling, cracked pavers, and gaps in joints within a year or two. Renting a plate compactor and using it thoroughly at each layer isn't optional, it's the difference between a patio that lasts 20 years and one that needs a redo in five.
Choosing the wrong surface material for your climate
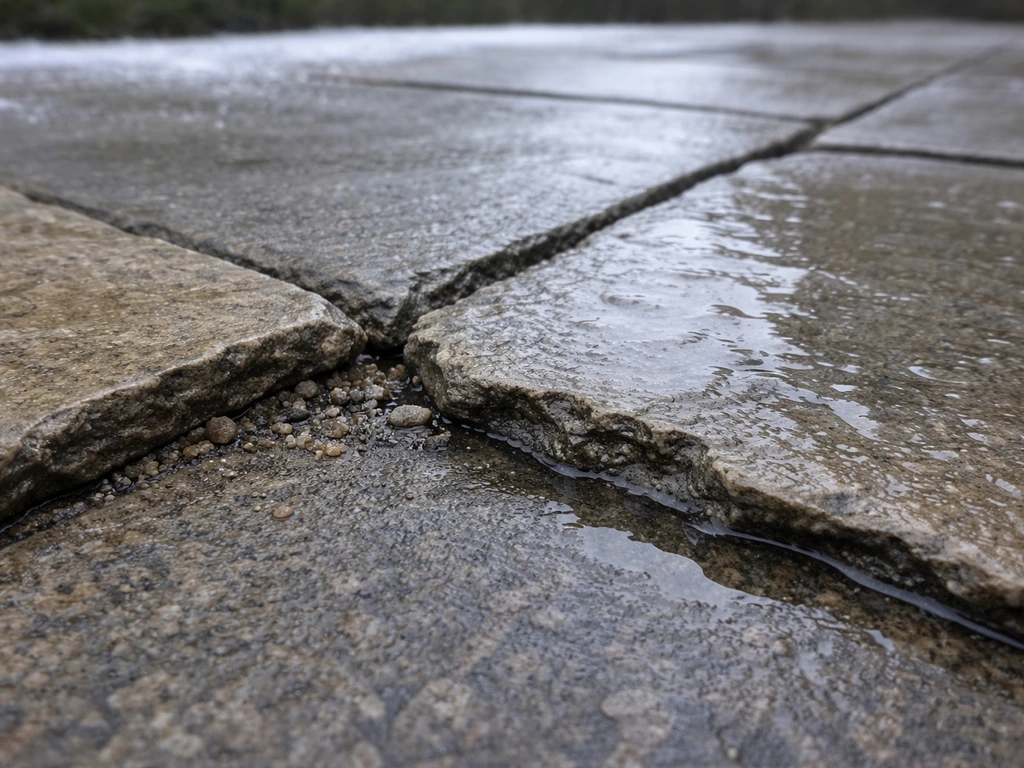
Not every beautiful material works in every climate. Natural stone that looks stunning in a showroom can crack, absorb water, and spall badly in a hard-freeze climate. Smooth porcelain tile can become dangerously slippery when wet. For any tile surface, look for a wet Dynamic Coefficient of Friction (DCOF) value of 0.42 or higher per ANSI A137.1 standards, as that's the recognized threshold for level surfaces expected to get wet. For freeze-thaw zones, prioritize materials with low water absorption rates and ask your supplier specifically about freeze-thaw cycle ratings before you buy.
Getting the joints wrong
Two joint mistakes show up constantly: skipping polymeric sand in favor of regular mason's sand, and applying polymeric sand incorrectly. Regular sand washes out, invites weeds, and lets pavers shift. Polymeric sand locks the joints, reduces weed intrusion, and helps with joint stability long-term. The catch: it has to go in correctly. Pavers need to be completely dry before you sweep it in, and you activate it with a precise wetting process rather than a casual mist. Minimum joint width is typically 1/8 inch (3 mm) for polymeric sand to work properly. Rush the application or do it on a humid day and you'll end up with a hazy, hardened film on your paver surface that's genuinely difficult to remove.
| Material | Best Climate Fit | Slip Risk When Wet | Freeze-Thaw Tolerance | Maintenance Level |
|---|---|---|---|---|
| Concrete Pavers | Most climates | Low to moderate (textured) | Good with proper base | Low |
| Natural Stone (granite, bluestone) | Most climates | Moderate (depends on finish) | Moderate to good | Moderate |
| Smooth Porcelain Tile | Mild climates | High (check DCOF ≥0.42) | Poor to moderate | Low to moderate |
| Textured Porcelain Tile | Mild to moderate climates | Low (textured surface) | Moderate | Low |
| Poured Concrete (broom finish) | Most climates | Low (textured) | Good with rebar/control joints | Low to moderate |
| Limestone / Travertine | Warm/dry climates | Moderate | Poor (absorbs water) | High |
Lighting, Privacy, and Comfort Oversights
Patio lighting that blinds instead of illuminates
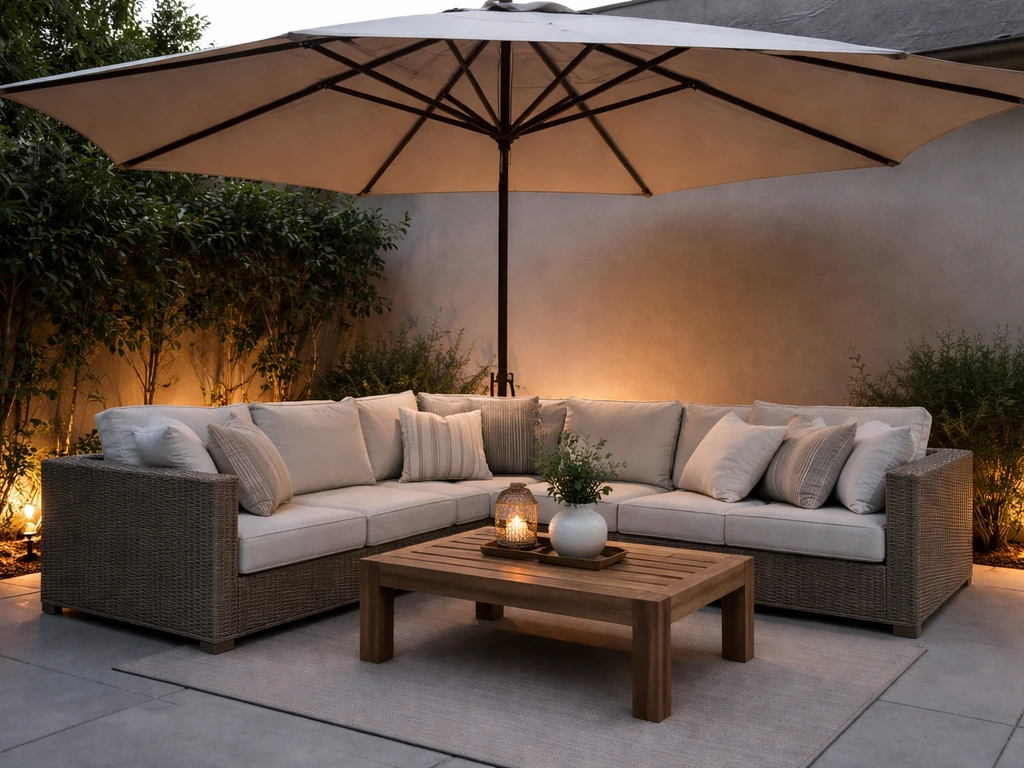
Outdoor lighting is one of the most overlooked parts of patio design, and the mistakes cut both ways: too much direct glare from spotlights aimed at eye level, or too little usable light because fixtures are badly aimed. Glare is a real problem with flood lights and spotlights pointed at face height. Use glare shields on directional fixtures and aim them downward.
For wall-mounted lights, designers typically recommend mounting the center of the fixture at roughly 60 to 72 inches from the floor, which helps push light into the space without blasting it directly into your guests' eyes. Layer your lighting: overhead for ambient coverage, low path lights for safety, and accent lighting for focal points like plantings or a feature wall.
No shade, no shelter
A patio with no overhead protection is essentially unusable for several months of the year in most climates, either too hot in summer afternoons or rained out in spring and fall. This is a comfort mistake that's easy to solve at the planning stage and significantly harder and more expensive to retrofit. If a pergola or shade sail isn't in the budget now, at least design the space with anchor points or post footings so you can add shade later without breaking up your finished surface. Think about sun angle too: a west-facing patio will be brutally hot from 2 p.m. onward in summer, which is exactly when most people want to use it.
Skipping privacy screening
A patio that feels exposed to neighbors or the street gets used less. Privacy screening doesn't have to mean a solid fence on every side, but some kind of enclosure element, whether a 6-foot privacy fence panel (the standard residential privacy height), a planted screen, a lattice wall, or a combination, makes the space feel like a room rather than just a patch of hardscape. Think about sightlines from neighboring windows and from the street, not just from within your yard, when you're planning screen placement.
Not zoning the space
Mixing dining, lounging, and grilling in one undifferentiated blob of hardscape makes every activity feel a bit awkward. Even on a modest patio, define zones with subtle cues: a slightly different paving pattern or border for the dining area, a rug or change in furniture scale for the lounge zone, enough separation from the grill that smoke doesn't blow directly at seated guests. Zoning doesn't cost more, it's a design decision made at the layout stage.
Budget and Contractor Planning Mistakes (DIY vs Pro)
Underestimating what things actually cost
The most consistent budget mistake is pricing materials only and forgetting about base prep, delivery, waste factor, and labor. Base preparation, the excavation, gravel, compaction, and sand, often represents 30 to 40 percent of a patio project's total cost. That's before a single paver goes down. Drainage fixes add up fast too: a professionally installed French drain averages around $5,000, with most homeowners paying somewhere between $1,650 and $12,250 depending on scope and site conditions. Build those numbers into your budget before you commit to a design, not after you get the first contractor quote.
Skipping permits and HOA checks
Patio projects that add covered structures, retaining walls, or significant impervious surface often trigger local permit requirements. HOAs frequently have rules about patio materials, colors, fence heights, and structure types. Finding out after the fact is expensive: you may have to remove work, redo it with compliant materials, or pay fines. A 15-minute call to your local building department and a review of your HOA CC&Rs before you start is genuinely worth it.
Misjudging the DIY vs. pro line
DIY patio work can save real money on smaller, straightforward projects, but the gap between DIY and professional results comes down to equipment and experience. Proper compaction of base layers requires a plate compactor run for extended periods across the entire surface, and doing that work by hand or with an underpowered tool is one of the top reasons DIY patios fail early. Be honest about what you're able to do well.
Laying a simple gravel patio or a small flagstone path: solid DIY territory. A large-format paver patio with complex drainage requirements in a freeze-thaw climate: worth getting professional installation for the base work at minimum, even if you handle the rest. Patio building tips and patio design budget tips are worth reading in depth before you finalize your plan.
Maintenance and Long-Term Wear Mistakes
Wrong cleaning methods for your surface
Two cleaning mistakes cause disproportionate damage. The first is using acid-based cleaners on natural stone. blank" rel="noopener noreferrer">Muriatic acid and other harsh solvents etch stone surfaces, strip finishes, and can even trigger rusting in some conditions. Always use acid-free, pH-neutral cleaners on natural stone. The second is pressure washing at too high a setting. High-pressure washing can strip polymeric sand right out of paver joints and damage softer stone surfaces. Start at the lowest pressure setting, keep the nozzle moving, and stop if you see jointing material coming loose. If you need to blank" rel="noopener noreferrer">re-apply polymeric sand after cleaning, do it before the next rain.
Ignoring the sealing schedule
Sealer is not a one-time application. Most pavers need resealing every 3 to 5 years, and more porous natural stones like travertine or limestone may need attention every 2 to 4 years depending on climate exposure. Skipping resealing lets stains penetrate deeper, allows water absorption to increase, and in freeze-thaw climates accelerates spalling and surface breakdown. Mark your calendar and check the surface annually: if water no longer beads on the surface, the sealer is due.
Letting vegetation take over joints
Weeds and moss growing in patio joints aren't just cosmetic problems. Root growth widens joints, destabilizes pavers, and once established is much harder to remove. Correct polymeric sand installation is your first defense, since it significantly reduces weed germination compared to regular sand. For existing patios with weed problems, manually remove what's there, treat with a patio-safe herbicide if needed, and re-apply polymeric sand to the joints before the problem reestablishes. This is one of the most cost-effective maintenance tasks you can do, and it's detailed in good patio maintenance tips resources.
Letting small problems compound
A single sunken paver, a small crack in a concrete pad, or a section of joint that's washed out are all cheap fixes when they're caught early. Left alone, a sunken paver causes adjacent pavers to shift, water channels through the low point, and by the time you address it you're relaying a significant section. The same is true for cracks in concrete: water gets in, freezes, expands, and a hairline crack becomes a structural fault. Walk your patio every spring and after any major storm and deal with small repairs before they grow.
Your Action Plan for a Better Patio
Whether you're fixing an existing patio or planning from scratch, work through these steps in order. Use these patio building tips to spot common planning, drainage, and base-prep issues before you commit to materials or a layout. Skipping ahead to the fun parts (materials, furniture, lighting) before the structural questions are answered is exactly how most of these problems start.
- Measure your existing or planned space and map furniture layouts to scale. Confirm you have at least 36 inches of clear traffic path and enough room for furniture plus push-back clearance.
- Check your drainage grade. Use a long level and a tape measure to verify the surface slopes away from the house at 1/4 inch per foot. If it doesn't, plan to re-grade or add a channel drain.
- Evaluate your base. If you have an existing patio with shifting or uneven pavers, probe the base quality before adding more material on top. In freeze-thaw climates, confirm your base depth is adequate, typically 7 to 9 inches total excavation.
- Confirm your material choices against your climate. Check slip resistance ratings on any tile surfaces, confirm freeze-thaw ratings, and match sealing requirements to your maintenance commitment.
- Plan your joints correctly from the start. Use polymeric sand, follow the dry-surface installation requirements, and make sure joints are at least 1/8 inch wide.
- Layer your lighting plan: ambient overhead, path lighting for safety, accent for character. Mount wall lights at 60 to 72 inches and add glare shields to directional fixtures.
- Add at least one privacy element and one shade solution, even if it's a future-ready anchor point for now.
- Check permits and HOA requirements before spending any money on materials or contractors.
- Build a realistic budget that includes base prep, drainage, and labor, not just materials.
- Set a maintenance calendar: inspect annually, reseal every 3 to 5 years, treat joints before weeds establish, and fix small problems immediately.
Getting these fundamentals right doesn't require a large budget or professional experience at every step. It just requires doing them in the right order and not skipping the unglamorous parts. If you're also thinking about the garden design around your patio or want to dive deeper into specific building techniques, there's more detail available in the garden patio how-to and patio building tips sections of this site. The patio you end up with, whether it's a simple concrete pad or an elaborate multi-zone paver installation, will last significantly longer and work significantly better if these mistakes are off the table from the start.
FAQ
How do I tell if my patio drainage problem is a slope issue or a clogged drain issue?
After a heavy rain, watch where water stands first and how fast it clears. If pooling happens immediately and stays for hours, it often means insufficient fall or a low “dish.” If water starts flowing but slows near an outlet, inspect downspout leaders, yard grading, and any intended drain points for debris or settling. A quick test is to pour a few gallons of water onto the highest section and see whether it runs consistently toward the low point.
What happens if my base excavation depth is correct, but compaction is uneven?
Uneven compaction usually shows up as localized rocking or soft spots rather than a uniform settlement. Walk the patio area with your weight shifting between pavers or slabs, look for dips that don’t match the overall grade, and check for joint sand loss concentrated in one band. Fixes typically require spot re-excavation and re-compaction in those zones, patching alone rarely lasts.
Can I use polymeric sand on top of old paver joints that already have regular sand?
Often you should not. Existing joints usually have residue and washed-out regular sand that can prevent proper polymeric activation and bonding. The practical approach is to remove loose material from joints (to a consistent depth), clean the surface carefully, then install polymeric sand with pavers fully dry and followed by the manufacturer’s precise wetting steps.
How wide should patio expansion joints be, and do I need them for small patios?
Expansion joints are commonly overlooked on smaller projects. Even if your surface seems simple, include joints where pavers or slabs meet structures (house, garage, retaining walls) and where sections are likely to move due to freeze-thaw. If you notice cracking patterns radiating from fixed edges, that can indicate missing or insufficient expansion space.
Is it safe to install pavers over an existing patio surface?
It depends on what’s underneath. If the existing surface is sound, you still need correct grade, drainage, and a properly compacted base. Many failures happen when installers go “over” without restoring fall or without adding the correct thickness for drainage layers, leading to trapped water and accelerated heaving in freeze-thaw zones.
How do I avoid a patio that looks level during construction but slopes incorrectly over time?
Plan for future settlement by checking grade after each compacted layer, not just after bedding sand. Confirm the final slope with a straightedge and level, then verify drainage direction before pavers go down. If the base shifts, re-level early, because once pavers are set, correcting grade usually requires lifting and resetting a significant portion.
My pavers feel firm in the center but loose near the edges. What’s the most common cause?
Edge restraints are frequently missing or undersized, so the perimeter shifts first when loads and freeze-thaw cycles expand and contract the base. Look for weak edging, inadequate bedding thickness near the border, and joints that were filled differently at the edges. The fix usually involves improving edge containment and reworking the perimeter base.
What’s a good way to design lighting so it doesn’t create glare at night?
Start by placing lights so they illuminate surfaces, not faces. Use downward aiming, glare shields on directional fixtures, and avoid mounting too high for spotlights that create a visible beam. A simple decision aid is to check the fixture line of sight from where you’ll sit at the table and from common walking routes, then adjust before final wiring or landscaping changes.
How can I tell if my sealer choice is compatible with my patio climate and stone type?
Match sealer to surface porosity and freeze-thaw exposure. If the patio stays wet longer or you see darkened staining after rain, you likely need a sealer that resists water absorption rather than one that only enhances color. Also verify whether your stone is already sealed, because layering the wrong product can cause uneven sheen or reduced effectiveness.
When should I re-sand joints, and how do I prevent overfilling or washing out?
Re-sand only when joints have visibly lost material or when joints feel hollow under light pressure. Apply when the weather and temperature allow the sand to properly set, and avoid soaking the area right after installation. If your area gets heavy rainfall quickly after installation, consider temporarily protecting the surface so polymeric sand activation is not interrupted.
What’s the best first step if weeds are already established in patio joints?
Remove what you can mechanically first, including roots that are visible and loosened material from joints. Then treat with a patio-safe herbicide if needed, and only after the joints are clean and dry should you re-fill with polymeric sand. The key mistake is re-sanding without clearing viable weed material, which leads to fast re-growth.
How do I decide between fixing small isolated damage and redoing a section?
If damage is limited to individual pavers, a localized lift and reset with base correction usually works. If you see a pattern, like repeated movement across a band, joint washouts, or multiple sunken points that share a drainage direction, it often indicates a broader base or grading problem. In those cases, redoing the affected zone is usually cheaper than repeated patch fixes.