
If you're working on a pool-and-patio project right now, here's what to do today: start with a quick safety audit, take your measurements, clear and clean the surface, then lock in one or two layout decisions you've been putting off. You don't need a full renovation plan to make real progress. A focused few hours today can make the space noticeably safer, more usable, and easier to improve from here.
Today’s Pool & Patio: Quick Plan and Tasks Checklist

Miles Sutton
4 May 2026
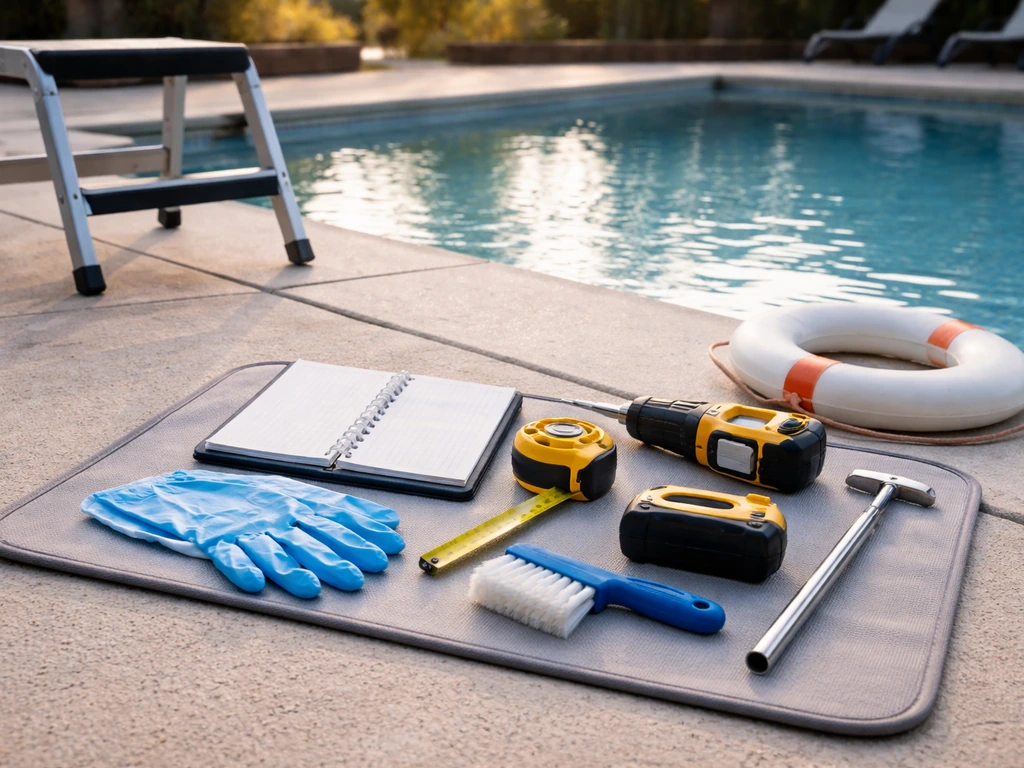
What 'today' actually means: define your goal first
Before you grab a tool or move a chair, spend five minutes getting clear on what kind of 'today' this is. Are you prepping the pool deck for the season? Trying to fix a specific problem like poor drainage or unsafe surfaces? Or are you in the middle of a larger build and need to decide what to tackle next? Your answer changes everything about where to start.
The three most common 'today' scenarios for pool-and-patio owners are: (1) seasonal opening prep, where the space needs cleaning, safety checks, and furniture staging before it gets real use; (2) quick fixes during peak season, where something isn't working and needs an immediate solution; and (3) active design decisions, where you're mid-project and need to make choices about layout, materials, or flow before work can continue. To make sure your build stays high quality, you should also pay attention to the quality pools and patios materials and setup details that support long-term durability. This guide covers all three, so skip to whatever fits your situation right now.
Set one concrete constraint before you start: how much time do you actually have today? Two hours of focused work is very different from a full weekend. Knowing your window helps you triage the checklist below and avoid the trap of starting three things and finishing none.
Today's checklist: measurements, layout, and safety prep
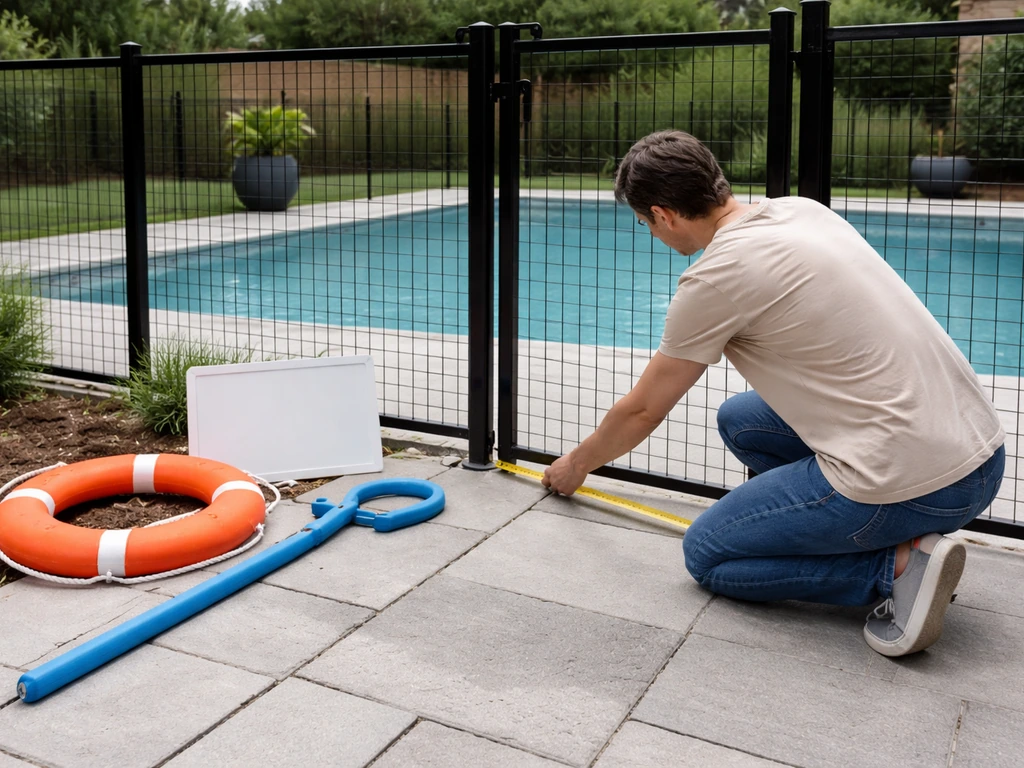
Run through this checklist in order. The first items are safety-critical, so don't skip ahead to the fun stuff.
- Check your pool barrier: the CDC recommends a four-sided fence that fully encloses the pool and separates it from the house, not just the yard boundary. If yours doesn't do that, note it as a priority fix.
- Inspect the gate: according to CPSC guidelines, pool access gates should open outward (away from the pool) and be both self-closing and self-latching. Test yours right now. If it doesn't close and latch on its own, fix or replace the hardware today.
- Walk the patio perimeter and look for cracked, lifted, or uneven pavers or concrete slabs. Flag anything that's a trip hazard with tape or a paint marker so you don't forget it.
- Check your electrical setup: no extension cords near the water, no outlets without GFCI protection, no power strips sitting on the deck. The CPSC is explicit that electrical hazards around wet areas are a serious risk.
- Measure the patio dimensions: length, width, and the distance from the pool edge to each boundary (fence, house wall, garden bed). Write these down. You'll need them for every layout and furniture decision.
- Note the sun path: stand in the space and identify where shade falls in the morning vs. the afternoon. This tells you where to position seating and where shade structures will actually help.
- Identify the traffic flow: where do people enter from the house, walk to the pool, and exit to dry off? Mark any spots where that path crosses furniture or creates congestion.
Quick wins for pool and patio usability right now
These are the tasks that take under an hour each and make the biggest immediate difference to how the space feels and functions. Do as many of these today as your time allows.
Cleaning and surface prep
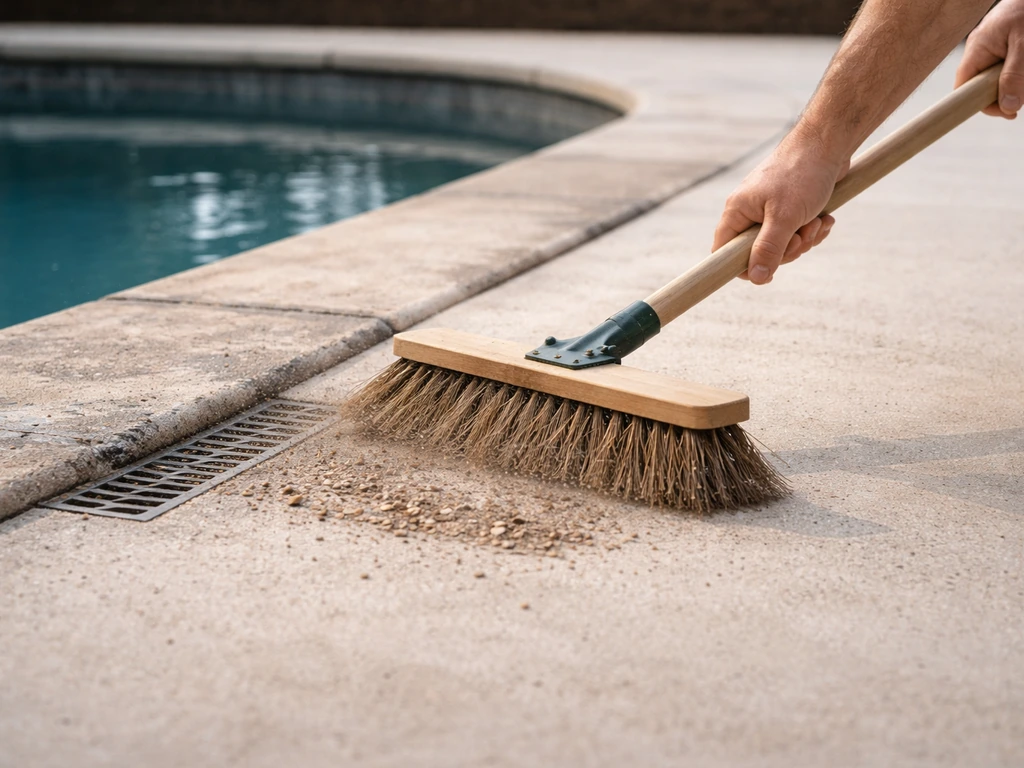
Sweep and blow off the entire patio surface first, including the edges near the pool coping. Debris trapped near the water gets tracked in and clogs drains faster than you'd expect. After sweeping, rinse the deck with a garden hose and watch where water pools or runs slowly. That tells you exactly where your drainage problem spots are before you start arranging anything.
If you have concrete or pavers, a quick pass with a diluted deck cleaner and a stiff brush removes algae and mildew buildup that makes surfaces slippery. Don't skip this step if the space hasn't been used in a few months. Let it dry completely before putting furniture back.
Staging and furniture
Pull all the furniture off the deck, even temporarily, so you can clean the surface and then place things intentionally rather than just putting them back where they were. Group seating into zones: one near the pool for wet lounging, one away from the water for dry conversation or dining. Leave at least 36 inches of clear walkway between any furniture grouping and the pool edge so people aren't stepping around chairs to get in or out.
Surface care specifics
If you have a stamped concrete or brushed concrete deck, check for sealer wear. A simple water bead test tells you everything: pour a small amount of water on the surface. If it soaks in within a few seconds instead of beading up, the sealer needs reapplication. A basic concrete sealer runs about $30 to $60 for a one-car-garage-sized area and can be applied in an afternoon once the surface is clean and dry.
Design and layout choices you can lock in today
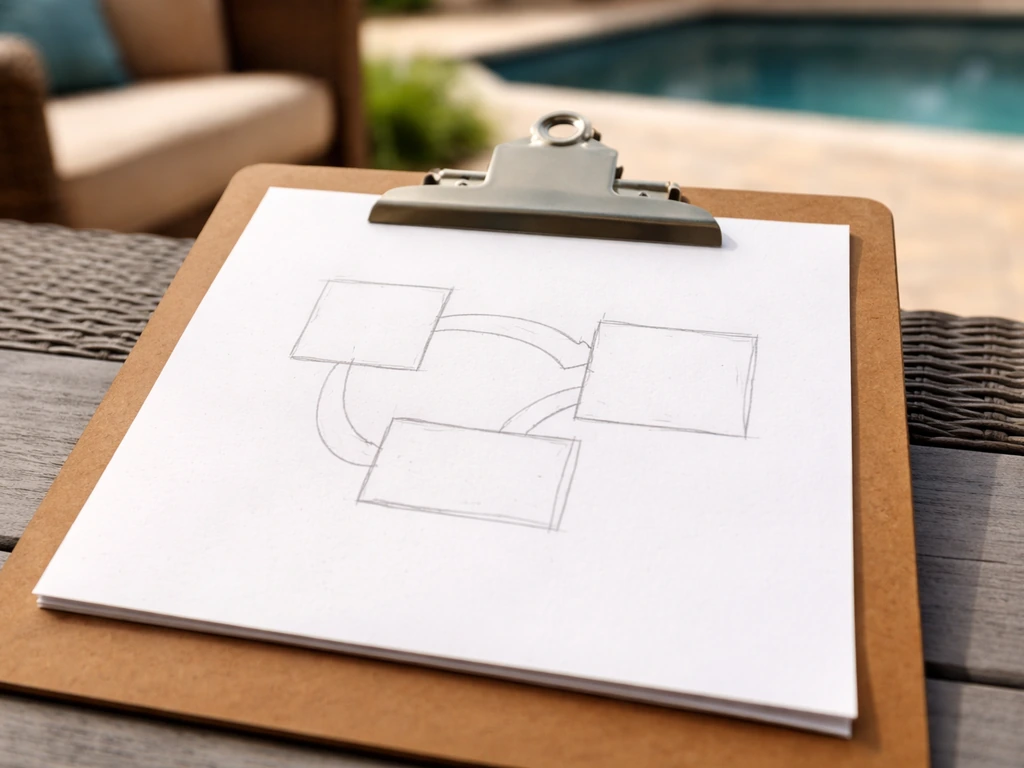
A lot of pool-and-patio projects stall because homeowners keep delaying layout decisions. Today is a good time to make a few of these final, so the rest of the work can follow a clear plan.
Traffic flow
Draw a simple sketch of your space (doesn't have to be pretty) and mark the main entry point from the house, the pool entry points, and where people go after swimming (towel area, seating, shade). Good patio flow means these paths don't cross furniture or require people to squeeze past each other. If your current layout forces that, move the furniture groupings so the main walkways stay open. A clear 4-foot path from the house to the pool is the standard to aim for.
Seating zones
Divide your patio into at least two functional zones: a wet zone (pool chairs, loungers, a small side table) and a dry zone (dining table, conversation chairs, grill area if you have one). The wet zone sits within 6 to 8 feet of the pool edge. The dry zone should be far enough back that splash doesn't reach it constantly, usually 10 to 15 feet depending on your pool size. If your patio is small and that's not possible, a simple outdoor rug in the dry zone helps visually separate the spaces.
Shade
Based on the sun path you noted during your checklist walk, decide where your primary shade structure goes. A freestanding cantilever umbrella (around $150 to $400) can be placed anywhere without needing anchoring into the deck and repositioned seasonally. A shade sail covers a larger area for similar cost but needs anchor points. A pergola is the most durable and attractive option but requires a full day's work or professional installation. If you're not sure yet, start with an umbrella today and treat it as a placeholder while you finalize a bigger shade plan.
Slip safety, drainage, and weather considerations
Slip hazards are the number one injury risk on a pool deck, and most of them are preventable with steps you can take today. Wet feet on smooth concrete or glazed tile are a dangerous combination. Here's how to address each layer.
Surface slip resistance
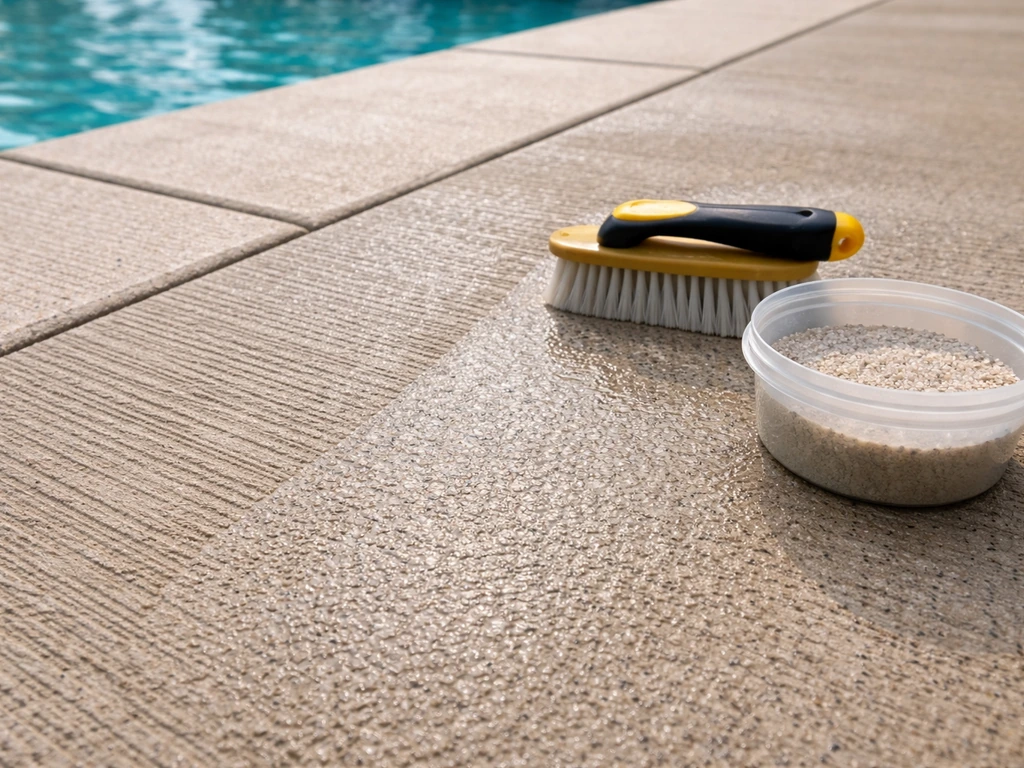
The safest pool deck surfaces are brushed concrete, textured pavers, or natural stone with a honed (not polished) finish. If your current surface is slippery, an anti-slip additive mixed into a fresh sealer coat is the easiest fix. Products like Shark Grip or H&C SharkGrip Slip Resistant Additive cost about $10 to $20 and mix directly into your sealer. For immediate temporary protection, anti-slip deck tape strips can be applied to the worst spots in about 20 minutes.
Drainage
Go back to those water pooling spots you identified during cleaning. Standing water near the pool creates both slip risk and algae growth. If you're transforming a patio where pool used to be, focus on grading and drainage so the surface stays safe and doesn't trap water. Minor drainage issues (water that clears in 15 to 20 minutes) can sometimes be improved by repositioning furniture so it doesn't block natural runoff paths, or by adding a small channel drain near the problem area. If water sits for hours or collects near your house foundation, that's a grading problem that needs a professional to assess.
Weather and seasonal readiness
If you're in a region with significant summer storms, check that your patio furniture is either weighted, anchored, or easy to store quickly. Umbrella bases should weigh at least 50 pounds for a standard 9-foot umbrella; go to 75 pounds or more for anything larger. Lightweight furniture gets dangerous in wind. Consider whether any of your current pieces need sandbag weights or storage clips added.
Basic lighting and comfort upgrades for immediate impact
Lighting is one of the fastest and cheapest ways to transform how a pool-and-patio space feels, and most of the good options require zero electrical work.
- Solar path lights along the patio perimeter or pool fence line improve safety after dark and cost $20 to $60 for a set of 8 to 12. They're stake-and-done, no wiring needed.
- String lights hung between the house and a pergola post, or strung along a fence line, add warmth and ambiance immediately. LED outdoor string lights in a 50-foot run cost about $25 to $50 and plug into any outdoor outlet.
- A simple outdoor fan clamped to a pergola beam or umbrella pole makes a shaded seating area dramatically more comfortable on hot afternoons. Look for a 12V DC fan that runs off a USB battery bank if you don't have an outlet nearby.
- Outdoor floor pillows or weather-resistant poufs fill in seating gaps without the cost of additional furniture, and they stack away easily.
- A towel bar or hook rail mounted to the fence or exterior wall near the pool keeps towels off chairs and floors, a small thing that immediately makes the space feel more organized.
On the electrical side, if you're adding any hardwired lighting, outlets, or anything connected to a switch near the pool, stop and call an electrician. CPSC advises using outlets protected by GFCI, which shuts down power in milliseconds when it detects electrocution or burn hazards blank" rel="noopener noreferrer">GFCI outlets shut down power in milliseconds when they detect electrocution or burn hazards. The CPSC is clear that blank" rel="noopener noreferrer">electrical hazards around water are serious, and GFCI outlets within 20 feet of the pool are code in most jurisdictions. This is not a DIY area to improvise.
DIY vs. hiring a pro: when to escalate and who to call
Most of what's in this guide is genuine DIY territory. But there's a short list of things where calling a pro today is the right move, not because the task is complicated, but because getting it wrong creates real risk or expensive repairs.
| Task | DIY or Pro? | Why |
|---|---|---|
| Gate hardware replacement (self-latching) | DIY | Hardware is inexpensive and installs with basic tools in under an hour |
| Anti-slip sealer application | DIY | Straightforward if the surface is clean and dry; follow manufacturer dry time |
| Furniture staging and layout | DIY | Your measurements and sketches are all you need |
| Solar or plug-in lighting installation | DIY | No wiring involved; just stake, clip, or hang |
| Grading and drainage correction | Pro | Improper grading redirects water toward the foundation; needs a landscape contractor |
| Hardwired lighting or new electrical outlets | Pro | GFCI code compliance near water; electrocution risk if done incorrectly |
| Pool barrier installation or modification | Pro (verify local code) | Fencing specs vary by municipality; permits often required |
| Cracked concrete slab repair (structural) | Pro | Surface patching is DIY; cracks from settling need a concrete contractor |
| Pool equipment (pump, heater, filtration) | Pro | Licensed pool tech required in most states for anything beyond basic maintenance |
When you do call a pro, ask three things upfront: Are they licensed and insured for this specific type of work? Can they give you a written estimate before starting? And have they worked on projects in your area (which matters for local code knowledge)? For patio-specific work, look for contractors who specialize in outdoor hardscape rather than general contractors, since they'll move faster and have the right materials on hand.
If you're comparing service providers or exploring what a more finished pool-and-patio setup looks like, it's worth knowing that specialty retailers and showrooms (like patio outlets that carry both hardscape materials and pool accessories) can be useful resources for seeing layout options in person and getting material recommendations tailored to your climate. If you want to browse inventory and compare options, today's pool and patio outlet guides can help you zero in on the right materials and accessories outlets. If you want to compare products and accessories in person, search for today's patio outlet options that carry what you need for hardscape and comfort upgrades patio outlets. That kind of hands-on guidance can help you make faster decisions on things like surface materials and furniture scale before you commit.
Your actual next steps, in order
- Run the safety checklist: fence, gate, electrical, trip hazards. Fix anything critical before doing anything else.
- Take your measurements and sun-path notes. Write them down somewhere you'll actually keep them.
- Clean and inspect the surface. Do the water bead test. Flag drainage spots.
- Stage furniture in two clear zones with open walkways.
- Add one or two lighting or comfort upgrades from the quick-wins list.
- Make a decision on shade and note it as locked in.
- Write down anything from the checklist that needs a pro, and make one phone call today to get that process started.
You don't need to do everything today. But working through this list in order means the most important things get done first, and you end the day with a space that's meaningfully safer and more usable than when you started. That's a solid day's work on any pool-and-patio project.
FAQ
If I only have 30 to 60 minutes today, what should I do first for the biggest safety impact on a pool deck?
Focus on slip and drainage. Sweep and rinse to identify pooling spots, then treat the worst slippery areas with temporary anti-slip deck tape if you see glaze-like smoothness or algae residue. If you can only do one thing after cleaning, do the water bead or pooling check before moving any furniture back.
How do I tell the difference between normal drainage and a true grading problem?
Use the timing you observed after rinsing. If water clears in roughly 15 to 20 minutes, it may be fixable with runoff-path changes. If it sits for hours, collects toward the house foundation, or appears to reverse direction after rain, treat it as a grading issue and get a drainage assessment before investing in surface fixes.
Can I clean and reseal the patio in the same day?
Often you should not. Cleaning can leave moisture and residues that interfere with sealer bonding. If you rinse, wait until the surface fully dries (including checking that no dark patches remain). For best results, resealing is typically a next-day task after thorough drying.
What if my deck is concrete but already has patches, cracks, or damaged sealer?
Don’t rely only on a water bead test. Address any loose or failing sealer and check for cracks that might hold water. If you see ongoing breakdown or uneven wetting that keeps returning after rinsing, treat it as a surface condition problem, not just reapplication, and consider professional evaluation before adding anti-slip additive or new sealer.
Where should I place the wet zone and dry zone if my patio is very small?
Keep the wet zone as close to the pool edge as practical, but avoid placing frequently splashed seating in the same footprint as dining or foot-traffic paths. If you cannot maintain a 10 to 15 foot dry-zone separation, use a physical visual buffer like an outdoor rug and keep clear walkway space between groups so people do not cut across chairs.
I’m planning furniture for around the pool, how do I avoid blocking drainage lines?
When you rinse and watch water movement, mark where runoff travels. Place furniture so it does not sit over those natural paths, especially near standing-water “hot spots.” If you must position pieces near problem areas, aim to keep them slightly off the most pooling points rather than directly covering the runoff route.
Are umbrellas safe during wind if I only use sandbags sometimes?
A safer approach is to base the plan on your typical storm exposure. If storms are common, keep umbrella bases weighted at all times when the umbrella is deployed, not just occasionally. For larger umbrellas, increase weight beyond a standard base and consider storage clips or quick storage routines so the umbrella can be secured or removed fast.
What’s the simplest lighting setup that avoids electrical work near the pool?
Choose low-voltage, landscape-style fixtures that do not require adding outlets or hardwiring. These can often be routed and placed without trenching or switch wiring. If any lighting will be connected to a switch or power circuit near the pool, stop and use a licensed electrician instead.
I want to repaint or refinish the deck surface to improve grip, can I do it myself over existing finishes?
Only if the surface is stable and compatible with the coating. Start by checking whether the current finish is still bonded and whether it beads, smears, or flakes after cleaning. If you see peeling, widespread failure, or persistent pooling, it’s safer to correct substrate and drainage first, then plan a surface system designed for wet areas.
How should I choose between an umbrella, shade sail, and pergola when I’m still deciding layout?
Treat the smallest commitment as temporary. Use a cantilever umbrella as a place-holder when your main layout is uncertain, because it can be repositioned. Shade sails require anchor points, so confirm where the anchors can go without interfering with paths or drainage. Pergolas are durable but less flexible and usually require a longer schedule, permits, or professional installation.
When should I involve a pro, even if I’m trying to keep it DIY?
Call a pro if your water stays for hours, affects the foundation side, or requires drainage repair beyond minor runoff adjustments. Also involve a licensed electrician for any hardwired lighting, outlets, or switch-controlled power near the pool, since mistakes create high risk and code issues. For structural or code-sensitive work like pergola installations, get local confirmation before committing.