
A circular patio works best when it has a clear center, flows naturally from your house, and is sized so the furniture doesn't feel crammed or lost. If you want a quick Portland patio guide for planning and layout, focus first on the center focal point, the connection path to the house, and the right sizing circular patio. The five layouts that consistently deliver great results are: a firepit-centered seating ring, a curved dining patio with a canopy or pergola, a standalone lounge circle connected by a pathway, a built-in seating-wall ring with a central feature, and a layered multi-zone circle that anchors a larger yard. If you want inspiration before you pick a layout, these patio design examples show how different centers, paths, and zones come together The five layouts that consistently deliver great results. Pick the one that matches how you actually use your outdoor space, then build it right the first time.
Circular Patios: Five Great Examples and How to Plan Yours

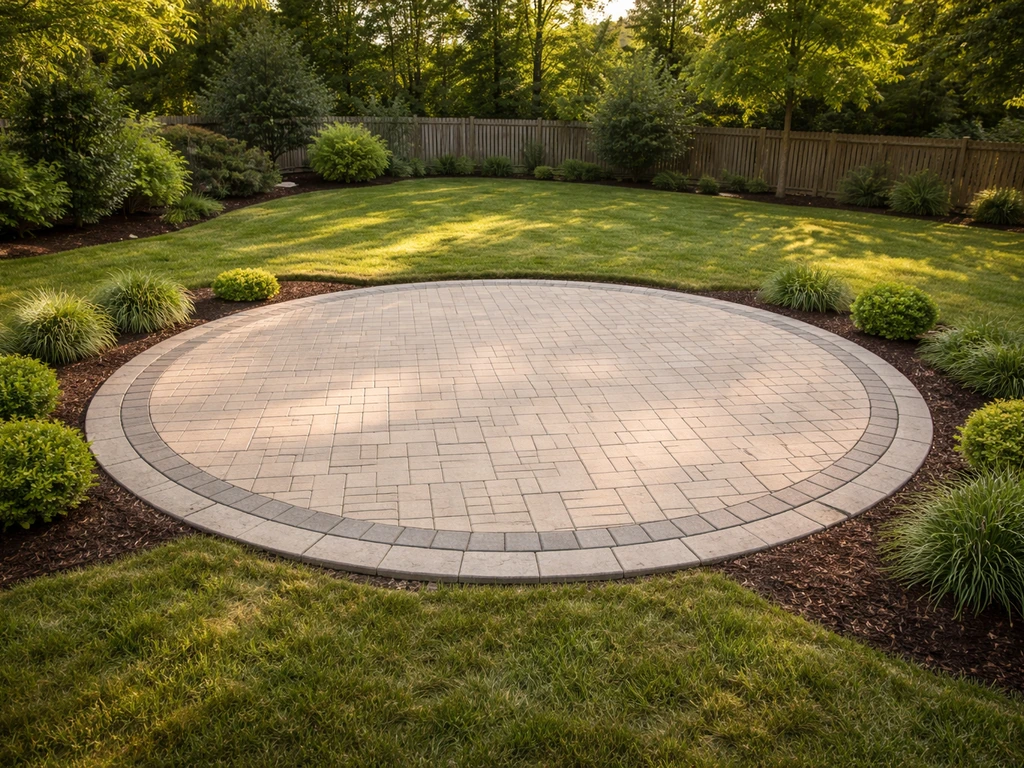
What makes a circular patio actually work
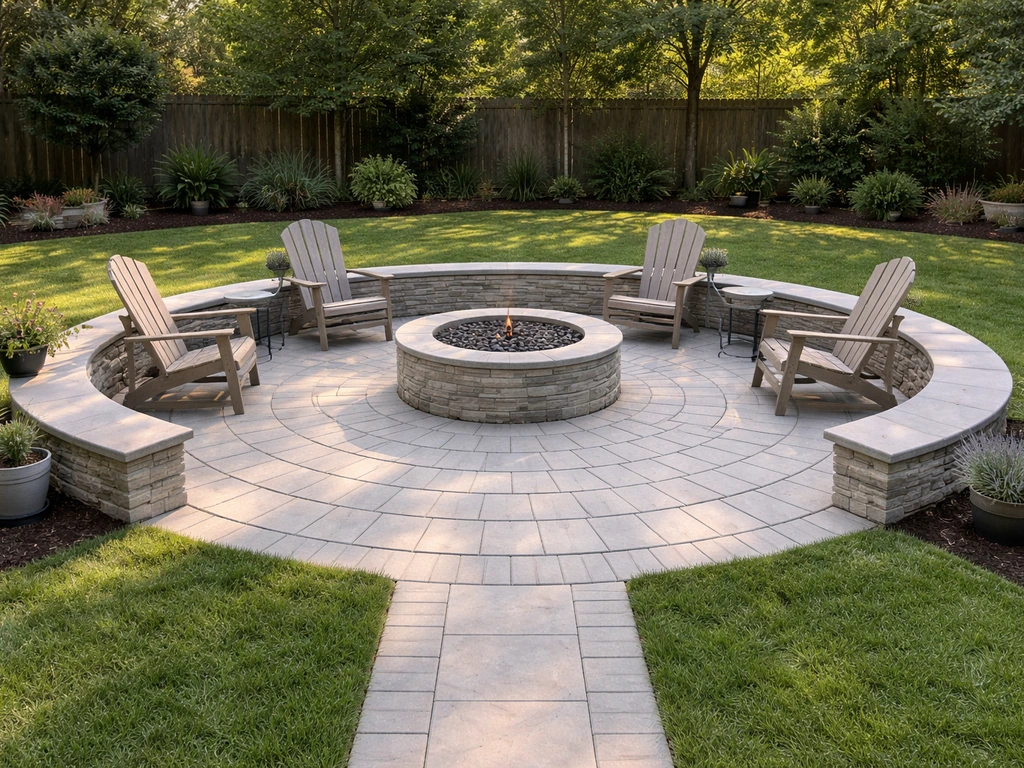
The shape itself isn't the hard part. What separates a circular patio that looks intentional from one that looks awkward is a few basic design rules that are easy to get right if you know about them ahead of time.
First, every great circular patio has a center focal point. It doesn't have to be a firepit, but it should be something: a planter, a table umbrella, a water feature, or a fire element. When the eye lands in the middle, the whole circle reads as deliberate. Without it, you just have a round slab with furniture pushed to the edges.
Second, the patio needs a clear path back to the house. A circle that floats in the middle of the yard without a walkway or a defined connection to your back door feels like an island rather than an outdoor room. A stepping-stone path, a paver walkway, or even a mown grass strip will do the job. The access route makes the patio feel used rather than decorative.
Third, think about sight lines and privacy before you finalize the location. A circle positioned in the corner of a yard with a fence or plantings on two sides naturally creates a sense of enclosure. One plopped in the center of an exposed lawn can feel exposed and windy. Even a low seating wall or a row of ornamental grasses on one arc of the circle changes the feel completely.
Five great circular patio layouts
1. The firepit-centered seating ring
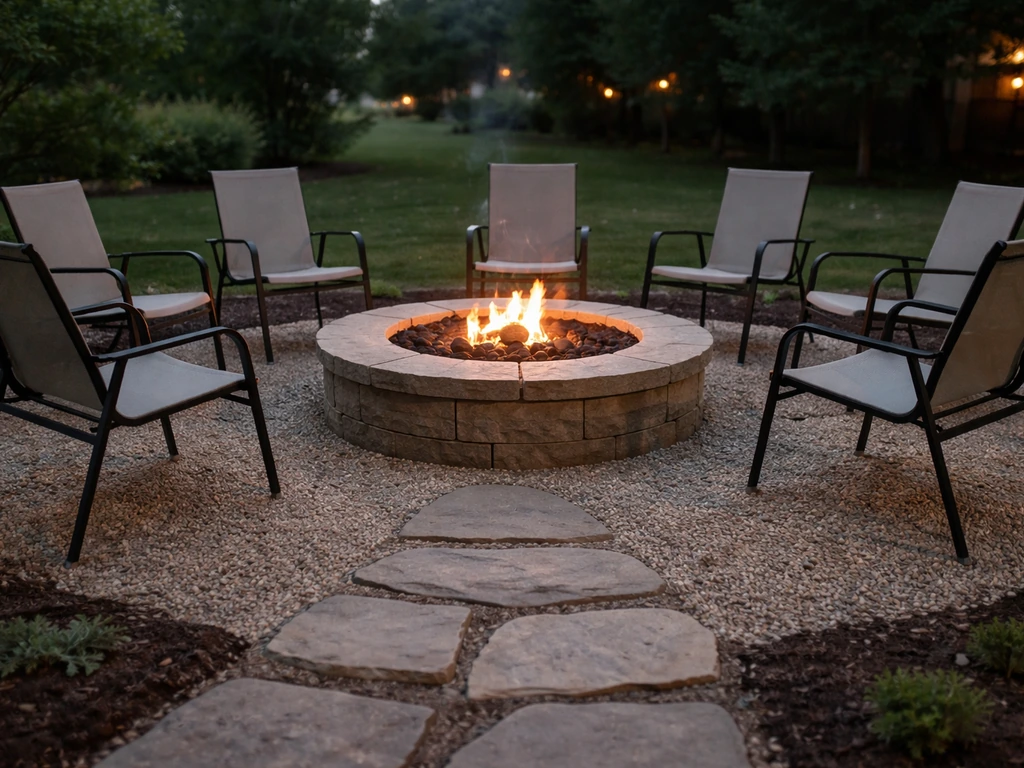
This is the layout that probably comes to mind first, and for good reason: it works. A circular or octagonal firepit sits dead center, and the patio radius gives everyone a comfortable seat around it. A 50-inch outside-diameter firepit kit is a common starting point, and the patio itself needs to be large enough so chairs aren't too close to the flame. Plan for at least 18 to 24 inches between the firepit edge and the front of seated knees, then add seating depth and a walkway perimeter behind the chairs. A finished patio diameter of 14 to 16 feet handles four to six chairs comfortably. Projects like the Jansen covered patio in Gig Harbor paired Roman dominion pavers with a central circular firepit, then added a cedar-and-metal roofing cover overhead. The tumbled-paver-and-curved-seating-wall approach used by Kentucky outdoor hardscape contractors is another variation: the firepit sits center stage and a low curved retaining or seating wall defines the outer ring, giving guests a place to perch and giving the patio a finished edge.
2. The pergola or canopy circle
Take the firepit ring concept and swap the center feature for a dining table, then add a shade structure overhead and you have a completely different mood. A pergola positioned over a circular patio looks especially good because the round shape softens the boxy structure above it. The patio acts as a visual base for the pergola rather than just a floor. Rough-cut western red cedar is a durable, weather-tolerant lumber choice for the overhead structure, and ribbed metal roofing adds coverage without a heavy look. For the patio itself, you want at least a 12-foot diameter to fit a 48-inch round dining table plus chairs with 36 inches of clearance around the table edge, and ideally 14 feet to give you comfortable pull-out room. If you're also building a flagstone patio with built-in seating walls and a pergola above, that built-in seating reduces the floor clutter and can actually make a slightly smaller circle feel more generous.
3. The pathway-connected lounge circle
This layout works especially well for properties where the backyard is a distance from the house, or where you want a destination space rather than an extension of the back door. A large paver walkway leads from the house or a transition zone directly into the circular patio area. The walkway itself can be straight, curved, or a stepping-stone style depending on the aesthetic. The key is that the pathway arrival feels intentional: you walk toward something, not just away from the house. The circular patio at the end can be simple, a ring of pavers around a central planter or low fire bowl, because the journey to it does most of the design work. Projects in the Pacific Northwest using broom-finish concrete walkways feeding into circular paver patios, and lakeside projects using stepping-stone access paths to fire-pit-centered seating areas, both illustrate how the connection transforms the experience.
4. The built-in seating-wall ring
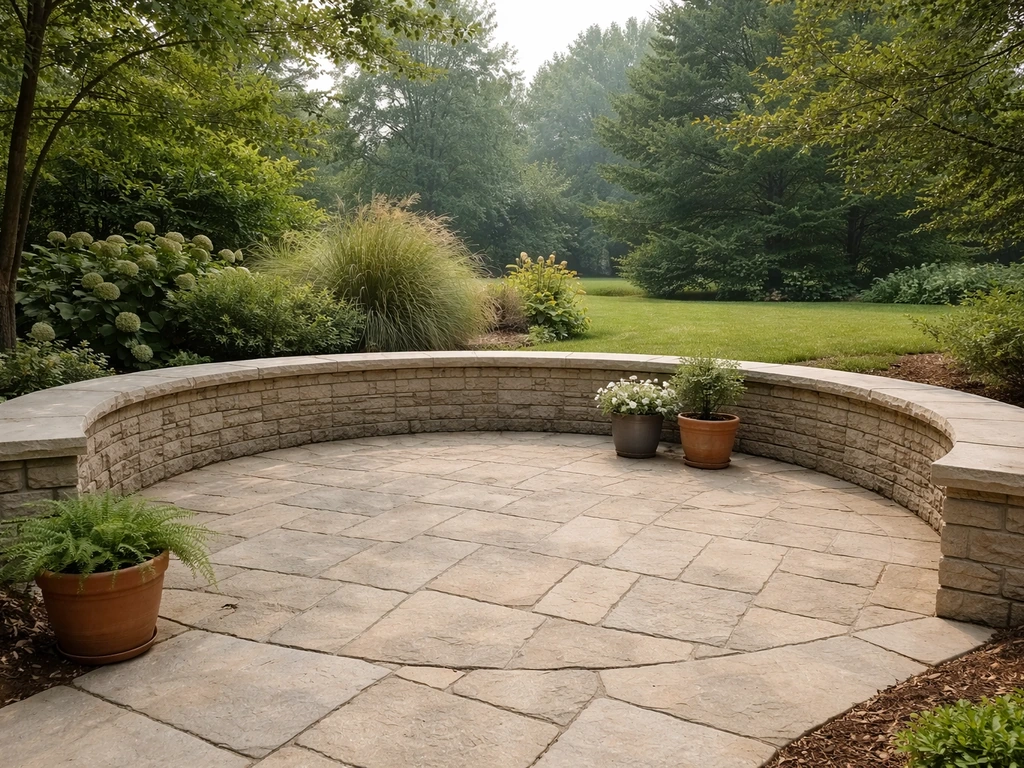
Instead of movable furniture, this layout uses a low masonry seating wall (typically 17 to 19 inches tall, which matches bench height) to define the outer arc of the circle. The patio surface fills the interior, and a central feature like a firepit, planter, or sculpture anchors the middle. This is one of the best approaches for maximizing seating capacity in a modest footprint: a 16-foot-diameter circle with a built-in wall around the perimeter can seat 8 to 10 people without any chairs getting pushed around or tipping on uneven ground. Tumbled pavers for both the floor and the seating wall cap create a cohesive, textured look. The wall also doubles as a natural edge restraint for the patio, which simplifies the build slightly when the geometry is tricky.
5. The multi-zone layered circle
This is the most ambitious layout and the one that suits larger yards or homeowners who want the patio to do multiple jobs. A primary circular zone, usually a firepit or lounge area, sits at the center or one end, and a secondary curved zone for dining or a grill station flows off one arc. The two zones share a material palette but are connected by a curved step, a grade change, or simply a different paver pattern direction. A layered Belgard paver project with a coordinated border system and curved stairway is a good reference for how seamlessly connected circular and curved zones can feel. The key to pulling this off is keeping the same paver or stone material throughout and using the pattern direction or border color to define where one zone ends and another begins. Without that visual cue, a multi-zone patio just looks like a big shapeless slab.
Sizing and spacing: proportions that won't look awkward
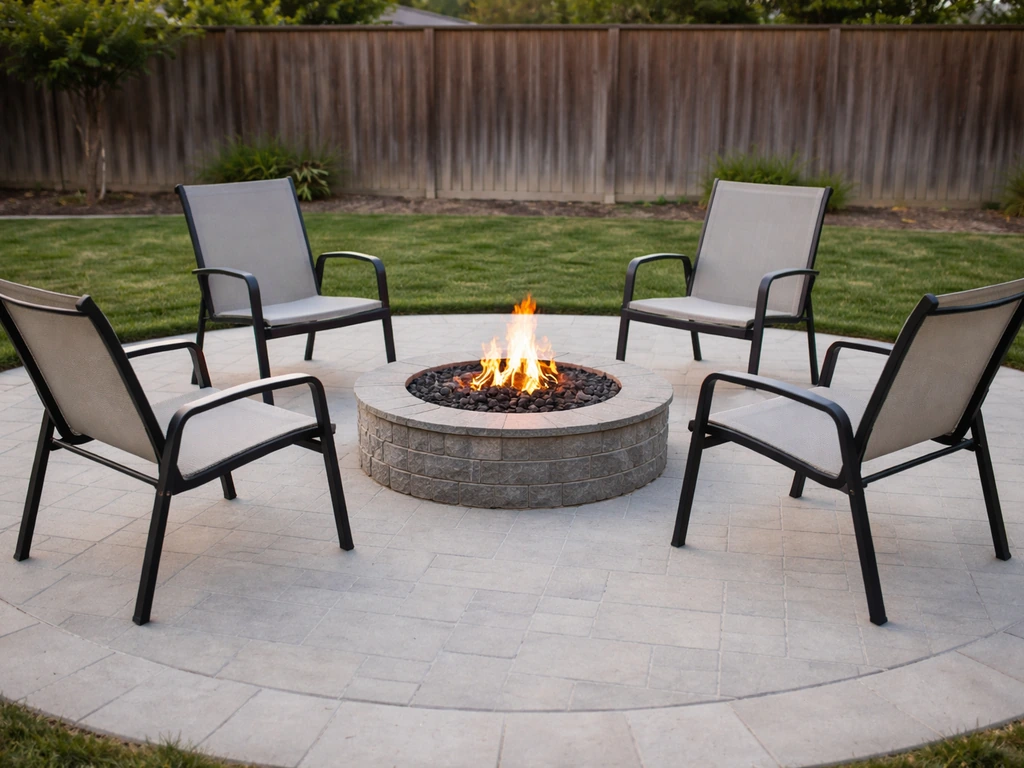
The most common sizing mistake with circular patios is going too small. If you are looking for small patio examples, focus on a single-zone circular layout with a compact center feature and enough clearance for comfortable chair pull-out. A 10-foot diameter sounds generous until you put a 48-inch round table and four chairs in it and discover there's no room to push a chair back without hitting the edge. Here's a practical formula: start with your table diameter, add the depth of a pulled-out chair on each side (roughly 18 inches per side), then add 12 to 18 inches of perimeter clearance for a walkway path around the furniture. For a standard 48-inch table with four chairs, that gets you to roughly 12 to 13 feet minimum, and 14 feet is much more comfortable.
| Use Case | Recommended Diameter | Seats |
|---|---|---|
| Firepit with chairs, no table | 14–16 ft | 4–6 |
| Round dining table (48 in) + chairs | 13–14 ft | 4–6 |
| Built-in seating wall ring + center feature | 16–18 ft | 8–10 |
| Pergola-covered dining circle | 14–16 ft | 4–8 |
| Multi-zone lounge + dining | 20+ ft (combined) | 8–12 |
For firepit layouts specifically, you need at least 18 to 24 inches from the outside edge of the pit to where knees will be when seated. That buffer is a comfort and safety standard. Don't shrink it to save patio square footage. And keep the outer perimeter of the patio at least 36 inches wide as a walkway path so people can move around the seating ring without squeezing past each other.
One proportional tip that pros use: the center feature should be roughly one-third to one-quarter the diameter of the total patio. A 50-inch firepit on a 14-foot (168-inch) patio is about right. A 50-inch firepit on a 10-foot patio is going to look oversized and leave almost no clearance.
Materials and finishes that work for curved designs
Not every patio material handles curves equally well. The best choices for circular patios share one characteristic: they can be cut or laid in a way that follows a radius without looking forced.
Concrete pavers
Interlocking concrete pavers are the most popular choice for circular patios, and for good reason. Many manufacturers sell dedicated circle kits where the pavers are already cut to follow a specific radius, so you're not trying to cut curves on site with every piece. Tumbled pavers add a natural texture that fits organic, curved shapes better than sharp-edged modern pavers. For the pattern, running the pavers in a fan or pinwheel pattern from the center outward visually reinforces the circular geometry. Edge restraints are essential: the curved perimeter needs a solid border to prevent the whole assembly from spreading over time, and the base needs to extend a few inches beyond the restraint so the spikes have material to grip.
Natural stone and flagstone
Flagstone works beautifully for circular patios when you want a more irregular, natural look. The irregular shapes of flagstone pieces actually make cutting a circle easier in some ways: you can fit the pieces to the perimeter more naturally than trying to cut square pavers. The trade-off is that flagstone on a sand base can shift, and a circular flagstone patio on a mortar bed over concrete is a more involved installation. Budget more for labor if you go this route.
Stamped concrete
Stamped concrete is a legitimate option for circular patios, especially for the multi-zone layered layout where the curves need to flow continuously. A contractor can pour and form a circle or any curved shape and then stamp a pattern on the surface. Costs run from $8 to $28 per square foot depending on pattern complexity and color, with a national average project cost around $5,000. The downside is that stamped concrete will eventually crack, and repair patches are visible. Make sure the surface finish has a wet DCOF (dynamic coefficient of friction) of at least 0.42 for safe footing when it's wet, per ANSI A137.1 standards. A textured or broom-finished top coat helps.
Border detailing
Whatever material you choose for the field, a contrasting border at the perimeter of the circle makes the shape pop. A single row of a different color or size paver, a row of soldier-course brick, or a band of natural stone all work. This border also serves a structural purpose: it gives you a defined line to cut to and a visual cap that hides any small irregularities at the edge of the circle.
Drainage, base prep, and installation basics
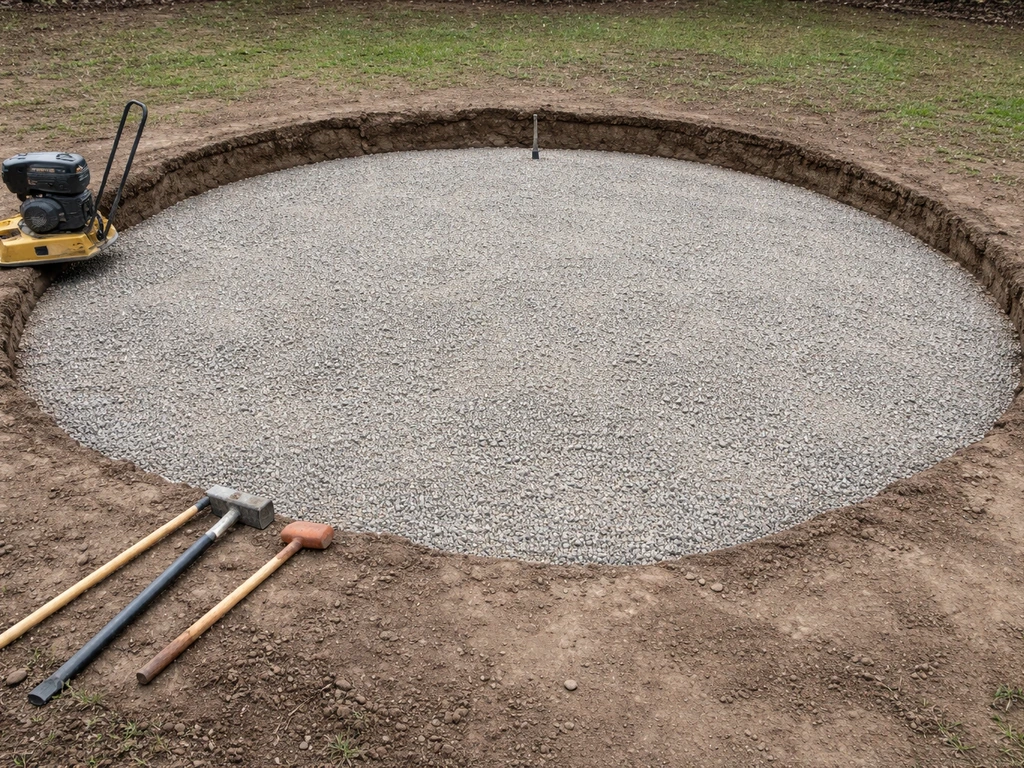
Drainage is the part most DIYers underestimate on circular patios, partly because the shape makes the problem less obvious. On a rectangular patio, you automatically slope toward one edge. On a circle, you need to think about where the water goes before you set the first stone.
Slope and surface drainage
The industry standard for paver patios is a surface slope of 1.5% to 2%, which works out to about 3/16 to 1/4 inch per foot. For a circular patio that doesn't adjoin a house, you can slope the whole surface in one direction toward a planted bed or lawn area. If the patio sits adjacent to a structure, slope it away from the foundation on all sides, which creates a gentle dome or dish shape draining to the perimeter. Never slope toward a house. If the surrounding soil is heavy clay or poorly draining, add a perforated underdrain pipe at the low edge of the patio so water doesn't pond at the perimeter.
Firepit drainage
If your circular patio includes a center firepit, the drainage around it needs special attention. Excavate a center hole approximately 12 inches in diameter and 24 inches deep beneath the pit location and fill it with crushed stone. This acts as a dry well to handle rainwater that collects inside the pit. If you're building on top of an existing patio surface, pitch the pavers within the circle slightly toward the center drain location rather than away from it.
Base preparation
The base is the foundation of the whole project. For a residential circular patio, excavate to a depth that allows for 4 to 6 inches of compacted gravel base plus 1 inch of bedding sand plus the paver or stone thickness. Compact the subgrade first, then the gravel base in lifts. Industry standards call for blank" rel="noopener noreferrer">compaction to 95% Standard Proctor density (ASTM D698). CMHA’s PAV-TEC-002 tech note for interlocking concrete pavements specifies compaction targets of at least 98% of modified Proctor density under constant vehicular traffic conditions, using a testing basis aligned with ASTM standards compaction to 95% Standard Proctor density (ASTM D698).. Skipping or rushing compaction is the single most common reason patios sink, shift, or develop low spots within the first couple of years. For circular layouts, compact from the outside edges inward in overlapping passes so you don't leave a soft center.
Edge restraints and joint sand
Install edge restraints before you lay a single paver. For a circle, you'll use flexible plastic or aluminum edging that bends to follow the curve. Spike it into the compacted base at frequent intervals, especially on the tighter curves. Once all pavers are down, sweep polymeric sand into the joints. Make sure the surface is completely dry before you sweep, and work the sand fully into all joints before activating it with water. Polymeric sand locks the joints against shifting and weed growth, which is especially important on circular layouts where the angles between pavers change constantly.
Cost, permits, and choosing between DIY and a pro
Realistic cost ranges
A 14-foot diameter circle is roughly 154 square feet. At typical installed paver rates of $15 to $25 per square foot for a contractor-built project, you're looking at $2,300 to $3,850 for the basic patio. Add a firepit kit, a seating wall, or a pergola and costs climb quickly. If you're trying to budget across add-ons like a firepit, seating wall, or pergola, see this patio price guide for clearer range estimates before you finalize materials. Stamped concrete for the same footprint runs $8 to $28 per square foot, so $1,200 to $4,300 depending on pattern complexity. Flagstone installed on mortar will typically land at the higher end of the range or above it. If you want patio cost examples by layout and material, use these ranges as a starting point and adjust for features like a firepit, seating wall, or pergola Realistic cost ranges. A DIY paver patio using a circle kit can cut material and labor costs significantly, but you'll need to rent a plate compactor, wet saw, and possibly a transit level, which adds $200 to $400 to the project. Budget a contingency of 10 to 15% for material waste on circular cuts, which is higher than for rectangular patios.
Permits: when you need one and how to find out
Permit requirements for patios vary a lot by municipality. Some jurisdictions require a permit for any impervious surface over a certain square footage. Others require permits for structures like pergolas but not for ground-level patios. A few areas have drainage review requirements if the project is large enough to affect stormwater runoff. Call your local building or zoning department before you start, or check their website for a patio, walkway, or driveway permit application. It takes 15 minutes to find out and can save you from a stop-work order or a fine. If your project includes a built-in firepit with a gas line, a pergola with electrical, or significant grading, a permit is almost certainly required.
DIY vs hiring a pro
A circular patio is a reasonable DIY project for someone with basic landscaping experience, a willingness to rent equipment, and a weekend or two to spend on it. The circle geometry does add complexity compared to a square patio: you're cutting more pieces, the edge restraint installation is trickier, and getting the center point and radius consistent requires some care with stakes and string lines. Where DIY often makes sense: a simple single-zone firepit patio using a circle paver kit, no major grading needed, and straightforward drainage. Where hiring a pro pays off: multi-zone layouts, significant slope or drainage challenges, built-in seating walls, stamped concrete, or any project where the base prep involves more than a few inches of straightforward excavation. Get at least two or three quotes and ask specifically how each contractor handles the circular edge restraint and drainage slope, because those are the details that separate good work from problem work.
What to measure before you start
Before you call a contractor or order materials, measure and note: the distance from your back door to the intended patio center, the slope of the ground across the patio area, the distance to the nearest property line or fence, and the size of any existing features you're working around. These four numbers will shape every decision that follows, from drainage direction to whether you need a permit to how much base material to order. Knowing them puts you in control of the conversation from the first quote request.
FAQ
How do I pick the right patio diameter if I do not have a table or firepit picked yet?
Use the layout clearance rules as your starting point. For a dining-focused circle, measure your expected table diameter and add about 18 inches of chair pull-out room on each side, then add 12 to 18 inches of perimeter space for circulation. For a lounge or firepit circle, assume the center feature needs 18 to 24 inches of buffer to seated knees, then verify you still have a 36-inch-wide walkway ring outside the seating area.
Where should the center focal point go if my yard is oddly shaped or my back door is off-center?
Keep the circle centered on your intended focal point, not necessarily on the yard. If the back door connection is offset, use the pathway to “aim” the eye at the center (clear arrival line), and keep the center element close to the dominant sight line from indoors. The most common mistake is centering the slab on the yard boundary, which can force awkward furniture spacing and make the patio feel detached.
Do I need a walkway around the whole circle, or can I skip part of the perimeter?
You can reduce the walkway to a partial ring if foot traffic is limited, but you should not eliminate it where people repeatedly enter and exit. If your design relies on a seating ring, aim for at least a continuous 36-inch movement path along the side people pass most often, especially around the area closest to the house door.
What if my patio sits on a slope, can I still make a proper circular layout?
Yes, but you must decide whether you are building a “dish” (sloped away from a structure) or stepping in zones. For pavers, keep the final surface slope consistent and intentional, then handle terrain changes with grade transitions outside the patio bowl when possible. If you try to follow the natural slope without a plan, you can end up with uneven seating heights and poor drainage.
How do I handle drainage if the circle is adjacent to the house foundation?
Do not slope the patio toward the structure. Instead, slope it away on all sides, creating a gentle dome that drains toward the perimeter. If the soil absorbs poorly (common with heavy clay), add a perforated underdrain pipe at the low edge so water does not pond around the circular perimeter where it can undermine the base.
Can I build a circular paver patio directly over existing concrete?
Sometimes, but it depends on drainage and base conditions. If you build on top, you still need proper falls, so you may need to pitch the pavers within the circle toward a defined low point or center-drain strategy (especially for firepit layouts). Also confirm the existing slab is stable and not cracking or moving, otherwise circular geometry can exaggerate settlement differences.
What is the safest way to plan around a gas firepit or any gas line in the center?
Treat the fire feature as a utility design, not just a center decoration. Plan the gas line route before you lock in your circle radius, include required clearances, and coordinate placement with the firepit kit instructions. Because gas work often triggers permitting and inspections, confirm local requirements early so you do not have to excavate and rebuild later.
How do I prevent polymeric sand problems on circular joints?
Polymeric sand only works well when the surface is dry and joints are fully packed. On circular cuts, joint angles vary, so take extra time to sweep sand deeply into every gap before activation. Also avoid activating it during rain or when temperatures are too cool, because incomplete activation can leave joints loose and can lead to weed growth.
Is polymeric sand compatible with all patio materials and colors?
It is typically used with interlocking paver systems and appropriate joint widths, but compatibility depends on the manufacturer’s guidance and joint size. If you are using flagstone or irregular units, the joint profile may not match polymeric sand expectations, and sand could wash out or stain. For mixed materials, confirm the jointing approach for each surface type before installation.
What’s a realistic approach to edge restraints on tight-radius circles?
Use flexible edging designed for curves, set it before any pavers, and spike it frequently on tighter arcs. The key is to ensure the edging base has enough compacted material so the restraint does not shift as the pavers settle. If you under-spike, circular patios can develop outward creep, which disrupts the circle and makes gaps widen.
How do I estimate waste and extra material for circular cuts?
Budget 10 to 15% waste for circular cuts, and consider more if your pattern includes many small-radius elements or a tight border detail. Waste is often higher when you are matching paver patterns near the perimeter, using circle kits that still require trimming, or combining different materials like a contrasting border.
When should I hire a pro instead of DIY for a circular patio?
Hire out when you have complex drainage changes, significant slope, or any multi-zone design that requires coordinated steps or grading. Also consider pros for built-in masonry seating walls, stamped concrete (because of cracking and finishing requirements), and projects where base prep is more than a simple shallow excavation. If you DIY, keep it to a single-zone paver circle with a kit and minimal grading.
What measurements should I bring to a contractor so quotes are comparable?
Bring four specifics: distance from your back door to the intended patio center, the slope direction across the patio area, distance to the nearest fence or property line, and the size of any existing features you must work around. With these numbers, contractors can design a consistent drainage plan and edge restraint layout, which affects cost and longevity.