
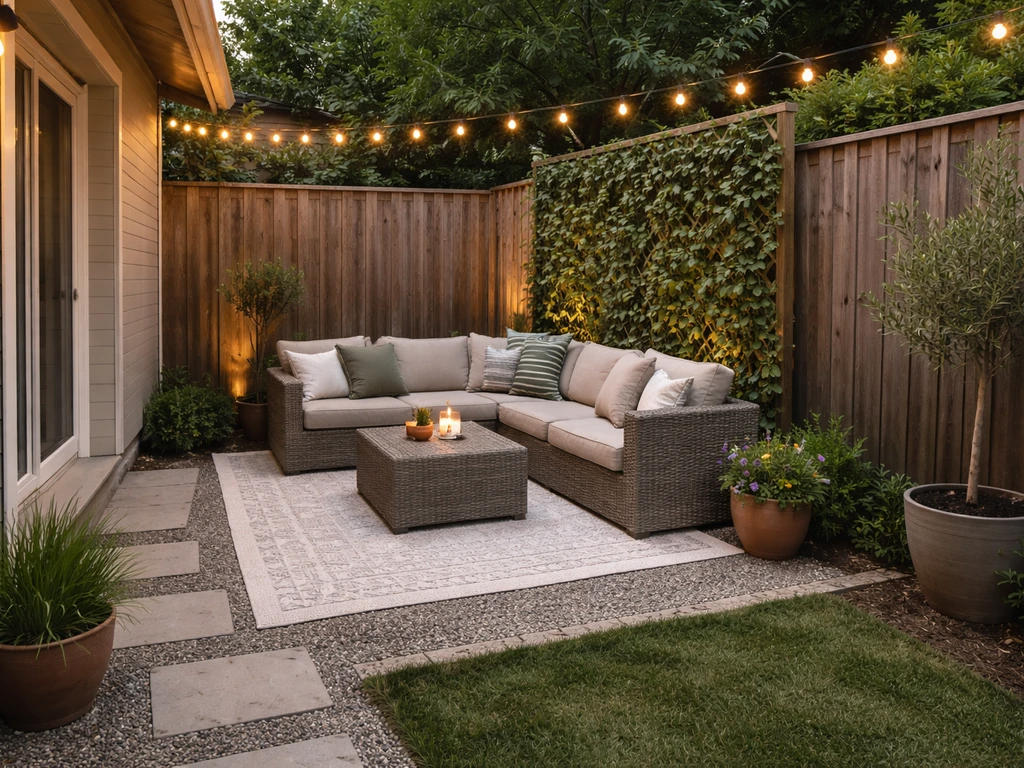
A small patio works beautifully when you plan around what you actually have: a real door location, a measured footprint, a clear idea of how many people need to sit, and a budget that doesn't require a second mortgage. Most small patios fall in the 60 to 120 square foot range, and with the right layout, surface, and a few smart accessories, that space can feel genuinely useful rather than cramped. Below are several concrete examples you can measure, plan, and build, along with the clearances, materials, and finishing details that make each one functional. If you want more patio design examples for different layouts and door placements, these patterns can help you visualize the finished look several concrete examples.
Small Patio Examples: Layout Ideas and How to Plan Yours

Miles Sutton
10 Jul 2026
Small patio sizing basics and your measurement checklist
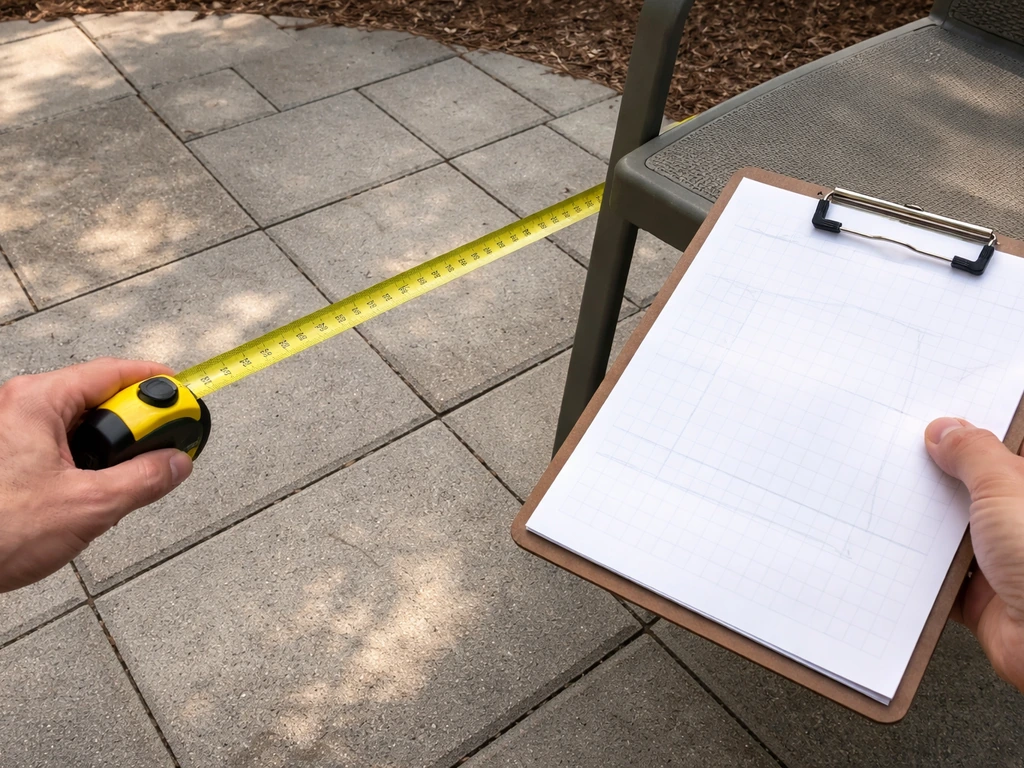
Before you sketch a single line, grab a tape measure and spend 15 minutes outside. The numbers you collect will define every decision that follows, from which furniture fits to whether you need a permit.
Start by measuring the usable footprint. That means the area between your door, any existing fencing or walls, garden beds, and any slopes that would need leveling. Write down length and width, then note any irregular corners or bump-outs. A common mistake is assuming a patio can fill the entire backyard edge, in reality you'll lose a foot or two to border edging, drainage slope, and clearance from the house foundation.
Drainage slope matters more than most DIYers realize. For drainage, a slope of 1 inch per 4 feet is enough for most patio installations, that means a 12-foot-deep patio needs to drop about 3 inches from the house edge to the outer edge. Plan that into your measurements now so you're not surprised during the build. Cross-slope on the walking surface should stay at or below 2 percent (roughly 1:48) to keep the surface safe and slip-resistant.
- Measure total available length and width in feet
- Note the door type: hinged (swings out or in), sliding, or French doors
- For an outswing door, mark a 60-inch deep clear zone directly in front of it — that's your no-furniture zone
- For a sliding door, keep at least 36 inches of clear landing outside the active panel
- Mark any utility covers, downspouts, or AC units that limit placement
- Check the grade: use a long level or a phone app to confirm existing slope direction
- Measure setbacks from property lines if you plan any overhead structure (many jurisdictions require support posts at least 3 feet from the property line)
- Sketch the rough footprint on paper with compass direction (N/S/E/W) to track sun and shade patterns throughout the day
A typical comfortable small patio is 10x10 feet (100 sq ft) or 10x12 feet (120 sq ft). These sizes accommodate a bistro set or a four-person dining set with reasonable clearance. Anything under 8x8 feet starts to feel like a landing pad rather than a living space, but it can still work well with a two-chair bistro setup and smart vertical design.
Layout examples by shape and door placement
Door placement is the single biggest factor in deciding your patio layout. If you want a quick Portland patio guide to match a layout to your space, start with door placement and measure your usable footprint first patio layouts. Everything else, furniture placement, traffic flow, where you put the umbrella, flows from that. Here are five realistic examples covering the most common situations homeowners actually face.
Example 1: The 10x10 square with a center sliding door
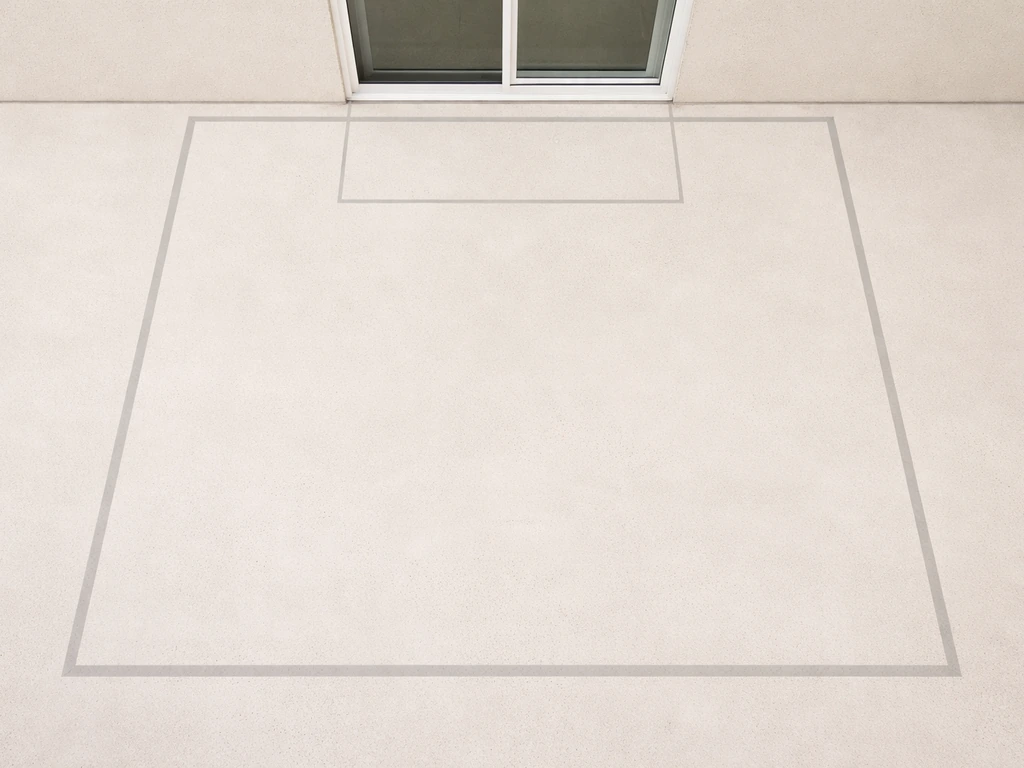
This is the classic apartment patio or attached townhouse setup. The sliding door sits in the middle of the back wall. Keep the 36-inch landing zone clear in front of the active panel, then place a small round table (24 to 28 inches in diameter) to one side with two or three chairs. A narrow side table or planter anchors the opposite corner. The key here is resisting the urge to center furniture in front of the door, shift everything slightly to the non-door side and the space immediately feels more open and easier to navigate.
Example 2: The 8x12 rectangle with an off-center hinged door
Many older homes have a single hinged door that opens outward from a corner of the back wall. This is actually a gift for layout planning. The door swing creates a natural dead zone in one corner, use that for a vertical planter tower or a freestanding privacy screen rather than wasting it on furniture nobody can reach comfortably. The remaining open rectangle easily fits a 4-person bistro dining set along the long wall, with a 36-to-42-inch walkway down the center. Keep chairs pullable: a chair typically needs 18 to 24 inches of clearance behind it when pulled out for sitting.
Example 3: The 10x14 L-shaped or corner patio
A corner patio often results from a home with two exterior doors close together, or from a homeowner who wants to wrap around a corner of the house. This shape works extremely well for separating a dining zone from a lounge zone. Place a small 4-person table with chairs in one leg of the L, and a loveseat or two lounge chairs with a small side table in the other. The corner itself is the natural anchor point, a fire table or large planter placed there visually ties both zones together and gives the whole patio a focal point.
Example 4: The 9x9 square with French doors
French doors that swing outward eat into your patio space aggressively, a standard 60-inch-wide French door pair can swing out nearly 3 feet into your patio zone. ICC’s IBC Egress 2024 handout emphasizes that exterior door egress planning must account for minimum clear opening widths and the door swing and related swing-clearance conditions relative to egress travel exterior door egress swing direction and swing-clearance conditions. Measure that arc carefully and mark it with chalk before placing any furniture. In a 9x9 space with outswinging French doors, you're working with roughly a 6x9 usable area once that swing clearance is protected. A small bistro set (table around 24 inches in diameter, two chairs) fits well pushed to the far corner, and the remaining open space keeps the egress path clear. Consider a folding or stackable chair option so you can open up the space fully when needed.
Example 5: The narrow 6x16 patio along a side yard
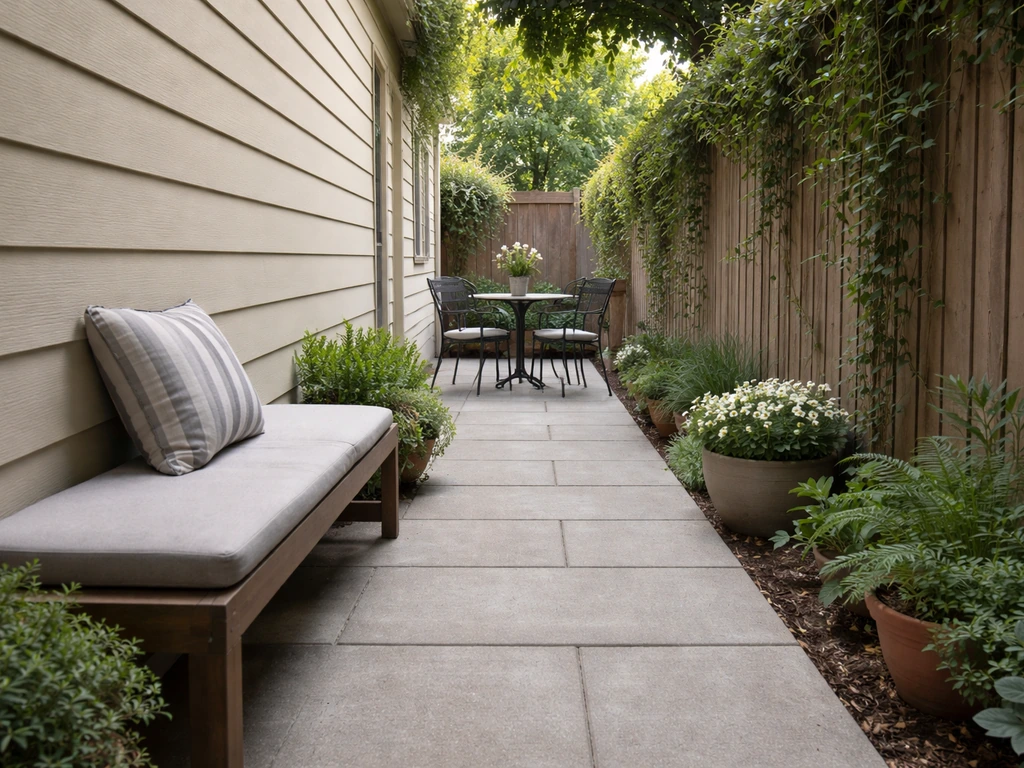
Side-yard or long-and-narrow patios are underused but surprisingly functional. Treat this like a hallway with destination zones. Place a bistro set at one end, a lounger or bench in the middle, and a simple potting station or storage bench at the far end. Keep the central walkway at least 36 inches wide. Vertical elements, wall-mounted planters, a trellis along the fence, pendant or string lights overhead, do most of the design heavy lifting in this layout because there isn't horizontal room to spread out.
Furniture and layout planning for maximum seating
The biggest furniture mistake on small patios is buying a set that looks right on a showroom floor and then discovering the chairs can't pull back without hitting the wall. Here's how to avoid that.
Start with a bistro set if you're working with anything under about 80 square feet. A three-piece bistro set, table around 24 to 30 inches in diameter, two chairs, needs roughly a 3x3 foot footprint for the furniture itself, but realistically you need a 6x6 foot zone to sit comfortably and move around it. For a 4-person dining setup, look for a table no wider than 36 inches, paired with chairs that have a depth of around 19 to 22 inches. Add 18 to 24 inches behind each chair for pull-out clearance, and confirm that clearance doesn't land in a doorway or traffic path.
The main walkway through or past the patio should be 36 to 42 inches wide. That's wide enough for two people to pass each other comfortably and meets general accessibility guidelines for clear path width. If your patio serves as the primary route to the yard or a gate, protect that corridor, don't let furniture creep into it even if it seems like there's room.
| Seating scenario | Minimum patio size needed | Furniture footprint | Clearance note |
|---|---|---|---|
| 2-person bistro set | 6x6 ft (36 sq ft) | 24–30 in table + 2 chairs | 36 in walkway alongside |
| 4-person dining set | 10x10 ft (100 sq ft) | 36 in table + 4 chairs | 18–24 in chair pull-back each side |
| Loveseat + 2 chairs lounge | 10x12 ft (120 sq ft) | Loveseat ~52 in wide + side tables | 36 in clear path to door |
| Corner L-shape: dining + lounge | 10x14 ft (140 sq ft) | Two separate zones | Keep corner clear for circulation |
| Narrow side-yard single bistro | 6x10 ft (60 sq ft) | 24 in table + 2 chairs | 36 in corridor past furniture |
If you want to maximize seating for occasional larger gatherings, look for folding or stackable chairs you can store flat against the wall. A wall-mounted fold-down table is another clever option for a narrow patio, it disappears when not in use and frees up the entire floor when you just want to stand and grill.
Surface, materials, and cost-conscious building options
The surface you choose affects cost, installation difficulty, drainage performance, and long-term maintenance. For small patios, you have more material options than you might think, and the small footprint means even premium materials stay within reach.
Concrete pavers
Concrete pavers are the most popular choice for DIY small patios for good reason: they're affordable, widely available, durable, and relatively forgiving to install. A standard paver installation uses a compacted aggregate base, a bedding sand layer, and then jointing sand between the pavers after placement. Belgard’s installation guidance also outlines typical paver construction layers such as a compacted aggregate/base, bedding sand, and jointing sand, emphasizing correct placement and compaction for stability and drainage blank" rel="noopener noreferrer">compacted aggregate base, a bedding sand layer, and jointing sand. Getting the base compaction right is the most important step, skip it or rush it, and you'll see settling and shifting within a couple of years. Pavers are naturally slip-resistant, especially textured finishes, which matters more than most people think when surfaces get wet. Material costs for concrete pavers typically run $3 to $8 per square foot for the pavers themselves, with base materials adding another $1 to $2 per square foot. If you want to plan your budget before you shop, use a patio price guide to compare costs by size and material.
Permeable pavers
If your yard has drainage issues or you want a more environmentally friendly option, permeable interlocking concrete pavers are worth the slight cost premium. They sit on an open-graded crushed stone bedding layer rather than compacted sand, allowing stormwater to infiltrate directly into the soil below. This eliminates most ponding issues without needing to run drainage pipe, which is a real advantage in tight spaces where routing a pipe is awkward.
Poured concrete
Poured concrete is less forgiving as a DIY project because mixing, pouring, and finishing a slab before it sets requires speed and some experience. That said, it's very cost-effective at scale, typically $6 to $10 per square foot installed professionally for a basic brushed finish. A brushed or broom finish gives the slip resistance you want. If you go with concrete, have your contractor add a slight broom texture and confirm the drainage slope is built into the form before pouring. Fixing a flat slab with no slope after the fact is expensive.
Natural stone and porcelain tile
Flagstone, slate, and large-format porcelain pavers look stunning and last decades when installed correctly. They're typically the most expensive option at $15 to $30 or more per square foot installed, but on a 100-square-foot patio that premium is more manageable than it sounds. Make sure any porcelain tile you choose is rated for outdoor use with a slip resistance rating (COF of 0.6 or higher for wet surfaces). Natural stone is naturally slip-resistant but requires occasional sealing to prevent staining and freeze-thaw damage.
| Material | Approx. cost (installed) | DIY-friendly? | Drainage notes | Slip resistance |
|---|---|---|---|---|
| Concrete pavers | $8–$15/sq ft | Yes, with prep work | Slope base 1 in/4 ft away from house | Good with textured finish |
| Permeable pavers | $10–$18/sq ft | Moderate | Infiltrates in place, less piping needed | Good |
| Poured concrete | $6–$10/sq ft (pro) | Difficult | Slope must be formed in before pour | Broom finish required |
| Natural flagstone | $15–$25/sq ft | Moderate | Gaps aid drainage, slope still needed | Naturally textured |
| Porcelain tile | $15–$30/sq ft | No, typically pro | Slope and proper setting bed required | Must verify outdoor COF rating |
| Gravel/decomposed granite | $2–$5/sq ft | Yes | Excellent natural drainage | Stable when compacted, avoid loose deep gravel |
For budget-focused projects, gravel or decomposed granite (DG) is the most affordable surface and drains perfectly by nature. It's not ideal for furniture on thin legs (chairs sink slightly) but works well with flat-footed furniture or ground-level deck tiles placed on top. Patio cost breakdowns for different build types are covered in more depth in the patio cost examples and patio price guide sections of this site. A quick way to estimate your budget is to review patio cost examples and match the surface and build type to your space.
Privacy, shade, and lighting ideas for small spaces
A small patio feels a lot more like a destination when it has some enclosure, even a partial sense of privacy changes how you use the space. The good news is that small patios are actually easier and cheaper to screen than large ones because you're working with fewer linear feet.
Privacy options
Privacy lattice panels are one of the most versatile options: they're durable, allow airflow, and can support climbing plants for a softer look over time. For a 10-foot-wide patio, two or three 4x8 panels attached to a simple post frame give you solid visual screening from a neighbor's window or an adjacent yard. If you prefer something more natural, a row of tall ornamental grasses or bamboo (the clumping variety, not the invasive running kind) in large planters creates a green screen that's movable and requires no building permits. Trellis screens with outdoor-rated fabric inserts are a newer option that installs quickly and can be repositioned if your needs change.
Shade solutions
For a small patio, an offset cantilever umbrella is often better than a center-post umbrella because it doesn't require a hole in your table and can be moved to chase or avoid the sun. Look for one with a base that parks outside the main furniture zone. A shade sail stretched diagonally from a house anchor point to a corner post gives good coverage and costs less than a pergola, and in most jurisdictions a shade sail attached to the house and a single post won't trigger a permit. Pergolas and patio covers are a different story: jurisdictions like Orland Park, Illinois require a permit and plan review for pergolas, sun shades, and similar structures. San Diego exempts patio covers with 300 square feet or less of projected roof area for single-family homes, but local thresholds vary. Always check with your local building department before building anything structural overhead.
Lighting that actually works outdoors
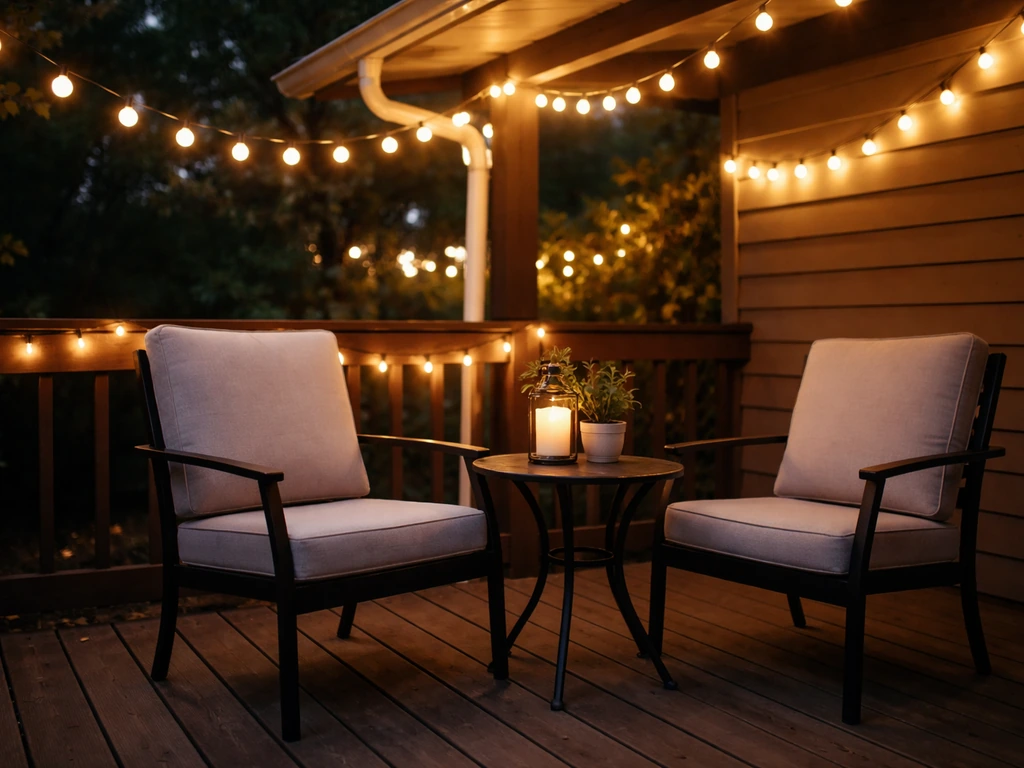
String lights are the most popular patio lighting choice because they're inexpensive, easy to install, and produce a warm, comfortable ambiance. A standard 120V LED string light with 24-inch bulb spacing covers a good amount of distance without requiring multiple runs. For color temperature, stick to 2700K to 3000K (warm white) for a relaxing, residential feel, cooler color temperatures above 4000K read as harsh and clinical outdoors. If you're using plug-connected string lights, make sure you have a GFCI-protected outdoor outlet and that the wire gauge meets the product's requirements. Don't daisy-chain more strings together than the manufacturer allows, it's a fire risk, not just a code issue.
For path or step lighting along a patio edge, low-voltage LED path lights spaced about 6 to 8 feet apart provide adequate visibility without overlighting. Path light fixtures typically draw 2 to 5 watts each, so even a run of 8 lights stays well under 40 watts total, easy to run on a standard low-voltage transformer. Solar-powered path lights are simpler to install but underperform in shaded yards or during cloudy stretches, so wired is more reliable if your patio is under a tree canopy or a covered roof.
Finishing touches: planters, storage, rugs, and practical accessories
The details are what take a patio from a slab of concrete to a space you actually want to spend time in. None of this has to be expensive, it just has to be intentional.
Planters and greenery
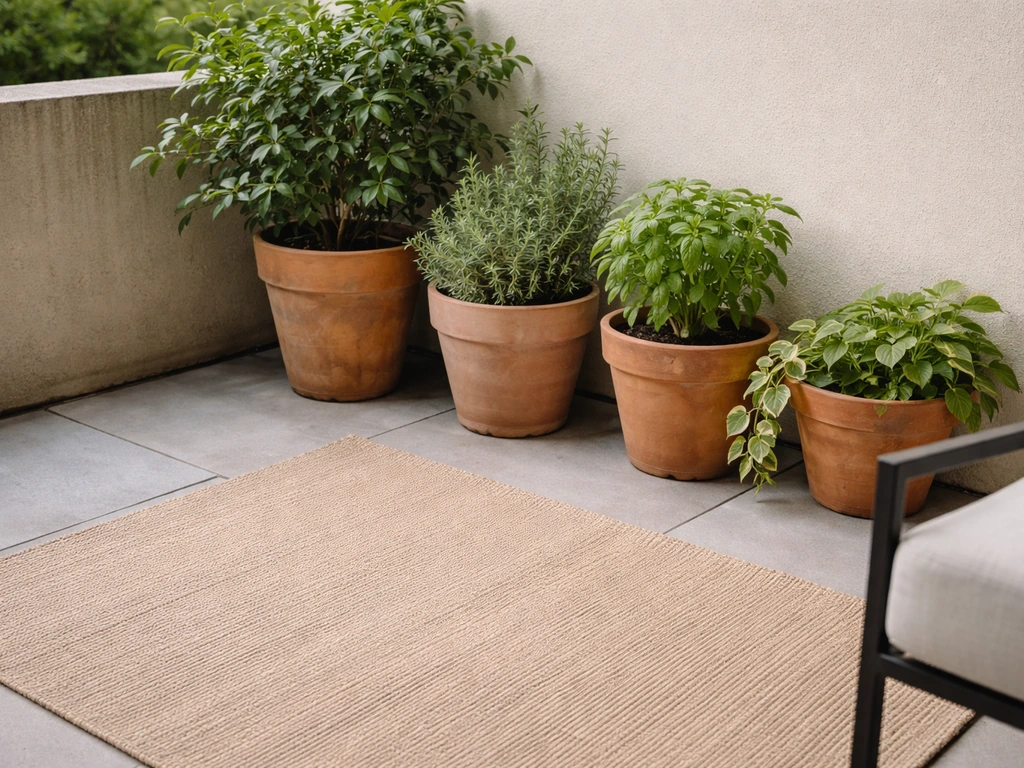
Planters serve double duty on a small patio: they add color and life, and when placed strategically, they define the edges of the space and create visual separation from the surrounding yard. Tall planters (24 to 36 inches high) in corners anchor the space and draw the eye upward, which makes the patio feel larger. Avoid filling every corner with small planters, a few large containers look more intentional and are easier to water than a dozen small ones drying out constantly. If you want edible plants, herbs in a tiered planter against the wall are low-maintenance and genuinely useful.
Outdoor rugs
An outdoor rug is one of the cheapest ways to make a small patio feel designed rather than accidental. It defines the seating zone, softens the look of plain concrete, and helps anchor furniture so chairs don't wander. For a 10x10 patio, an 8x10 rug works well, it fits under the front legs of chairs when pulled out, which is the classic indoor rug rule that applies equally outside. Choose a rug made from polypropylene or a similar synthetic that drains quickly, resists UV fading, and can be hosed down.
Storage
Storage is almost always underplanned on small patios. Cushions, throws, garden tools, and grill accessories need somewhere to live. A deck box that doubles as a bench or extra seating is the most space-efficient option, look for one in the 70 to 100 gallon range if you have moderate storage needs, or a narrower 50-gallon bench-style box if space is tight. Wall-mounted hooks or a simple pegboard-style outdoor organizer on a fence panel can hold a surprising amount without consuming any floor space.
Umbrellas and fire features
A 9-foot cantilever umbrella is a reasonable shade investment for a 10x10 or larger patio. Make sure the base is heavy enough (at least 50 pounds) to handle wind without tipping. For small patios, tabletop fire bowls or compact propane fire tables add ambiance without the footprint of a full fire pit, and they're not permanently installed, so they travel with you if you move. Keep any open flame source at least 3 feet from furniture, overhead fabrics, and plant material.
DIY vs. pro installation: how to decide and what to do next
For a small patio, DIY is genuinely achievable for most homeowners, but a few factors tip the scales toward hiring a pro. Here's an honest breakdown.
DIY makes sense when you're laying concrete pavers or gravel on a relatively flat surface, the project is under 100 to 120 square feet, you have a weekend or two and a willingness to rent a plate compactor, and there are no overhead structures involved. The base preparation is the hard part, the actual paver laying is satisfying and accessible. Budget $500 to $1,200 in materials for a basic 100-square-foot paver patio, plus $75 to $150 for compactor rental.
Hire a professional when you're dealing with significant grade changes (more than 6 inches of slope across the patio area), poor drainage that might need perforated pipe or a French drain, poured concrete work, natural stone or large-format porcelain installation, or any overhead structure that requires a permit and structural review. Paying a pro for these scenarios saves you from expensive mistakes, a sunken or cracked slab, a pergola that doesn't pass inspection, or a drainage problem that floods your house foundation are all real risks when the technical requirements exceed basic DIY skill.
On permits: always check before you build. Patio surfaces at grade level typically don't require a permit in most jurisdictions, but any overhead structure, pergola, shade sail attached to the house, patio cover, likely does. Cities like Bend, Oregon and Irvine, California have specific permit requirements and setback rules for patio covers, and some projects require structural engineering review. A quick call or online check with your local building department takes 10 minutes and can save you from having to tear something down later.
Your next steps today
- Go outside and measure your available footprint — length, width, and note the door type and location
- Mark the door clearance zone (60 inches deep for outswing hinged, 36 inches for sliding) with chalk or stakes
- Sketch two or three layout options on paper based on the examples above that match your door placement
- Decide on a surface material and get one or two quotes if you're leaning toward poured concrete or stone
- Check your local building department's website for permit requirements before ordering any overhead structure materials
- Measure for furniture using the clearance rules above and confirm your chosen set physically fits with pull-out space before buying
- Plan lighting last — once furniture and surface are confirmed, string light attachment points become obvious
A small patio rarely fails because of budget or space, it fails because someone skipped the measuring step and ended up with furniture that doesn't fit, a slab that drains toward the house, or chairs that block the door. Get those fundamentals right first, and everything else is just making it look good. If you want to see how these ideas apply to specific styles and shapes, the patio design examples and circular patios guides on this site cover more layout variations worth browsing before you finalize your plan.
FAQ
What’s the smallest size where a small patio still feels usable (not like a landing)?
A space can work as small as about 6x8 feet (48 sq ft) if you use a true two-chair bistro setup and keep a clear egress path to the door or gate. Plan for at least a 36-inch-wide free walkway, and expect only one furniture zone, not separate dining and lounging areas.
How do I measure clearance if my door opens and I also use chairs that pull out?
Use a “two-stage clearance” check. First, mark the door swing arc (measure from the hinge side). Second, for each chair, measure the chair depth when pushed back and then add the pull-out distance (often 18 to 24 inches). If the chair pull-out overlaps the door arc, switch to a bench, café chairs with slimmer backs, or a different zone layout.
Can I build a small patio on a slope without ruining drainage or risking ponding?
Yes, but you need a designed slope away from the house, not “whatever the ground already does.” If the patio area has more than about 6 inches of grade change, it’s often safer to hire a pro for grading and sub-base so you don’t end up with a flat section that holds water.
Which patio surface choice is best if I have pets or kids who run around wet areas?
Choose the most slip-resistant finish you can afford and avoid overly smooth toppings. Textured pavers and a brushed broom-finish concrete surface perform well when wet. If you use flagstone or porcelain, confirm the outdoor slip rating is appropriate for wet conditions before buying.
If I want to use a rug on pavers, how do I prevent it from slipping or rotting?
Pick a rug material that drains quickly and use a breathable outdoor rug pad made for exterior use. Also, hose and re-clean it periodically, especially if you have shaded areas where moisture stays longer. Avoid cotton-based outdoor rugs, they tend to stay damp too long.
What’s the best way to maximize seating for parties without permanently overcrowding the patio?
Use a core layout with fewer chairs and add flexible seating on demand. Folding or stackable chairs that store flat against a wall, plus a narrow deck box for cushions, lets you bring seating out during gatherings without blocking doorways or shrinking walkway width.
How far should patio furniture be from the house and from planters or privacy screens?
Keep a practical “breathing gap” of at least about 2 to 3 feet from obstructions where you expect people to move, especially near doors and the main walkway. For planters or screens, leave room to access the base for watering and trimming, otherwise you end up avoiding maintenance and the planters quickly dry out or overgrow.
Do I need to worry about permits for string lights, shade sails, or a pergola?
String lights usually do not involve structural approval, but anything overhead that attaches structurally (like a pergola or a shade structure fixed to the house) often triggers permit and plan review. Shade sails may be treated differently by locality, so verify with your building department before mounting anchors or posts.
How do I avoid the most common mistake with paver patios, uneven settling, or wobble?
Don’t rush sub-base compaction, it’s the main cause of later shifting. Keep the base level plan tight, use the correct bedding sand thickness, and verify edging is secure so pavers don’t migrate outward when people step on the perimeter.
What’s the easiest way to improve privacy on a small patio without making it feel closed in?
Use “tall but not dense” screening. Lattice panels with climbing plants or a trellis with outdoor fabric inserts can soften views while still allowing airflow. For a cleaner look, group only a few larger containers or panels, instead of lots of tiny units that clutter a small footprint.