
You can absolutely copy a patio design example and make it work in your yard, you just need to match the layout logic to your actual space, not copy it blindly. Pick a design that fits your dominant use (dining, lounging, or entertaining), confirm your footprint supports the clearances each zone needs, choose materials that suit your budget and base conditions, then map it all out before you break ground. The examples and rules below give you exactly that: real layouts, honest dimensions, material cost benchmarks, and a step-by-step process to adapt any of them to your yard.
Patio Design Examples and Layouts You Can Copy Today

Miles Sutton
31 May 2026
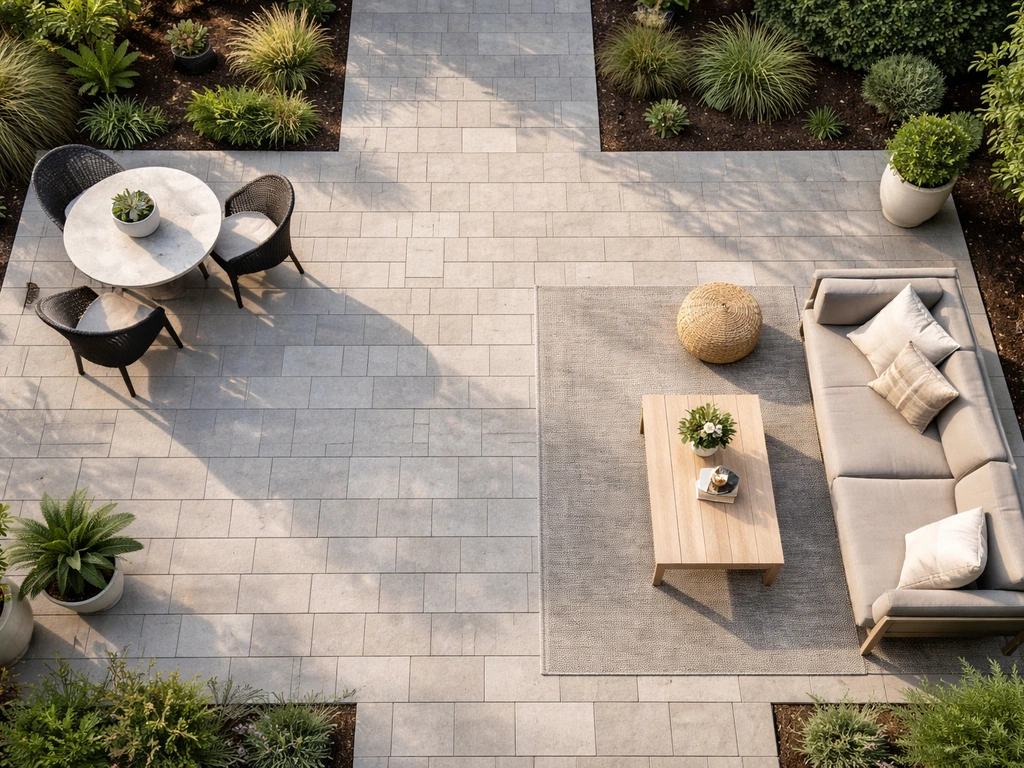
Patio layout blueprints by space type
Before you fall in love with a specific look, figure out which space type you're actually working with. The layout logic that works on a wide, open backyard completely falls apart on a narrow side yard or an L-shaped corner. Here are four common situations with specific layout approaches for each.
The open square or rectangle (great all-rounder)
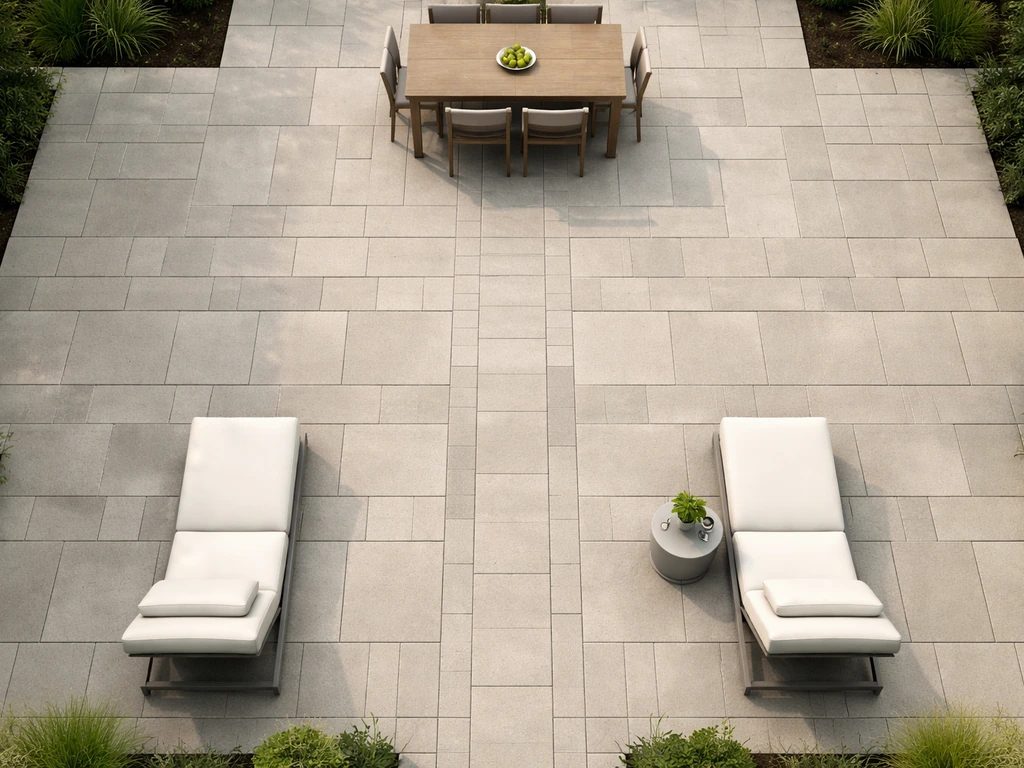
A 20×20 foot slab or paver field (400 sq ft) is one of the most versatile patio footprints you'll find. You can comfortably fit three distinct zones, a dining area, a lounge area, and a small grilling or serving station, without anyone feeling cramped. The key is routing traffic deliberately: think house door to lounge to dining to grill, so guests flow around the space rather than cutting through conversations. A 6-foot dining table with chairs takes roughly a 10×12 foot zone when you factor in chair pull-out clearance, leaving the rest for a sectional and a side grill station. If your rectangle is closer to 12×16 (about 190 sq ft), you're picking two of those three zones, not all three.
The narrow or long yard (two offset zones)
Narrow patios, anything where one dimension is under 10 feet, need a totally different approach. Instead of side-by-side zones, you think in series: one zone closer to the house, one farther toward the yard. A good split is dining near the kitchen door (where you're hauling food and drinks) and lounging or a fire feature at the far end. The big mistake on narrow patios is letting chair pull-out eat your walkway. You need a minimum 36 inches of clear walking path running the length of the patio, which means on an 8-foot-wide patio, a dining chair that pulls out 20 inches leaves you 36 inches of walk space, and nothing else. If you're at that edge, go with armless chairs or a bench on one side.
The L-shaped or corner patio
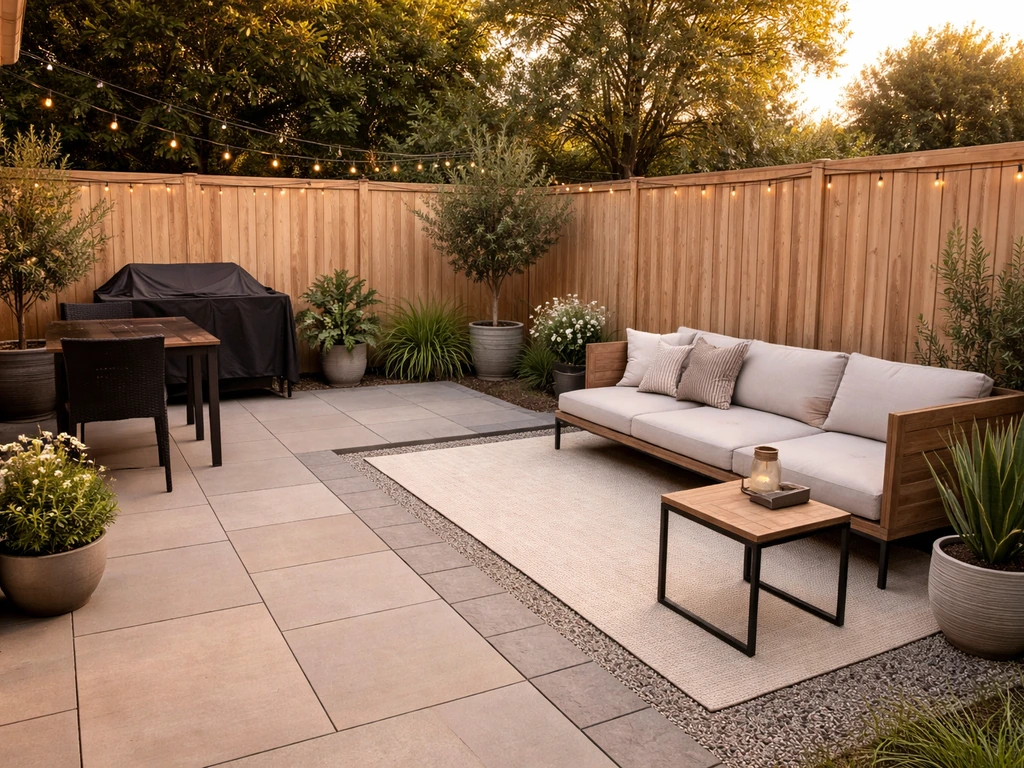
L-shaped patios are genuinely underrated for creating separation between zones. The shorter leg of the L handles one purpose (often dining or cooking) and the longer leg handles another (lounging or a fire feature). The open corner in the middle becomes natural dead space that actually acts as a visual breathing room and a traffic circulation hub. This layout suits yards where the house extends along two walls, like a kitchen door on one side and a back door on another. The L also handles sloped yards better because you can step each leg independently rather than trying to level one giant slab.
The small courtyard or side yard (under 150 sq ft)
Small patios need a single anchor piece and everything else built around it. Pick your one non-negotiable, a bistro dining table, a pair of lounge chairs, or a small fire bowl, and size the patio to that anchor plus correct clearances, rather than starting with a fixed slab size and jamming in furniture. A bistro table for two needs roughly a 7×7 foot zone with proper chair clearance. A 60-inch round conversation set with four chairs needs about a 12×12 foot zone. Knowing that number first tells you immediately whether your side yard can realistically support what you're imagining. For more small-patio-specific layout strategies, the small patio examples topic covers this in much greater depth. If you're working with a similar layout size, this portland patio guide can help you translate those small patio examples to your specific space and needs.
Design examples by purpose: dining, lounging, entertaining, and fire features
The outdoor dining patio
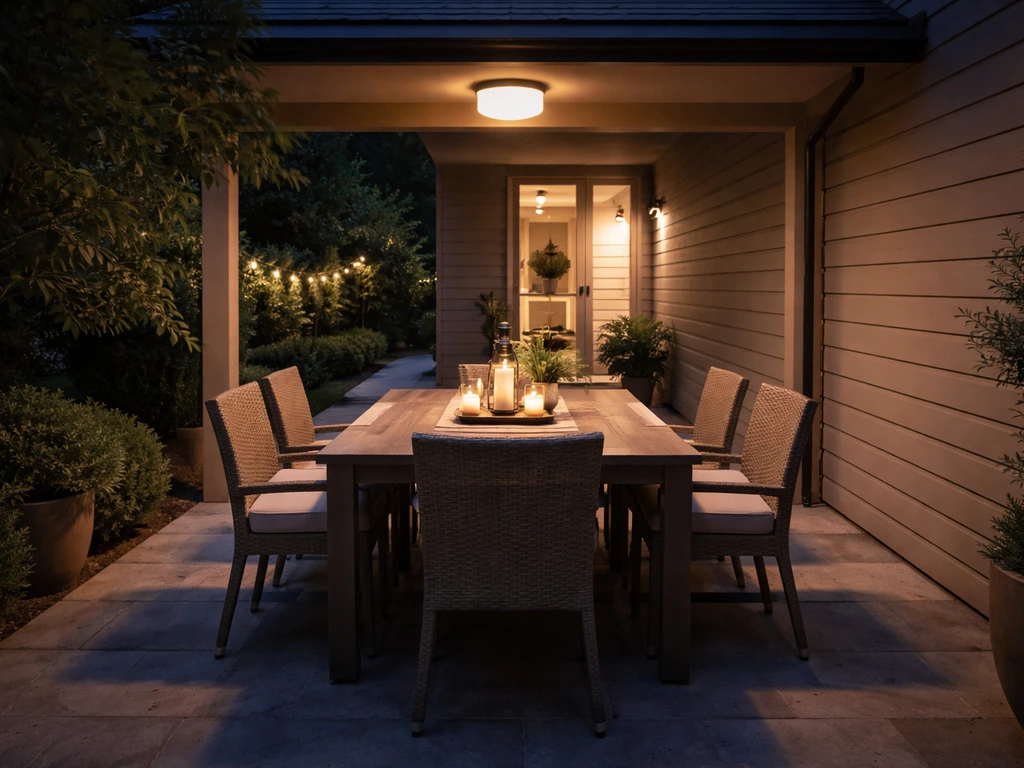
A dedicated dining patio centers on a table-and-chair set, good lighting overhead, and a clear path to the kitchen. For a rectangular 6-person dining table (roughly 36×72 inches), you need the table footprint plus 36 to 48 inches of clearance around all sides where chairs sit and people walk. That means the actual zone footprint is closer to 10×14 feet, not 3×6. A pergola or shade structure directly over the dining area does double duty: it defines the zone visually and makes the space comfortable past noon in summer. Position the dining zone within about 15 feet of your kitchen door if possible, every extra foot of distance makes outdoor dinner service noticeably more annoying.
The lounge and conversation patio
Lounge zones revolve around a sectional or two sofas facing each other, with a coffee table in the center and end tables within reach. The furniture grouping needs 30 to 36 inches of clear walking space around the perimeter so guests can get in and out without climbing over each other. Lounge zones feel better slightly removed from the house, positioned toward the middle or far end of the yard, which creates a psychological shift from work mode to relax mode. Add outdoor area rugs to anchor the grouping visually, which also helps when you're not using hardscaping to define zones.
The entertaining patio with a grilling or outdoor kitchen zone
Entertaining patios combine multiple functions, so zoning and traffic flow are everything. The cooking zone, whether it's a freestanding grill or a built-in outdoor kitchen, should be positioned where the cook can face the crowd, not face a wall. Allow a 36 to 48 inch clear zone around the grill perimeter for safe movement and ventilation. Built-in outdoor kitchens benefit from treating the space as three micro-zones: prep space (12 to 18 inches of counter on each side of the grill), cooking, and a serving or landing area. The grill itself needs to stay at least 10 feet from any structure, fence, or combustible material, this is both a safety requirement and a zoning rule in most municipalities, so don't plan around it. For a countertop layout that works at full outdoor kitchen scale, budget range runs from roughly $2,000 to $8,000 for a basic built-in setup to $20,000 and above for a full high-end build.
The fire feature patio
Fire pits create one of the most social patio arrangements: seating in a ring around the fire, with everyone naturally facing the center. The planning specifics matter here. Keep the fire pit at least 10 feet from any structure, fence, or combustibles (many municipalities legally require this, though local codes vary, always check yours). For seating, position chair fronts 18 to 24 inches from the flame edge, then add 36 inches behind each chair for getting up and walking behind. A fire pit with four chairs arranged around it typically needs a 14 to 16 foot clear zone from the flame center. The base under and around the pit must be non-flammable, stone, concrete pavers, or gravel, not wood decking or composite. Circular patios are a natural match for fire pit layouts since the zone shape mirrors the seating arrangement.
Material and finish combinations in real patio builds
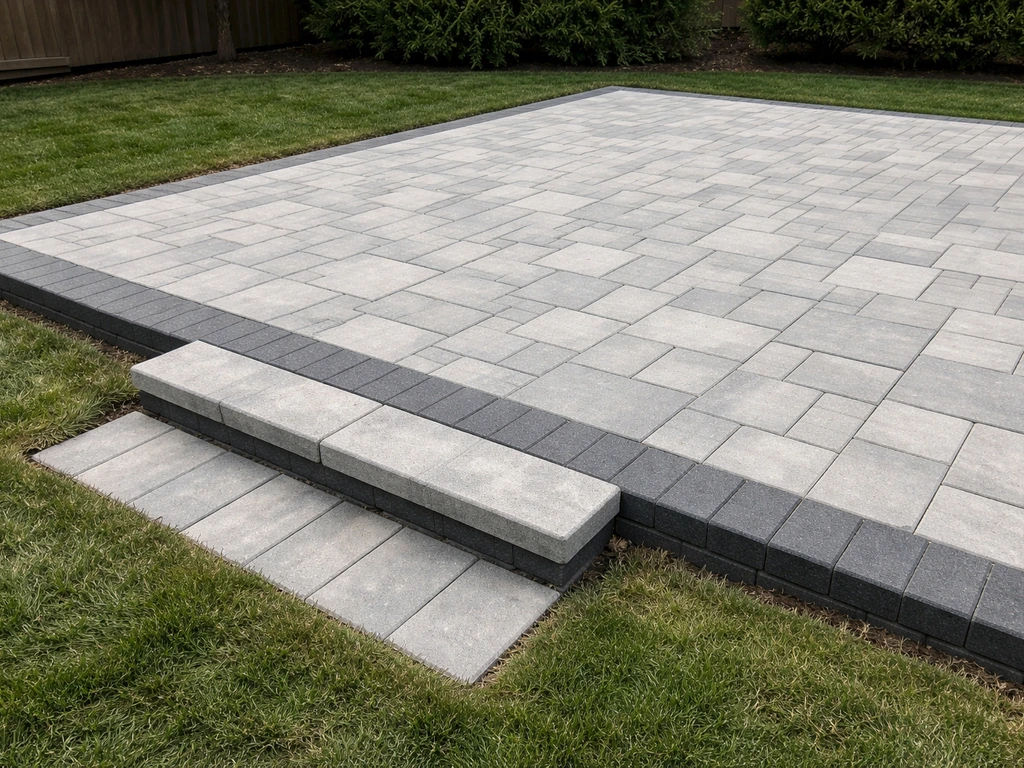
The material you choose affects cost, maintenance, the visual style of the whole yard, and how well the patio holds up in your climate. Here's how common surface materials pair with finishes and what they actually cost installed, so you can match a look to a realistic budget. One example guide cited by CostWhale puts concrete paver installation in the $8, $15 per square foot range for the broader installed cost example concrete pavers installed prices in the $8–$15 per square foot range.
| Material | Installed Cost (per sq ft) | Best Style Match | Key Trade-off |
|---|---|---|---|
| Concrete pavers | $8–$15 | Modern, transitional, traditional | Needs proper base; individual pavers can shift over time |
| Stamped concrete | $2–$6 materials (labor adds significantly) | Tuscan, rustic, contemporary | Cracks more than pavers; difficult to repair sections |
| Flagstone (natural) | $15–$30 | Organic, cottage, Mediterranean | Highest cost; irregular shapes need skilled setting |
| Gravel or decomposed granite | $1–$3 | Casual, drought-tolerant gardens | Not ideal for dining/lounge furniture; shifts underfoot |
For a cohesive look, match your surface to your transition details. Concrete pavers in a warm tan or charcoal look best when the edging uses the same paver stood on end or a matching concrete border, not a plastic landscape edging strip. Flagstone pairs naturally with dry-stack stone walls or raised planters using the same stone. Stamped concrete with a slate or cobblestone pattern looks cleanest when steps and any raised borders use a contrasting smooth concrete or cast stone cap, mixing stamped patterns on vertical and horizontal surfaces usually looks busy. If you're also comparing full project costs, the patio price guide and patio cost examples articles cover cost breakdowns in much more detail. If you want to see what those surface material choices look like in real budgets, patio cost examples can help you estimate the full installed ranges. If you want a faster way to estimate your project, use the patio price guide to compare surface and install costs side by side.
Edging, stair, and transition details that tie it together
Edging is where most budget patios look cheap, and it's also where most of the structural integrity lives. Soldier-course edging (pavers set on edge perpendicular to the field) is the most durable option for paver patios and creates a clean, finished look without adding much cost. For steps down from a raised patio or home entry, use the same surface material as the field with a contrasting or matching bullnose cap for the step edge. Transitions from patio to lawn work best with a clean metal or concrete border at grade, trying to use planting beds as the transition often looks good for one season before the grass creeps back in.
Sizing rules and zoning: clearances, circulation, and furniture fit
This is the section most patio planning guides skip, and it's the reason so many patios feel awkward once the furniture goes in. Memorize these numbers before you finalize any layout.
- Main walkways and circulation paths: 30–36 inches minimum clear width
- Behind dining chairs (for pull-out and walkway): 36–48 inches from the back of the chair to the next object
- Around fire pit seating: 18–24 inches from flame edge to the front of the nearest chair, plus 36 inches behind each chair
- Around a grill or outdoor kitchen: 36–48 inch clear zone around the perimeter; 42 inches for comfortable two-cook circulation
- Counter prep space flanking a grill: 12–18 inches minimum on each side
- Grill/fire feature clearance from structures or fences: 10 feet minimum (check local codes — many jurisdictions legally require this)
- Patio surface slope for drainage: 1/8 to 1/4 inch per foot, sloping away from the house (roughly 1 inch per 4 feet)
The drainage slope rule is easy to forget but critical. A flat patio puddles every time it rains and will eventually heave or crack as water works its way under the base. A slope of 1 inch per 4 feet is barely visible to the eye but completely changes how water behaves. Mark this into your layout plan before any grading or base work begins.
For furniture fit specifically, measure your actual furniture before you finalize the layout, not the table or sofa itself, but the zone it occupies when people are using it. A 72-inch dining table with six chairs takes up a footprint closer to 10 feet wide by 14 feet long when chairs are pulled out and people can stand up without bumping into each other. A sectional sofa that measures 100×80 inches needs roughly a 14×12 foot zone with the coffee table and walking space included.
How to adapt one of these examples to your actual yard
Here's the workflow I'd walk through with my own yard, and it works whether you're going DIY or hiring a contractor.
- Measure your available space accurately. Use a tape measure and sketch the yard to scale on graph paper (1 square = 1 foot works well). Mark the house wall, doors, any existing trees or structures, slopes, and utility boxes. Note which direction is north for sun exposure planning.
- Identify your primary use. Dining, lounging, entertaining, fire feature — pick the one that matters most, then add secondary uses only if the space supports them after accounting for clearances.
- Select a layout type from the examples above. Match it to your space shape: open rectangle, narrow/long, L-shaped, or small courtyard. Don't force a layout that doesn't fit your shape.
- Map zones on your sketch using the clearance numbers above. Draw the furniture footprints at scale (including pulled-out chairs), add clearance buffers around each zone, and confirm your main walkway is 30–36 inches clear. If zones overlap, something has to give — either shrink a furniture piece, drop a zone, or expand the patio footprint.
- Set your patio dimensions from the zones outward, not the other way around. Let the furniture and clearances dictate the slab or paver field size rather than starting with a round number like 12×12 and hoping it fits.
- Confirm the 10-foot setback for any grill or fire feature and check local zoning rules for permit requirements. Many municipalities require permits for permanent structures and have specific setback rules.
- Choose your surface material based on budget and style match, and plan edging and transitions at the same time — don't treat them as afterthoughts.
- Plan for drainage slope from the start. If your yard already slopes away from the house, you may have a natural advantage. If it slopes toward the house, you'll need to grade the base carefully or add a drain channel.
- Decide on DIY versus professional installation. Concrete pavers on a well-prepared base are a realistic DIY project for someone comfortable with physical work and basic leveling. Stamped concrete almost always requires a professional — the timing and finishing technique are unforgiving. Flagstone on a dry-set base is middle ground: doable DIY but slow. Anything involving significant grading, drainage engineering, or a built-in outdoor kitchen warrants professional involvement.
Once you've completed that workflow, you have a real plan: a dimensioned layout sketch, a confirmed material choice, a drainage approach, and clarity on what you're doing yourself versus hiring out. At that point you're ready to pull materials lists, get contractor quotes, or start your permit application, whichever path your budget and timeline call for.
FAQ
Can I use a patio design example if I have a tight door or gate nearby?
Yes, but only if you design around the chair and door swings. Measure how far chairs pull out while someone is standing, then confirm the route to the patio stays clear of the house entry and nearby gates. If a door swings over the same path, shift the dining zone sideways or switch to benches that do not require extra pull-out clearance.
How do I keep walkways usable when my patio has multiple zones?
You should plan for an outdoor path that is clear even when people are not actively sitting. If your layout uses two lanes, try to keep at least one continuous 36-inch-wide lane that connects the house to the far edge of the patio. When widths are tight, place the dining chairs or lounge ottomans so they do not protrude into that lane when people stand up.
Why do my patio layout measurements never match what I planned after buying furniture?
Do not rely on furniture dimensions alone. Use a “functional footprint” measurement, meaning the zone people need when chairs are pulled out, coffee tables are used, and people can stand without squeezing. Many layouts fail because the table is sized correctly, but the surrounding usable space is not.
What’s the best way to adjust the provided clearances if I want a more comfortable patio?
Follow the stated clearances and then add a safety buffer for weather and mobility. For dining, if chairs are tight now, rain season can make it worse due to slippery footing and thicker shoes. If you want a more comfortable margin, increase clearance by 2 to 6 inches per side where possible, or reduce chair count instead of compressing the walkway.
Can I build directly over an existing concrete slab or pavers?
Usually no, not without reworking the whole base. Most patios need a drainage slope and a properly prepared base to prevent water pooling and cracking. If you are transitioning from lawn or an old slab, you must confirm the existing surface can achieve the needed slope, otherwise you will need leveling and base reconstruction.
How do I adapt a patio design example for a sloped yard?
Yes, but treat them as separate zones and plan lighting and seating around the level differences. Steps change movement patterns, and the safest layouts place the main circulation route where you will have the least frequent stepping. If the slope is significant, consider splitting the patio into two terraces rather than forcing one long run.
What’s the most common outdoor kitchen layout mistake to avoid?
Plan your outdoor kitchen placement with both safety spacing and workflow. Position the cook so they face guests, then ensure there is still the required clearance around the grill perimeter for movement and ventilation. Also confirm prep landing areas are on the side that gets the most frequent use, so you are not carrying items across the open traffic lane.
How should I place a fire pit so it works with traffic flow and not just seating?
For fire pit seating, choose a non-combustible base and keep combustible materials away from the flame area. Also avoid placing the pit where smoke will funnel toward windows or roof overhangs. If you are between two zones, consider shifting the fire pit so it acts as the focal point but still leaves the main walkway unobstructed.
What’s the best edging choice when my goal is low maintenance?
Edging is more than aesthetics, it locks the surface in place and supports the border integrity. If you are using pavers, soldier-course edging is typically the more durable approach, and it helps prevent shifting over freeze-thaw or heavy use. For transitions to lawn, use a clean border at grade so soil does not wash into the patio over time.
Do outdoor area rugs change the required patio layout clearances?
Design the furniture layout first, then choose the rug size to match the anchored zone. Outdoor rugs usually work best when they extend beyond the seating so people’s feet land on the rug when they move in and out. If your zone relies on hardscaping edges for definition, a rug can still help visually, but it should not interrupt the main walkway.
Can I scale up a patio design example by adding more people and furniture?
If your patio example is based on a specific footprint, do not assume it scales perfectly. Doubling furniture count often requires more than double the usable walking space because chair pull-out and circulation grow with occupancy. When in doubt, test-fit by masking out the functional footprint on the ground (or using painter’s tape) before finalizing the layout.
What should I verify with local codes before installing a fire pit or built-in grill?
You should check local requirements before you commit to placement, especially for the fire pit and built-in grill. Distances to structures, fences, and combustible materials can vary by municipality, and permitting rules may require inspections for gas lines, electrical runs, or permanent hardscape. If you are unsure, plan a layout that already respects the conservative spacing.