
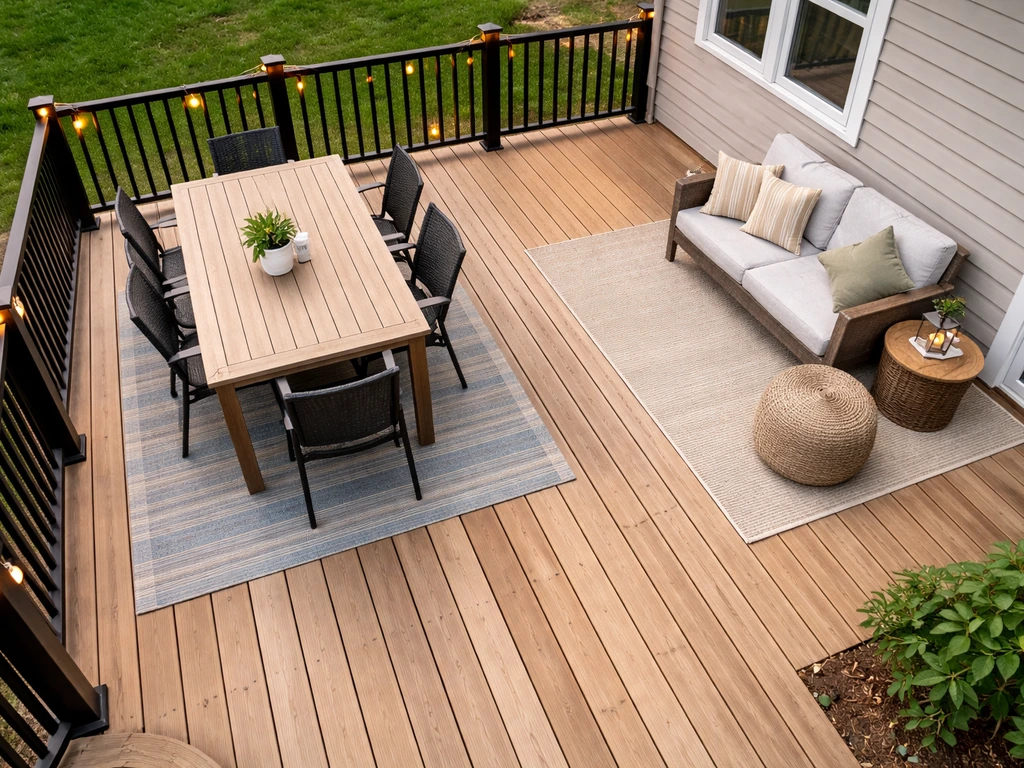
For most households, a patio or deck between 200 and 400 square feet covers the basics comfortably: a dining table for four to six people, a couple of lounge chairs, and enough room to walk around without squeezing. If you add a grill station, a fire pit, or a hot tub, plan on 400 to 600 square feet or more. The exact right size for your yard depends on three things: what furniture and activities you actually need to fit, how much usable space your yard allows after setbacks and obstacles, and what budget you can realistically work with. This guide walks you through all three.
Patio Deck Size Guide: How to Choose the Right Dimensions

Miles Sutton
29 Apr 2026
Start with your purpose and must-have furniture
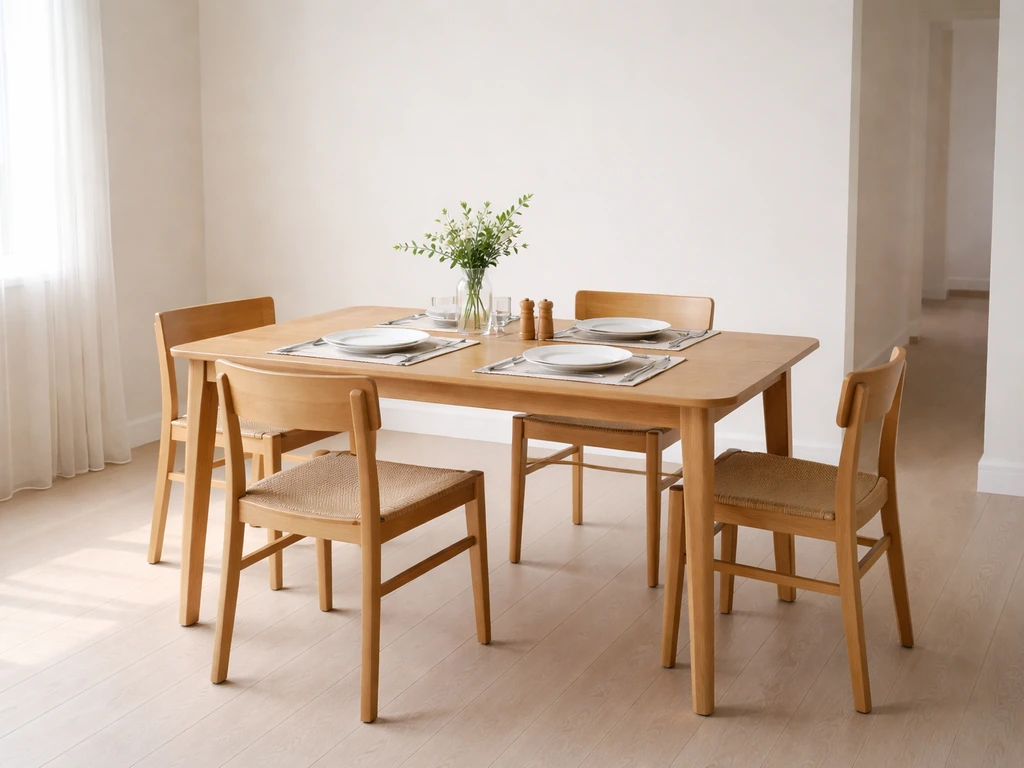
Before you touch a tape measure, write down the one or two activities this space absolutely must support. Dining with family? Weekend entertaining? A morning coffee zone? A spot for the kids to play while you grill? Being specific here prevents the most common sizing mistake, which is either building too small because you only imagined one use, or oversizing because you planned for every possible scenario at once.
Once you have your activities, list the furniture pieces each one requires. A dining set for six typically runs about 60 inches wide by 84 inches long including chairs pulled out. A sectional sofa with a coffee table claims roughly 10 feet by 12 feet of floor space. A freestanding grill plus a small prep cart needs at least 4 feet by 6 feet of dedicated area, and that doesn't include the safety clearance around it. A hot tub can easily require a 10-foot by 10-foot footprint before you add the surrounding walking path.
Add those furniture footprints up on paper first. That raw number is your minimum usable floor area before any walkways or clearances. Most people underestimate this total by 20 to 30 percent, which is exactly why patios end up feeling cramped after the furniture arrives.
| Activity / Feature | Typical Furniture Footprint | Minimum Area Including Clearance |
|---|---|---|
| Dining (4 people) | 5 ft x 7 ft table + chairs | ~120 sq ft |
| Dining (6 people) | 5 ft x 7.5 ft table + chairs | ~140 sq ft |
| Lounge seating / sectional | 10 ft x 12 ft | ~150–180 sq ft |
| Grill station + prep cart | 4 ft x 6 ft | ~80–100 sq ft with clearance |
| Fire pit (freestanding) | 3–4 ft diameter unit | ~100 sq ft with clearance |
| Hot tub (standard 7x7) | 7 ft x 7 ft tub | ~200 sq ft with surround walk |
| Pergola (standard 10x12) | 10 ft x 12 ft | ~120 sq ft footprint |
Measure the space and account for site constraints
Go outside with a 25-foot tape measure, a notepad, and your phone camera. Measure the overall width and depth of the area behind your house where the deck or patio could go. Then subtract the constraints, because the gross measurement is almost never the buildable measurement.
What to measure and document
- Distance from the back of the house to the rear property line
- Distance from both side property lines to where the patio could start
- Location and swing direction of every exterior door that opens onto the space
- Any slopes, grade changes, or low spots that collect water
- Existing trees, utility boxes, AC units, hose bibs, and downspouts
- Utility easements (check your property survey or call 811 before digging)
- Which direction the area faces (sun/shade exposure by time of day)
- Overhead obstructions like eave overhangs, power lines, or tree canopy
Every municipality has setback rules, minimum distances between a structure and a property line. Typical residential setbacks for decks and patios run between 5 and 15 feet from rear and side property lines, but your town's number may differ. Check with your local building or zoning department before you finalize dimensions, because building outside the setback envelope means tearing it out. Utility easements are equally binding: you generally cannot build a permanent structure over an easement, even if you own the land.
Slope matters more than most people realize. A deck can be built over moderate slope using posts, but a poured concrete patio or paver surface needs grading and drainage planning. Any finished patio surface should slope away from the house at about 1/8 to 1/4 inch per foot so water drains away from your foundation. Document the direction water currently flows across your yard and photograph low spots after a rain. That information is directly relevant to both your sizing decisions and any contractor or permit conversation later. When you choose a patio rug size, match it to your seating layout so it stays centered under the furniture and doesn’t end up pinned under walking paths patio or deck. When you compare a patio mat vs outdoor rug, the biggest differences are usually thickness, grip, and how well each one handles moisture and debris. Use this patio size guide to sanity-check your square footage before you finalize furniture and walkway layouts patio or deck.
Sizing rules of thumb for comfort and circulation
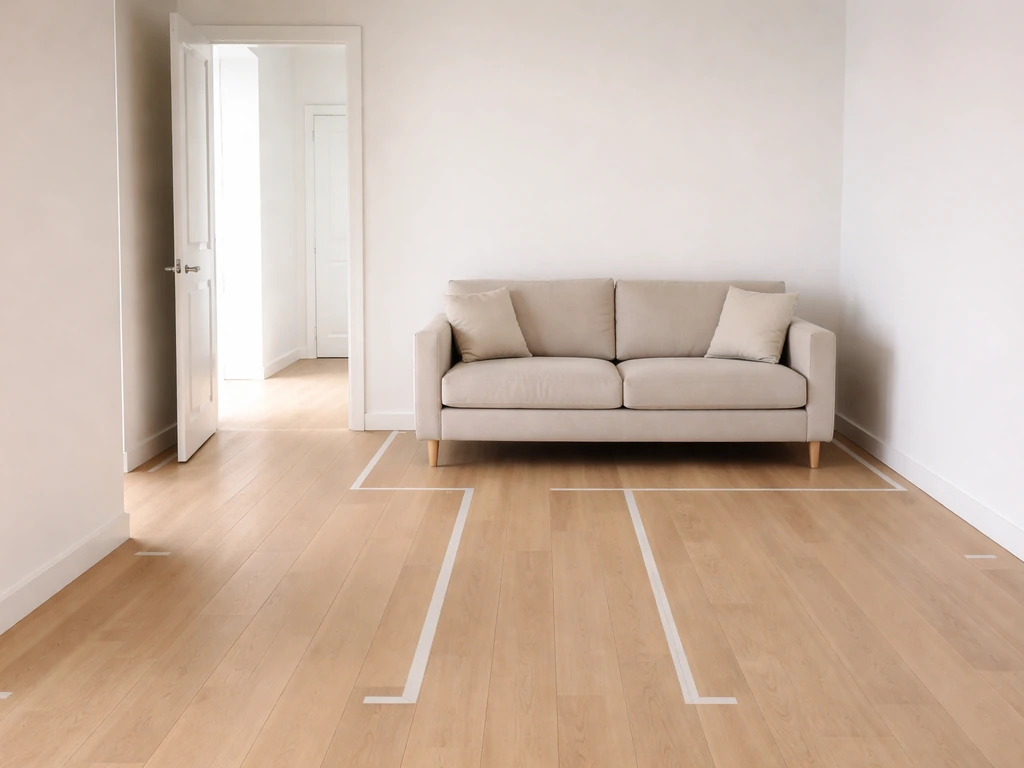
Once you know your usable footprint, apply these rules to translate it into a comfortable, livable space rather than a technically-fits-but-feels-cramped one.
Primary walkways through the space, the paths people use to move between the door and the seating area, between zones, or to reach stairs, should be at least 36 inches (3 feet) wide. That's the minimum for two adults to pass each other without turning sideways. If you ever expect someone using a wheelchair or walker to use the space, plan clear paths of at least 36 to 44 inches and reserve a turning envelope of roughly 30 by 48 inches near any fixed element or doorway. That turning footprint comes from ADA accessibility standards and it's genuinely useful as a planning reference even for non-accessible builds, because it shows you exactly how much space mobility requires in practice.
Secondary zones, like the gap between a dining chair and a planter box or the space beside a grill, can be narrower, but keep at least 24 inches as an absolute minimum. Anything less and people stop using that path at all, which defeats the purpose of the layout.
| Circulation Type | Minimum Width | Comfortable Width |
|---|---|---|
| Primary path (door to seating area) | 36 inches | 42–48 inches |
| Between seating zones | 36 inches | 42 inches |
| Secondary / service path (beside grill) | 24 inches | 30–36 inches |
| Chair pull-out space at dining table | 24 inches behind chair | 30–36 inches |
| Accessible turning space near fixed element | 30 x 48 inches clear | 60-inch diameter turn circle |
A practical shortcut: once you've sketched your furniture layout on paper, draw every path someone would walk from every door to every seating area and from every seating area to the grill or stairs. Check each one against the widths above. If any path is under 36 inches, adjust the furniture positions or expand the deck before you build.
Layout planning: walking paths, access to doors, and zones
Think of your patio or deck as a series of zones, not one undifferentiated slab. A dining zone, a lounging zone, a cooking zone, and any special feature zone (fire pit, hot tub) each need to function independently while connecting naturally. Separating zones on paper before you set dimensions is the single best way to avoid the 'the grill is right next to the dining table' problem, which happens constantly.
Door access is a non-negotiable constraint that gets ignored surprisingly often. Every exterior door that opens onto the deck needs a clear landing area at the top. IRC stair code requires landings at the top and bottom of stairways, and a good rule for any exterior door is to keep at least 36 by 36 inches of clear, obstacle-free space directly in front of it. If your sliding glass door swings (or slides) and opens into the patio space, you need to account for the door's full travel arc or path before placing any furniture. Blocking a door's egress path with a lounge chair might seem minor until someone needs to exit quickly.
If you have multiple zones, think about the flow between them. Cooking produces smoke, heat, and splatter; keep the grill zone downwind of the seating area when possible, or at least on the same side of the deck as prevailing winds so smoke travels away from guests. The lounging zone benefits from afternoon shade; the dining zone benefits from morning sun. These orientation decisions don't change your square footage but they do affect which way the deck is oriented and where each zone lands within the footprint.
Common special elements and clearance planning
Grills, fire pits, pergolas, and hot tubs all come with clearance requirements that must be built into your sizing from the start. FEMA USFA’s Field Operations Guide discusses adjacent combustibles and clearance considerations as part of fire-safety planning, reinforcing why you should account for clearances early blank" rel="noopener noreferrer">clearance requirements that must be built into your sizing from the start. Gas and wood-burning outdoor fire features and appliances must also comply with general blank" rel="noopener noreferrer">clearance requirements between ignition sources and combustible materials, reflecting the IFC fire safety clearance concept described in Chapter 3. Skipping this step is how people end up with a fire pit that violates local fire code or a hot tub that can't be accessed on two sides.
Grills and outdoor cooking
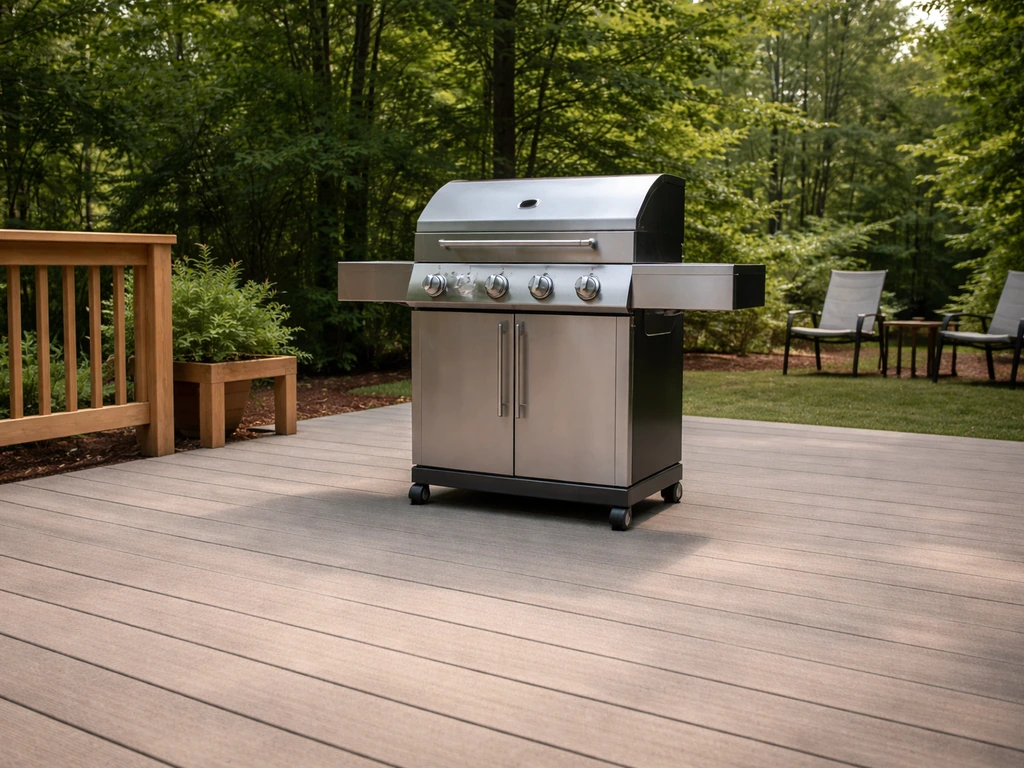
Gas and wood-burning cooking appliances require minimum clearances to combustible materials, and those clearances vary by manufacturer and fuel type. As a baseline, keep any freestanding grill at least 10 feet from the house, fence, or overhead structure when possible, and always check the manual for the specific minimum to combustibles. Built-in outdoor grills typically require non-combustible surrounds and specific side and overhead clearances per their installation specs. Never install a gas grill directly under a low combustible overhead structure like a wood pergola without confirming it meets the manufacturer's clearance requirements. Some units explicitly prohibit installation in enclosed or overhead-combustible areas entirely.
Fire pits
Fire pits need a minimum of 3 feet of clear, non-combustible space on all sides, and many local fire codes specify a 10-foot minimum clearance between an outdoor fire feature and any structure. Some jurisdictions explicitly prohibit placing a fire pit on or under a wood deck, full stop. If you want a fire pit on your deck, check your local ordinance first, and if it's allowed, you'll need either a gas insert on a non-combustible surface or a dedicated area with a code-compliant fire-resistant pad. Plan a footprint of at least 10 by 10 feet for a freestanding fire pit zone when you include seating and clearance on all sides.
Hot tubs
A standard 7-foot by 7-foot hot tub weighs between 3,000 and 6,000 pounds when filled with water and occupants. A standard residential deck is framed for 40 to 50 pounds per square foot live load; a filled hot tub can exceed 100 pounds per square foot. This means adding a hot tub to a deck almost always requires an engineer to review or redesign the framing, including footings, beams, and joist sizing. Build that cost and planning time into your project from the start. For access and maintenance, keep at least 3 feet clear on all four sides of the tub.
Pergolas and overhead structures
A pergola or shade structure adds significant visual mass and typically requires its own footings or attachment hardware. Plan the pergola footprint first, then design the rest of the deck around it. A common pergola size is 10 by 12 feet or 12 by 16 feet. The posts need to land on solid footings, which means they need to be included in your framing plan before concrete is poured.
Railings and guards
If your deck is elevated more than 30 inches above grade (in many jurisdictions; some trigger at lower heights), you'll need a guardrail. Code typically requires guards to be at least 36 inches tall for residential decks, with some jurisdictions requiring 42 inches for higher elevations. Guards take up a few inches of perimeter and can subtly affect furniture placement near the edges, so account for them in your layout.
Budgeting and build-impact by deck/patio size
Cost doesn't scale linearly with square footage. Going from a 200-square-foot deck to a 400-square-foot deck more than doubles the cost in many cases, because the additional area often forces longer beam spans, more footings, longer stair runs, and more linear feet of railing. Paver patios have a somewhat more linear cost relationship but still carry site prep, edge treatment, and drainage costs that don't shrink proportionally for small patios.
| Patio/Deck Size | Approx. Square Footage | Paver Patio Installed Cost (2026) | Pressure-Treated Deck Installed Cost (Approx.) | Composite Deck Installed Cost (Approx.) |
|---|---|---|---|---|
| Small (12x12) | 144 sq ft | $1,150–$3,600 | $2,500–$5,000 | $4,000–$8,000 |
| Medium (14x20) | 280 sq ft | $2,240–$7,000 | $5,000–$10,000 | $8,000–$16,000 |
| Large (20x24) | 480 sq ft | $3,840–$12,000 | $9,000–$18,000 | $15,000–$28,000 |
| XL (24x30+) | 720+ sq ft | $5,760–$18,000+ | $14,000–$28,000+ | $22,000–$45,000+ |
Paver patios typically run $8 to $25 per square foot installed, depending on material choice and site complexity. Pressure-treated wood decks average $18 to $35 per square foot installed, and composite decks run $30 to $60 per square foot or more. These ranges are wide because labor markets, site conditions, and design complexity vary enormously. Use them for ballpark planning, not binding estimates.
Structural choices driven by size have outsized cost impact. Composite decking products often require joist spacing of 12 inches on center (vs. 16 inches on center for most wood decking), which means 33 percent more joists and hardware for the same deck size. Longer spans between posts require larger beams and deeper footings. A deck sized to cross a slope or span a corner needs custom framing that adds labor hours fast. If your budget has a firm ceiling, it's smarter to build a well-framed 300-square-foot deck than a value-engineered 450-square-foot one.
Don't forget the per-project fixed costs that don't change with size: permits (often $200 to $1,500 depending on jurisdiction), footings setup, hardware and ledger attachment, stairs (a basic stair run can add $500 to $2,500), and any electrical or gas rough-in for lighting or a grill hookup. These costs dilute on a larger project but can represent a significant percentage of a small one.
From DIY planning to contractor/pro permit readiness
Whether you're building this yourself or hiring someone, the prep work is the same. The difference is whether you or the contractor is doing the permit application. Either way, you need to show up to that conversation with specific information, not a vague idea.
What to document before you call anyone
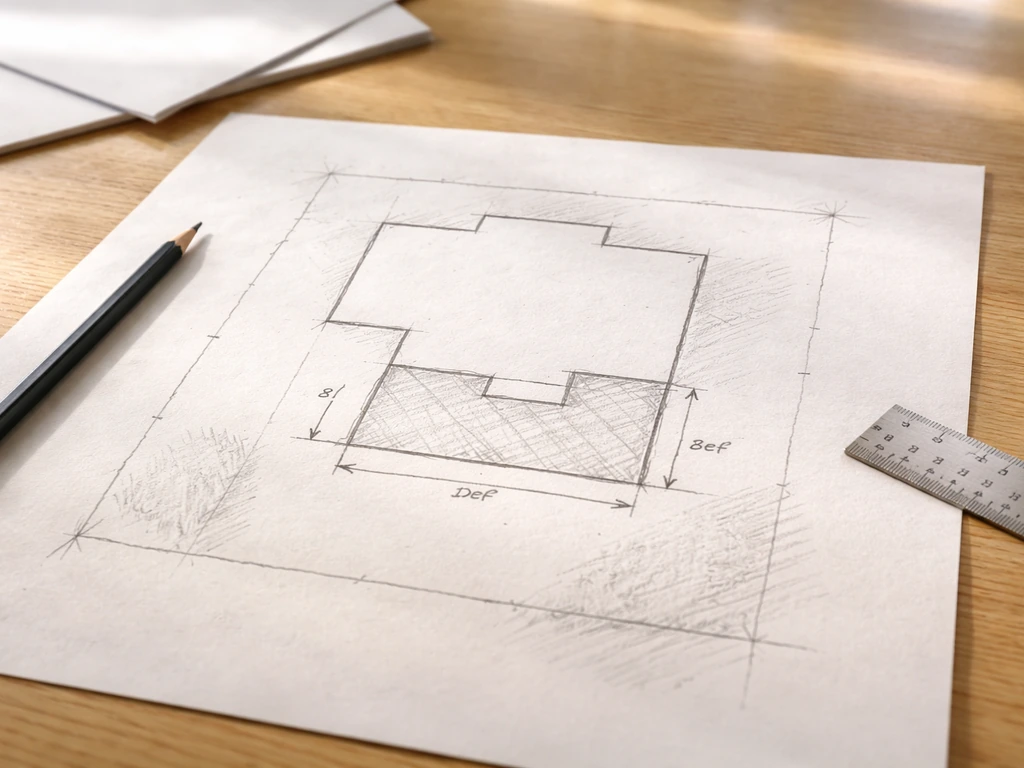
- A hand-drawn or software sketch of your property showing the house footprint, property lines, and the proposed deck/patio location with dimensions. Include distances from the deck to each property line.
- Your property survey (usually in your closing documents) showing setback lines, easements, and lot dimensions.
- Measurements of every exterior door location and swing direction along the proposed deck perimeter.
- Photos of the site from all four sides: the back of the house, the left yard, the right yard, and looking back toward the house from the rear of the proposed deck area.
- Notes on grade change: estimate or measure how much the ground drops or rises across the proposed footprint.
- Utility markings: call 811 before any digging, and note where gas, water, electric, or cable lines run through or near the area.
- A list of special features you want: grill, fire pit, hot tub, pergola, built-in seating. Each one triggers additional clearance, structural, or permit questions.
- Your target dimensions (width x depth) and the total square footage, even if approximate.
What to ask your building department
- What is the required setback from rear and side property lines for a deck or patio?
- At what height does a deck require a permit and/or guardrails?
- Are there any easements on my property that affect where I can build?
- What is required on the site plan drawing for a permit submission (scale, dimensions, drainage arrows, utility locations)?
- Are there any fire pit or outdoor cooking appliance restrictions in this jurisdiction?
- If I'm adding a hot tub, does the structural design need to be stamped by an engineer?
What to ask contractors when getting quotes
- Will you pull the permit, or is that my responsibility?
- Does your quote include footings, ledger attachment, stairs, and railings, or are those line items?
- What framing lumber or composite joist spacing are you designing to, and why?
- Have you built decks or patios on sites with similar slope or soil conditions to mine?
- What's your process if the inspector requires changes to the framing after the first inspection?
- Can you show me a sample scaled drawing similar to what you'd submit for permit?
If you're planning to DIY the build but hire out the design or permit drawing, that's a completely legitimate approach. Many homeowners use a local designer or draftsperson to produce a permit-ready scaled site plan, then build themselves. The drawing needs to show the deck footprint to scale, distances to all property lines, door locations, stair placement, and any special features. Framing plans typically show joist direction, spacing, beam and post locations, and footing depths, all pulled from the same reference point to avoid measurement drift.
One final piece of advice: size your deck for your life in two to three years, not just today. If you're planning to add a pergola or outdoor kitchen later, rough in the footing locations now even if you don't build the structure yet. Adding footings after the deck surface is finished is expensive and disruptive. A little forward planning at the sizing stage costs almost nothing and saves a lot of headache down the road.
FAQ
What patio deck size should I choose if I’m only sure about seating but not a fire pit or hot tub yet?
Start with the minimum “core use” layout (dining plus walking paths), then design the footprint so future features can fit without blocking circulation. In practice, leave a dedicated future zone near the edge of the dining or lounge area, and keep a clear walkway width even when you add the feature. This prevents the common situation where you can technically fit a hot tub, but it forces door access to be tight or paths to drop below 36 inches.
How much extra space should I plan beyond my furniture footprints?
Plan for at least an extra 15 to 25 percent buffer beyond the summed furniture sizes to account for clearance around fixed items and realistic crowd movement. The article covers underestimating by 20 to 30 percent, so if you want a simpler rule, use 20 percent for dining-only layouts and closer to 25 to 30 percent when you expect frequent entertaining with grill, service movement, or multiple seating groupings.
Do furniture measurements like dining table size include clearance for chairs pulling out?
They often do not unless you explicitly choose a “with-chairs-out” dimension. For accurate planning, verify the chair swing or pull-out travel distance for your actual chairs (especially for bench seating or dining chairs with arms), then add clearance so the chair can fully extend without cutting into your 24 inch secondary paths.
If my yard is narrow, can I use a smaller patio deck size by relying on angled layouts?
Yes, but keep the accessibility and circulation rules intact. Angled or L-shaped layouts can reduce the dead space that happens with strict rectangles, however you still need 36 inch primary routes between doors and zones, and you must preserve the turning envelope near doors or fixed elements. When space is tight, relocating zones side-by-side usually works better than squeezing them into the same narrow corridor.
How do I measure for slope and drainage without relying on guesswork?
Use your phone camera to capture the same yard area from two distances, then mark down the lowest point and the direction water flows after a rain. For sizing, treat the low area as “non-buildable” for features that trap water (paver edges, patio rug corners, or seating bases), unless you commit to a drainage solution. Also remember that finished patio surfaces should slope away from the house, so your effective usable level space may shrink on one end.
Can I place a patio mat or outdoor rug wherever it fits visually?
Not if it will end up interfering with walking paths or seat access. Plan rug placement after you finalize chair pull-out distance and walkway edges, then size the rug so it extends under seating while leaving walkway clearance. A practical tip, if you use potted planters as boundaries, position the rug so its edge does not land under a planter lip or where foot traffic regularly crosses.
What clearance is most commonly violated around grills and why does it affect patio deck size?
The most common issue is overlooking manufacturer clearance to combustibles and not accounting for the prep cart or staging space. Even if the grill footprint “fits,” the safety clearance can block where you can place the dining side, bar stools, or a pergola edge. When planning, separate “walk space” from “no-combustible zone” so you do not end up with a layout that meets pathway widths but fails code or manual requirements.
If I want a deck for a hot tub, can I just size it like a normal deck and upgrade later?
Usually no. A filled hot tub can exceed typical residential deck live load assumptions, and upgrading after installation often means major framing work. Treat the hot tub as a structural planning item from day one, confirm the framing redesign requirements with an engineer, and keep at least 3 feet clearance on all sides so maintenance and access remain possible.
How should I account for door swing and the “landing” area in a tight patio deck size?
Before choosing final dimensions, simulate each door’s full motion on paper, then place furniture only outside the door’s travel arc. Also preserve the landing zone directly in front of the exterior door, aiming for at least 36 by 36 inches obstacle-free where possible. If your sliding door swings into the patio, you may need to flip the furniture orientation rather than trying to reduce clearance.
What if my deck is elevated and I forgot about guardrails, does it change the usable size?
Yes, guardrails subtly reduce usable perimeter and can interfere with edge-proximate seating and planters. When the deck is elevated more than about 30 inches, plan for guard height requirements and include guard thickness or spacing in your layout so your “final” dining or lounge zone does not get squeezed right at the perimeter.
Should I use square feet or dimensions (width x depth) when planning?
Use both. Square footage helps compare options, but width and depth determine whether you can meet the circulation rules and door access constraints. A 300-square-foot deck with one dimension under about 8 to 10 feet often forces awkward paths even though the total area looks sufficient, so check the smallest dimension against your minimum path widths and furniture orientations.
What are the most expensive “hidden” costs that show up when patio deck size increases?
The main cost multipliers are linear items that grow with size, such as railing length, stair runs, and additional beam spans and footings. That’s why cost can jump faster than square footage suggests. If budget is tight, prioritizing a simpler layout, shorter spans, and fewer stair transitions can keep the design within a lower-cost deck footprint.
I’m hiring out the design but building myself. What should I insist the drawings show?
Insist on a scaled site plan that clearly labels deck footprint, distances to property lines, door and stair locations, and any special features. For framing plans, ask for joist direction, spacing, beam and post locations, and footing depths relative to the same reference point, so you do not accumulate measurement drift when you build. Also confirm the plan addresses accessibility circulation routes if that matters for your household.