
For most households, a patio between 144 and 300 square feet (roughly 12x12 to 15x20 feet) covers dining, lounging, and light grilling without swallowing the yard. But the right number for you depends on three things: how much usable space your yard actually has after setbacks and slopes are accounted for, how you plan to use the patio, and how much clearance you need around furniture and access routes. For a step-by-step breakdown of how to pick the right square footage, use this patio size guide. Get those three things right and the sizing almost picks itself.
Patio Size Recommendations: Measure, Plan, and Size Correctly

Miles Sutton
29 Apr 2026
How to measure your available space
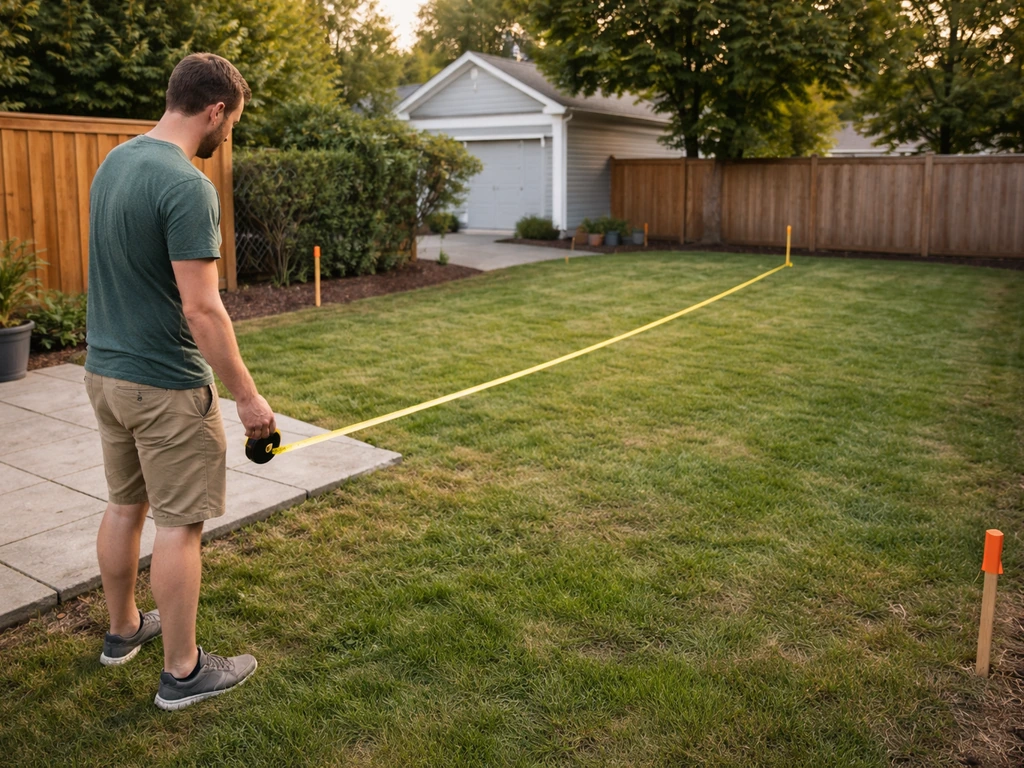
Before you sketch anything, walk the yard with a 100-foot tape measure (or a laser distance tool) and get real numbers. You need to know what you're actually working with, not what you hope is there.
- Mark your property lines: Use your survey plat (usually in your deed or available from the county assessor) to find the actual corners. Flags or stakes help you see the boundary in the yard.
- Identify setback requirements: Call or visit your local planning or zoning department to get the required rear and side setbacks for accessory structures. These are measured perpendicular to the property line, not diagonally along it, so measure straight out from the line. Many municipalities require 5 to 10 feet from rear and side property lines for patios or hardscaping.
- Check for easements: Utility and drainage easements are strips along or through your property where a utility company or drainage district has access rights. These areas can't be permanently paved or built over in most cases. Look for them on your plat, or ask your local public works office.
- Flag the buildable rectangle: Using your setback lines and any easement zones, mark out the actual footprint where a patio can legally sit. This is your usable area.
- Account for slopes and drainage: Walk the space after a rain, or use a line level and stakes to find the grade. Slopes steeper than about 2 percent toward the house are a drainage problem waiting to happen. Steep or uneven ground also shrinks your practical flat area unless you're willing to regrade or build a raised platform.
- Measure the final usable zone: Length times width gives you the maximum square footage you have to work with. Write it down. Your patio footprint will be some portion of that number, not all of it.
One thing people skip: account for the door swing and any existing AC condensers, downspouts, or hose bibs. These eat into the usable footprint more than you'd think, and you'll want to route around them rather than pave over them.
Minimum vs comfortable patio size: quick rules of thumb
Think of patio sizing in two tiers. The minimum is what you need to make the space functional without feeling like you're eating dinner in a closet. The comfortable size is what actually feels good when people are sitting, moving around, and the grill is going.
| Use Case | Minimum Size | Comfortable Size |
|---|---|---|
| Solo or couple (dining + seating) | 10x10 ft (100 sq ft) | 12x12 ft (144 sq ft) |
| Small family dining (4 people) | 12x12 ft (144 sq ft) | 14x16 ft (224 sq ft) |
| Family + guests (6–8 people) | 14x16 ft (224 sq ft) | 16x20 ft (320 sq ft) |
| Lounge seating grouping (sofa + chairs) | 10x14 ft (140 sq ft) | 12x16 ft (192 sq ft) |
| Grill zone (standalone) | 6x8 ft (48 sq ft) | 8x10 ft (80 sq ft) |
| Combined dining + lounge + grill | 16x20 ft (320 sq ft) | 20x24 ft (480 sq ft) |
A good rule of thumb: if you're planning for a dining table, add 3 feet on every side of the table for chair pull-out and walking room. A 4-foot round table needs at least a 10x10 space to be usable. Scale up from there for larger tables and mixed-use layouts.
Choosing dimensions by how you'll use the space
This is where a lot of planning goes wrong: people pick a number without thinking about what actually needs to fit. Here's how each use case changes your target dimensions.
Dining areas
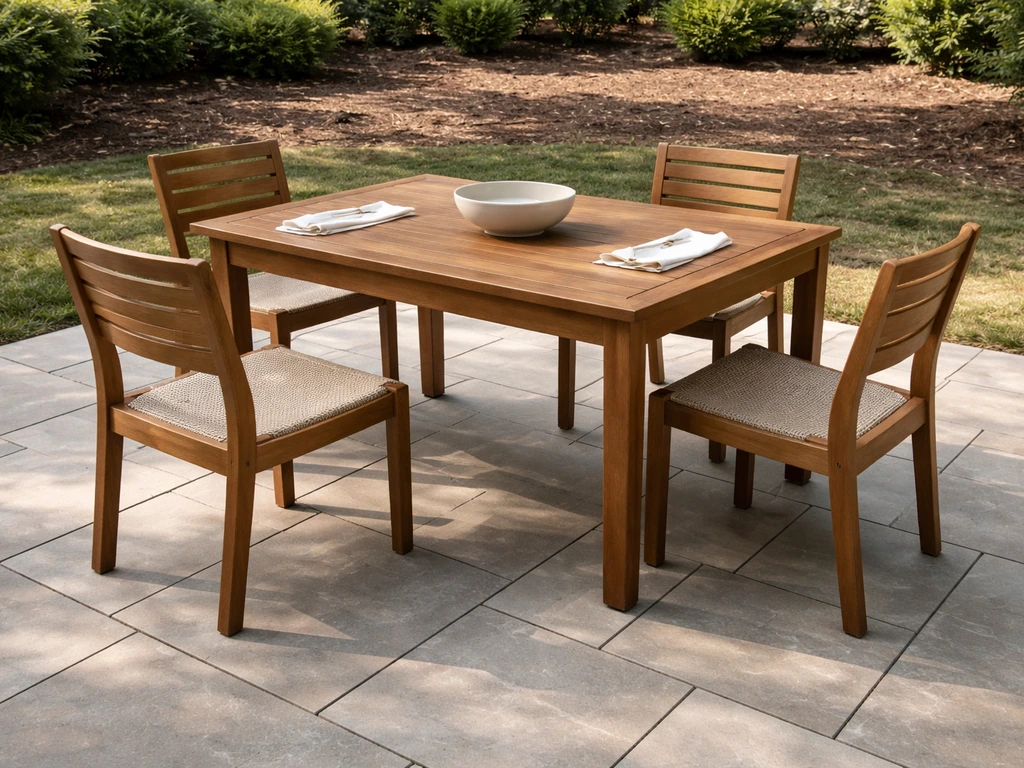
A standard rectangular dining table for 4 people is roughly 36x60 inches. Add 36 inches (3 feet) on all sides for chair pull-out and walking behind seated guests and you need about 10x12 feet minimum, with 12x14 being noticeably more comfortable. Rocabu Designs’ dining spacing and clearance guideline follows commonly accepted assumptions for chair pull-out and movement, using general per-person spacing principles to help you plan comfortable layouts chair pull-out and walking behind seated guests. A 6-person table (36x72 inches) bumps that to 12x14 at minimum and 14x16 for comfort. For 8 people, plan on at least a 14x18 footprint, and 16x20 if you want people to actually move around each other without saying excuse me every 30 seconds.
Lounge and seating groupings
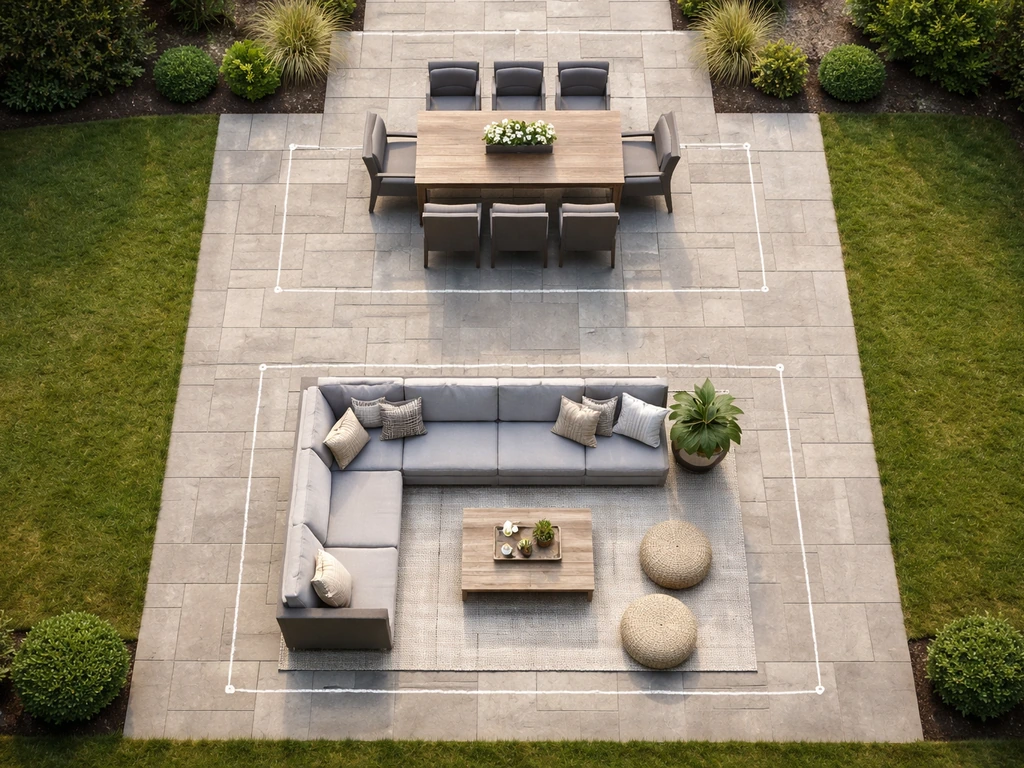
A typical outdoor sofa is around 84 to 90 inches wide. Pair it with a coffee table and two chairs in an L or U arrangement and you're looking at a footprint of roughly 10x12 to 12x14 feet just for the furniture. Factor in the same 3-foot clearance rule around the perimeter and a dedicated lounge zone wants at least 12x16 feet to breathe. If your layout combines dining and lounge zones on one patio, treat each zone as separate and add them together, then add a 4 to 6-foot transition buffer between them.
Grilling zones
A standalone kettle or gas grill needs a minimum 3-foot clearance on the sides and back from any structure, fence, or overhang, and at least 10 feet from the house wall if you're concerned about smoke or heat near siding. The grill's footprint itself is usually 24x30 inches to 30x40 inches depending on the model. A functional grill station with a small prep cart takes up about 6x8 feet. If you're building a permanent outdoor kitchen island, plan on 8x10 to 10x12 feet including working clearance in front of the unit. Never tuck the grill into a corner where the cook is blocked in; you need a clear exit path.
Fire pits and hot tubs
A fire pit and seating circle typically needs a 12-foot diameter minimum, with 16 to 18 feet being much more comfortable. Many fire codes require 10 feet of clearance from any structure, fence, or overhead obstruction, so check locally before you commit. Hot tubs are their own category: a standard 6 to 7-foot square tub needs 24 inches of clearance on all accessible sides for maintenance and cover removal, plus a paved path leading to it. Budget at least a 12x14-foot patio section for the tub alone.
Clearances, walkways, and circulation space
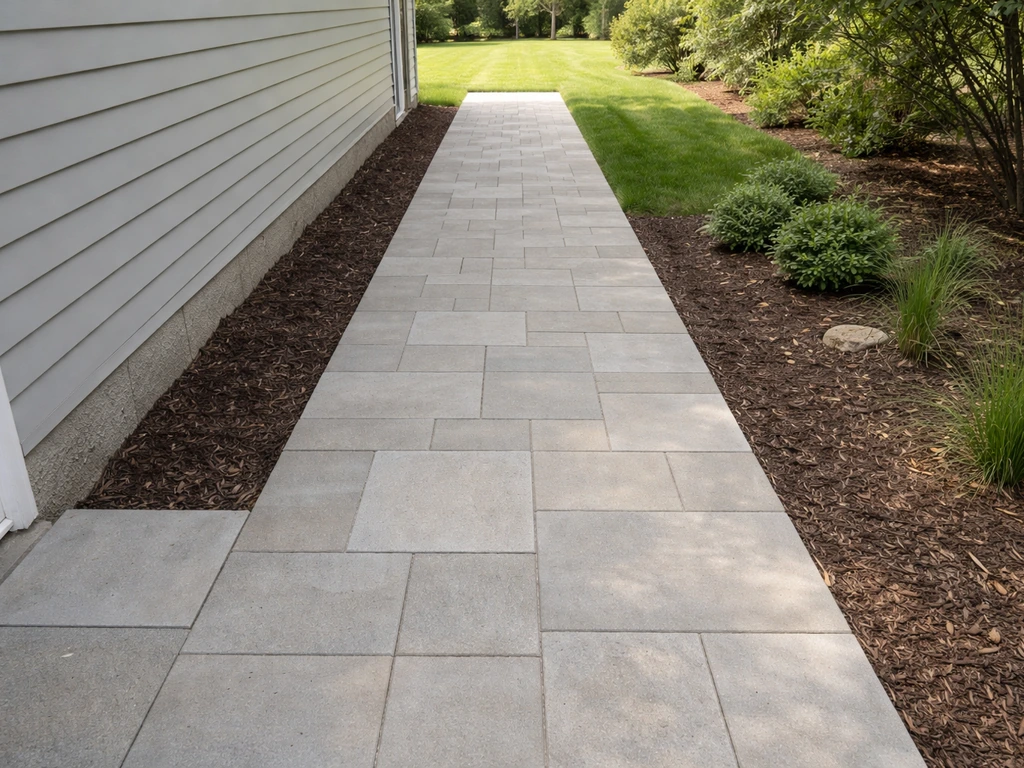
Circulation is the most underestimated part of patio planning. It's the space people move through, not the space they sit in, and it's the first thing that makes a patio feel cramped when it's missing.
- Main walkway from house to yard: minimum 36 inches wide, 48 inches preferred if it doubles as a route to a gate or separate area
- Clearance between back of chair and any wall, railing, or planter: minimum 36 inches to allow someone to pass without disturbing seated guests
- Clearance between furniture groupings (e.g., dining zone to lounge zone): 4 to 6 feet keeps zones feeling intentional rather than squeezed together
- Door swing clearance: a standard exterior door swings 32 to 36 inches; add 12 to 18 inches beyond the swing arc before placing any furniture or planters
- Steps and level changes: allow at least 48 inches of depth at the base of any steps before the first piece of furniture
- Grill to seating clearance: 3 feet absolute minimum, 5 feet strongly recommended so the cook isn't hemmed in and smoke drifts away from guests
One practical test: draw your planned layout to scale on graph paper (1 square = 1 foot works well). Then mark every circulation path with a different color. If any path is narrower than 36 inches or routes guests through the grill zone to reach seating, the layout needs a revision before you pour a single bag of concrete. For accessible routes, the U.S. Access Board’s ADA Chapter 4 guidance reiterates a minimum 36-inch continuous clear width and allows a reduction to 32 inches for limited points separated by minimum 48-inch distances.
Furniture sizing and layout planning
The furniture you plan to use should drive your square footage target, not the other way around. Here's a practical way to reverse-engineer your patio size from the furniture up.
- List every piece of furniture you want on the patio (table, chairs, sofa, lounge chairs, side tables, grill cart, etc.)
- Write down the actual dimensions of each piece, or the dimensions of whatever you're planning to buy
- On graph paper or a free tool like RoomSketcher, place each piece with 36-inch clearance on all sides that face open space or walking paths
- Draw the outer boundary around everything and measure that rectangle — that's your minimum patio footprint
- Add 10 to 15 percent to that number as a buffer for real-life furniture shifting, guests, and the occasional extra chair
To give you a concrete example: a 6-person rectangular dining table (36x72 inches) plus 6 chairs (each about 20x20 inches) with 36-inch clearance all around lands at roughly a 10x14-foot zone. Add a 4-burner gas grill with a prep cart (about 5x3 feet with clearance) and a 3-seat sofa grouping (about 10x10 with clearance) and you're looking at a combined footprint of around 20x16 to 20x18 feet for all three zones placed side by side. That's about 320 to 360 square feet, solidly in the comfortable range for a family setup.
Also think about the shape. An L-shaped or wraparound patio can define separate zones more naturally than a single rectangle and may fit a corner yard better. If your patio will also anchor an outdoor rug or two for zone definition, those rug dimensions need to fit within each zone's boundaries with at least 18 inches of bare patio around the perimeter. If your patio will also anchor an outdoor rug or two for zone definition, choose rug sizes that fit within each zone's boundaries and leave enough bare patio around the perimeter, similar to how you compare a patio mat vs outdoor rug for placement and coverage outdoor rug for each zone.
Budgeting and materials: how patio size affects cost and build scope
Patio size is one of the biggest levers on total project cost, so it's worth understanding how the numbers scale before you commit to a footprint.
| Material | Approx. Cost Per Sq Ft (Installed, 2026) | Notes |
|---|---|---|
| Poured concrete (basic broom finish) | $8–$15 | Lowest cost, durable, less flexible to repair |
| Concrete pavers | $15–$25 | DIY-friendly, replaceable if one cracks, wide style range |
| Natural stone (flagstone, slate) | $25–$45 | Higher end, very durable, variable installation complexity |
| Brick pavers | $15–$30 | Classic look, long lifespan, moderate DIY difficulty |
| Gravel/decomposed granite | $3–$8 | Budget option, good drainage, less formal |
| Composite deck boards (raised) | $30–$55 | Often used for raised patios near the house, higher labor cost |
Material costs scale directly with square footage, but base preparation (grading, compacting, gravel sub-base, edge restraints) is largely a fixed labor cost that doesn't shrink much for smaller patios. This means a 100-square-foot patio often costs only 30 to 40 percent less than a 200-square-foot patio once you account for mobilization, base work, and equipment. Going from 200 to 300 square feet is relatively cheaper per square foot because the fixed costs are already absorbed.
As a rough budgeting guide: a basic 12x12 concrete patio runs $1,100 to $2,200 installed. A 16x20 paver patio lands between $4,800 and $8,000. A 20x24 natural stone patio can reach $12,000 to $25,000 depending on stone selection and site complexity. DIY installation with concrete pavers can cut labor costs by 40 to 60 percent if you're comfortable with the base prep work, which is honestly the hardest and most important part. If your site has drainage issues or significant slope, factor in extra grading costs before you finalize a budget.
Size also affects permit requirements in many jurisdictions. Patios under a certain square footage (often 200 square feet, but this varies) may be exempt from a building permit, while larger or elevated structures typically require one. Check with your local building department before finalizing your design, especially if you're adding a roof or pergola over the patio.
Common mistakes that make patios feel overcrowded (and how to avoid them)
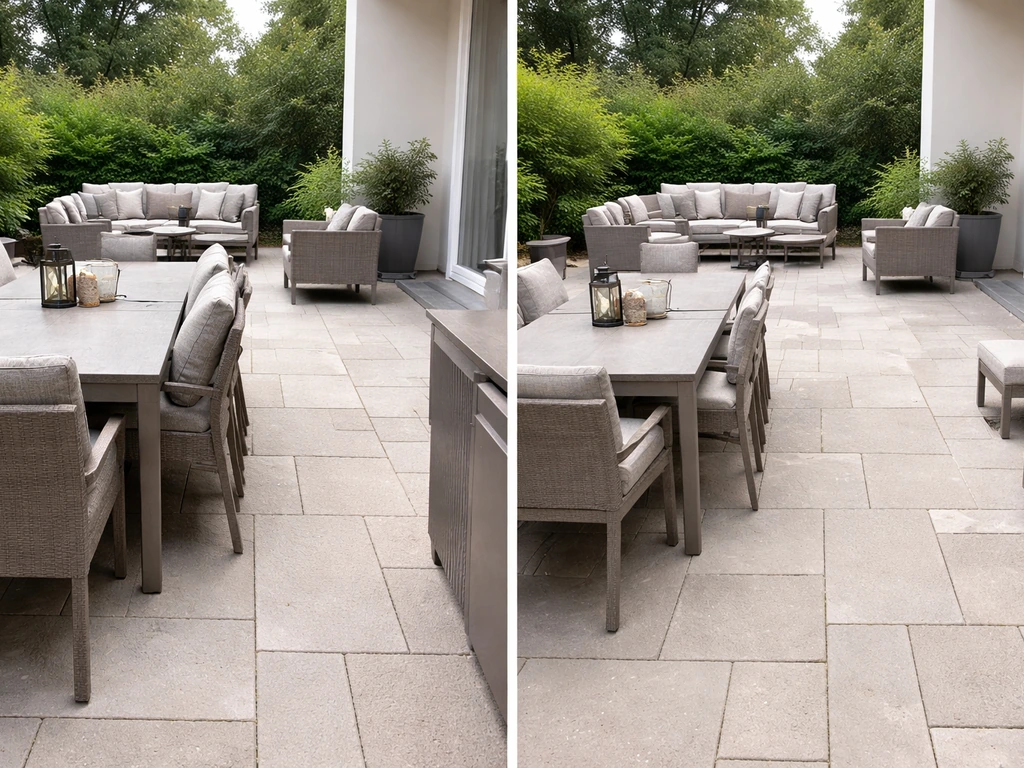
Most patio regrets come from the same handful of mistakes. Here's what to watch for before you finalize your plan.
- Underestimating circulation space: People plan for furniture footprints but forget the 36-inch minimum walking lanes between zones. The result is a patio that works on paper but feels like a maze in person.
- Building too close to the house: Patios built right up to the foundation can trap moisture against the structure and create drainage headaches. Keep at least 2 feet of space between the patio edge and the house foundation, sloping the patio surface away from the house at a minimum 1-percent grade (about 1/8 inch per foot).
- Ignoring setbacks and easements: Building a patio over a utility easement or inside a setback zone can mean a forced removal later. Always verify before you dig.
- Undersizing the patio then cramming in furniture: A patio that's 12x12 with an 8-seat dining set will always look and feel wrong. Match your furniture wishlist to your square footage, not the other way around.
- Oversizing and losing the yard: A patio that takes up 80 percent of the backyard leaves no buffer zone, no lawn for kids or pets, and no room to grow plants or define the outdoor space. Aim for the patio to occupy 25 to 50 percent of the total backyard area in most residential settings.
- Forgetting about shade: A patio that bakes in afternoon sun will go unused in summer. Before finalizing placement, observe where the sun falls between 1 and 5 PM in summer and plan for a pergola, umbrella, or shade sail if needed.
- No defined entry point: Patios that are accessible from multiple directions without a clear main entry feel chaotic. Design one obvious approach from the house and keep it clear of furniture.
Your next steps before committing to a final design
Here's the sequence that actually works. Follow it in order and you'll avoid the most common and expensive mistakes.
- Measure your yard and identify your usable buildable area after setbacks, easements, and slopes are accounted for
- Pick your primary use case (dining, lounging, grilling, or a combination) and find your target footprint from the sizing tables above
- List your furniture and reverse-engineer the minimum patio size you actually need from those real dimensions plus clearances
- Draw a to-scale layout on graph paper or a free online tool, marking every walking path and zone transition
- Check every clearance: 36-inch minimum walkways, 36-inch chair pull-out space, 3 to 5-foot grill clearance, and proper door swing room
- Confirm your design falls within local setback and easement requirements, and check whether your planned size triggers a permit requirement
- Get at least two contractor quotes if you're not going DIY, specifying your exact square footage and material preference so quotes are apples-to-apples
- If budget is tight, start with the minimum comfortable size for your primary use case and design the layout so it can expand later without redoing the base
Once you've locked in a footprint, the design details (material choice, shape, edge treatments, and accessories) become much easier decisions. If you're also thinking about a deck addition, the sizing principles are similar but the structural requirements differ significantly. A patio deck size guide can help you translate your layout needs into the right overall square footage and dimensions If you're also thinking about a deck addition. And once your patio is built, getting the right size outdoor rug for each zone is one of the easiest ways to define the space and make it feel intentional rather than just a slab with furniture on it.
FAQ
Can I size a patio by using the “edge of my yard” without measuring setbacks and slopes again later?
Yes, but plan conservatively because overlays and setbacks can shrink usable space. For example, if you’re replacing existing concrete or pavers, check whether the new surface must match property lines, drainage grades, or existing stair clearances. Also confirm whether any utilities or weep holes must remain accessible.
Do I need to change patio size recommendations if I’m adding a pergola or roof over part of the patio?
If you add a pergola, roof, or ceiling fans, give yourself extra overhead and access clearance, not just side clearance. Outdoor structures can also create wind and smoke patterns, so keep the grill placement aligned with how the area will be sheltered. Verify that post locations do not force your lounge or dining circulation paths under narrow spans.
How do I adjust patio size recommendations for entertaining when foot traffic will be heavier than usual?
If you’ll host guests, prioritize circulation widths and avoid routing people through the grill prep area. A practical approach is to design two routes, a “primary” path from the door to seating and a “secondary” path that bypasses the grill when the layout is crowded. If you can’t do that, increase patio length rather than just expanding one zone.
What if my dining chairs are bulky, or we use recliners or kids pull-out chairs, do I need more than the standard clearance?
Yes. Many people assume the same clearance works for all seating, but reclining chairs, larger planters, and wheel-free mobility routes may need more space. If you use wider chairs or have kids frequently pulling chairs out, add 6 to 12 inches to the chair-pull side beyond the typical 3-foot rule where the chair exits into circulation.
Can a compact patio work if the furniture measurements technically fit?
A 10x10 circular or square table zone can work for small groups, but you may still feel cramped if your route from the house to seating is narrow. Re-check circulation first, then confirm that the grill and side tables do not create dead-end pockets where people can’t pass. It’s common to end up with “fits on paper” plans that feel tight once you add serving space.
How should outdoor rug placement affect patio size recommendations in each zone?
Rugs can change how you perceive patio size, but they should not be treated as extra flooring. If you expect the rug to define the seating zone, keep furniture fully supported within the rug or just slightly off one edge, and maintain bare patio around the perimeter for walking. Measure the rug area against your circulation paths so people are not stepping off the rug into obstacles.
Is a smaller patio always worse than a larger one, or can shape choices improve usability?
Don’t assume square footage is enough, because some patio shapes create “wasted” corners. L-shaped and wraparound plans can improve usability by separating the dining and lounge zones without squeezing circulation. If you choose a narrow shape for a side yard, make sure the narrowest segment still meets the 36-inch circulation test.
Will costs drop proportionally if I reduce patio size recommendations?
Budgeting changes with base type and drainage needs. If you have slope or water pooling, you may need additional base preparation, edging, or drainage corrections, which can narrow the cost savings you’d expect from going smaller. If drainage work is required, it often becomes the main driver, not the final square footage.
How many people can a patio comfortably accommodate if we sometimes seat more than the planned group size?
Often, yes. The number of people who can comfortably sit depends on your layout rules, not only table size. If you regularly go beyond standard seating, add extra aisle width or an additional “landing zone” near the entry so guests can set drinks and wait without blocking the grill or path.
What’s the best way to handle existing AC units, hose bibs, or downspouts without wasting patio space?
If there are existing obstacles, it can make sense to reduce paved area and add functional surfaces elsewhere, like a thinner paver strip to connect zones or a smaller grill pad within a larger lounge slab. But be careful not to block access to condensers, hose bibs, or downspouts, because maintenance may require removal or adjustments later.
How do permit rules change if I’m adding a roof, pergola posts, or any elevated elements?
For permit planning, confirm whether your project is considered a patio, a covered structure, or an elevated deck-like surface. Even if uncovered patios can be under a typical threshold, adding a roof, pergola, or posts may trigger different rules. Get the local definition from your building department before finalizing a “safe” square footage target.