
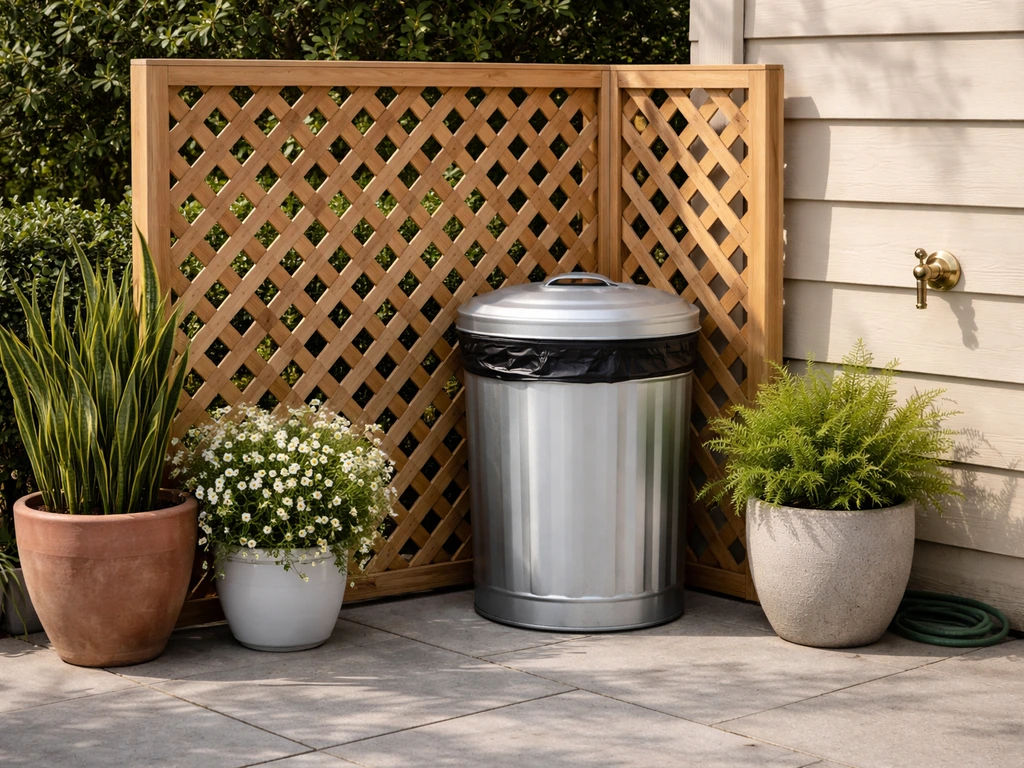
The best patio garbage can setup puts your bin within easy reach of the back door or grill area, screens it from sightlines using a simple enclosure or decorative screen, and uses a tight-fitting lid, liner, and occasional rinse to keep odors and pests in check. You can fix the worst of the problem today with a $30 lidded bin and a bag of baking soda, then work up to a proper enclosure or built-in storage nook if appearance matters more long-term.
Garbage Can Patio Setup Guide: Choose, Place, Hide, Maintain

Miles Sutton
1 May 2026
Define your patio trash problem first
Before you buy anything or build anything, spend two minutes getting honest about what you are actually dealing with. The fix for a small apartment balcony with one bag of weekly trash is completely different from a large backyard patio that hosts cookouts and generates full-size kitchen waste every day. Ask yourself: How much trash volume do you produce, and how often? Is the can primarily for food scraps, recycling, or general outdoor waste? Do neighbors or guests see it directly? Does your HOA or city have screening rules? And how close does the bin need to be to your back door versus your pickup point at the curb?
HOA rules are a real constraint and worth checking before you invest in an enclosure. Some HOAs, like those with policies similar to Arbor Farms, allow coverings on at least two sides to keep bins out of public view but prohibit fully enclosed prefab shed units and restrict how far toward the front of the house an enclosure can extend. Cities like Wheat Ridge require screened trash storage areas on private property to be enclosed by a 6-foot-tall structure. Your local code may have nothing like this, or it may be very specific. A quick call or website search before you build saves a lot of frustration.
Pick the right bin type, size, and features for a patio
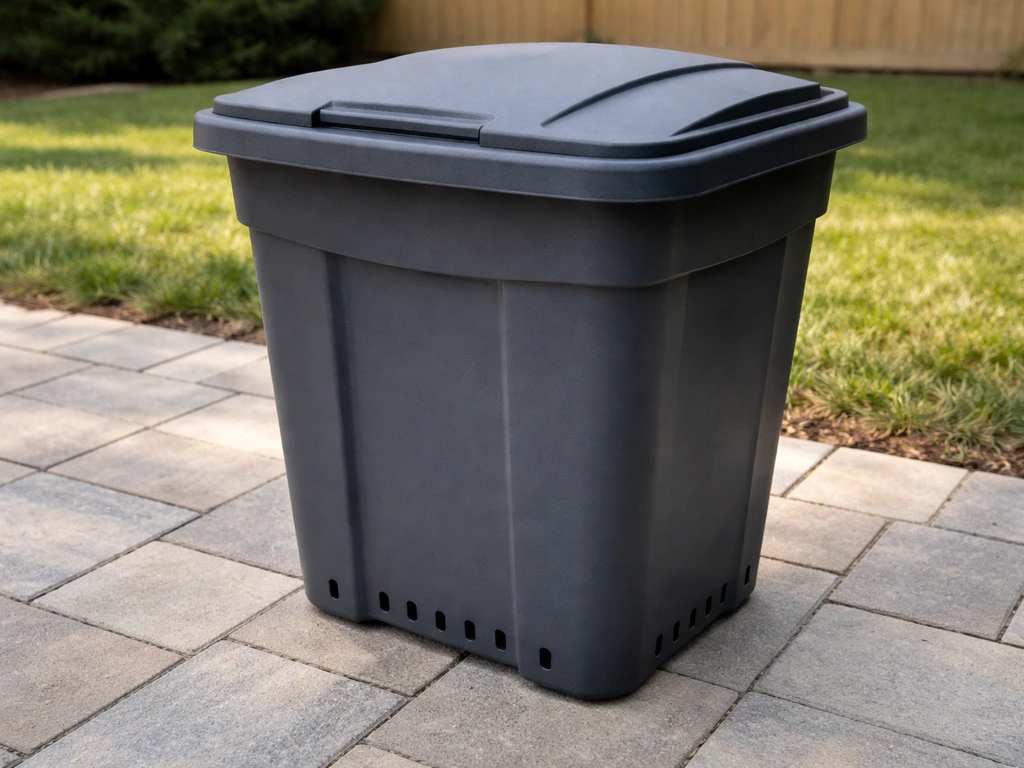
Most kitchen-style trash cans are not built for outdoor use. Thin plastic warps in direct sun, flimsy lids blow off in wind, and cans without drainage holes turn into standing water traps after rain. For a patio, you want a bin rated for outdoor use with UV-stabilized plastic or powder-coated steel, a secure lid (flip-top, locking, or step-open), and ideally a slightly textured or weighted base so it does not tip. Black and gray are the most common colors because they hide staining and tend to blend into fencing or shaded corners.
Size is where people most often get it wrong. A 13-gallon can works fine for a small patio or balcony if you empty it twice a week, but for a household that grills regularly or entertains, you will be emptying a small can every single day. A 20- to 32-gallon bin hits the sweet spot for most patios: large enough to hold a full cookout's worth of waste, small enough to fit inside a standard enclosure or screen without dominating the space. If you are tight on space, a slim rectangular bin is easier to tuck into a corner than a round one.
| Bin Size | Best For | Approximate Footprint | Typical Price Range |
|---|---|---|---|
| 7 to 13 gallon | Balconies, small patios, recycling-only use | 12 x 12 inches | $15 to $40 |
| 20 gallon | Medium patios, daily household use | 16 x 16 inches | $30 to $70 |
| 32 gallon | Entertaining patios, high-volume households | 20 x 20 inches | $40 to $100 |
| 64 to 96 gallon (rollout cart) | Full-size city-issued carts stored near patio | 24 x 36 inches | $60 to $150 (often city-provided) |
Lids matter more than most people think. A step-open lid keeps hands free when you are carrying plates or bags. A locking lid with a twist or strap mechanism is worth it if you have raccoons, dogs, or bears in your area. Flip-top lids are convenient but can blow open in wind, so pair them with a bungee or strap in exposed spots. If you go with a gray or black color specifically, those tend to disappear visually against fencing and dark enclosure materials.
Where exactly to put it on your patio
The ideal placement keeps the bin accessible without making it the first thing guests see or the thing you have to walk around every day. On most patios, that means a corner position near the back door or grill station, screened by a fence panel, planter, or enclosure on at least two sides. Avoid placing the bin directly in the sun if you can. A shaded corner keeps temperatures lower inside the can and slows down odor development significantly.
Leave enough clearance around the bin so you can open the lid fully and swap bags without awkward maneuvering. About 18 inches of clearance in front and 6 inches on either side is the practical minimum. If the bin is on pavers or concrete, check that the surface drains away from the can so spills and rinse water run off rather than pooling underneath. On wood decks, consider a plastic or rubber mat under the bin to protect the decking from moisture and staining.
On pickup day, most cities have specific staging rules. blank" rel="noopener noreferrer">Coon Rapids, for example, requires carts placed 2 feet behind the curb with at least 3 feet between carts. blank" rel="noopener noreferrer">Piedmont residents are told to have carts within 3 feet of the curb and not to put them out before 6 p.m. the evening before collection. Your patio setup needs a clear workflow for rolling or carrying bins out to the street on time and back the same day, so factor that path into your placement decision. A bin tucked into a tight corner behind a gate you need a key for is a bad idea.
Screening, covers, and enclosure options
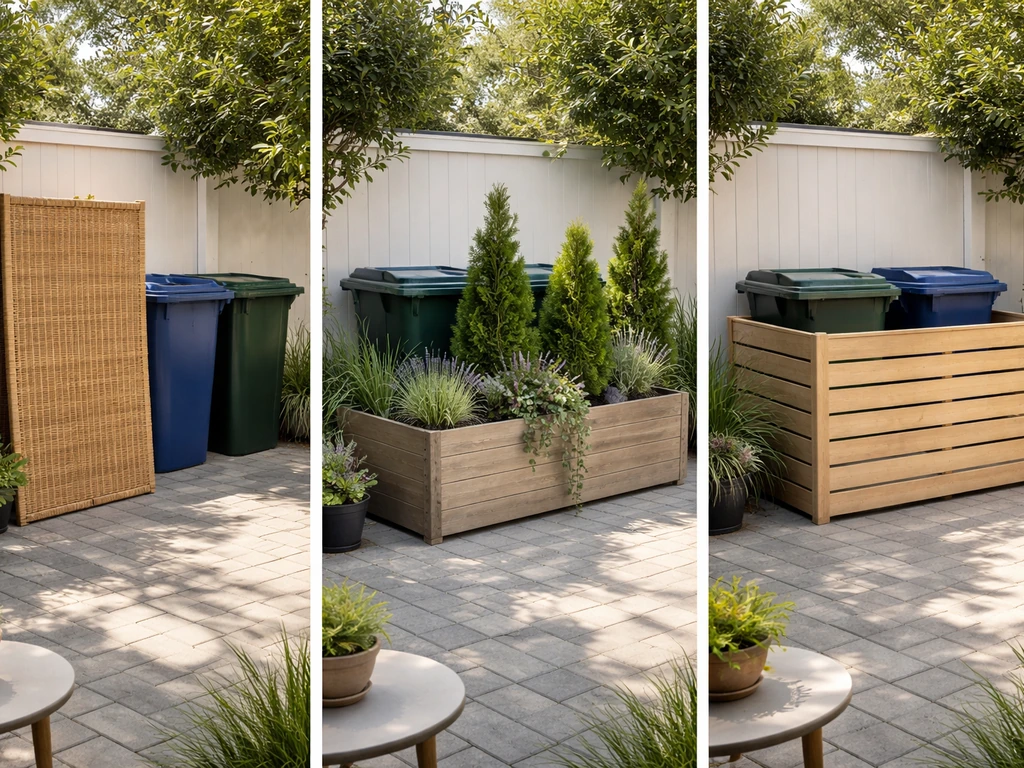
If the bin is visible to neighbors, guests, or the street, some form of screening makes a real difference. You have a spectrum of options from a $20 fix to a full weekend build.
Quick screening you can do today
- Freestanding lattice or bamboo screen panels: easy to reposition, no installation required, $20 to $60 each
- Large planters or planter boxes staged in front of the bin corner: doubles as landscaping
- Outdoor privacy screen fabric stretched between two fence posts: $15 to $40 for a roll
- A simple cedar or pine privacy screen screwed to existing fence posts: a half-day project with basic tools
Purpose-built enclosures
Dedicated trash bin enclosures give you a cleaner look and better containment. These range from slatted wood box designs you can build yourself to powder-coated metal units and premium options from brands like Trash Bin Hidee that are designed specifically as HOA-friendly, attractive enclosures. A basic DIY two-bin enclosure built from cedar or pressure-treated pine runs about $150 to $300 in materials and a weekend of work. Pre-built wood or composite enclosures run $200 to $600. Metal or powder-coated steel units are at the upper end but last longer and require less maintenance.
If you are in a regulated area, keep your enclosure on private property and away from the public right of way. San Francisco Public Works notes that enclosures entirely on private property generally do not require their department's permit, while any unpermitted structure in the public right of way is prohibited. Check your local building department for any height or setback requirements before you build.
For enclosed bins, make sure the design allows easy rollout on pickup day. A front-opening gate or swing-out panel on at least one side is essential. An enclosure that requires you to lift the bin out is a problem you will hate by week two.
Control odors, pests, and mess
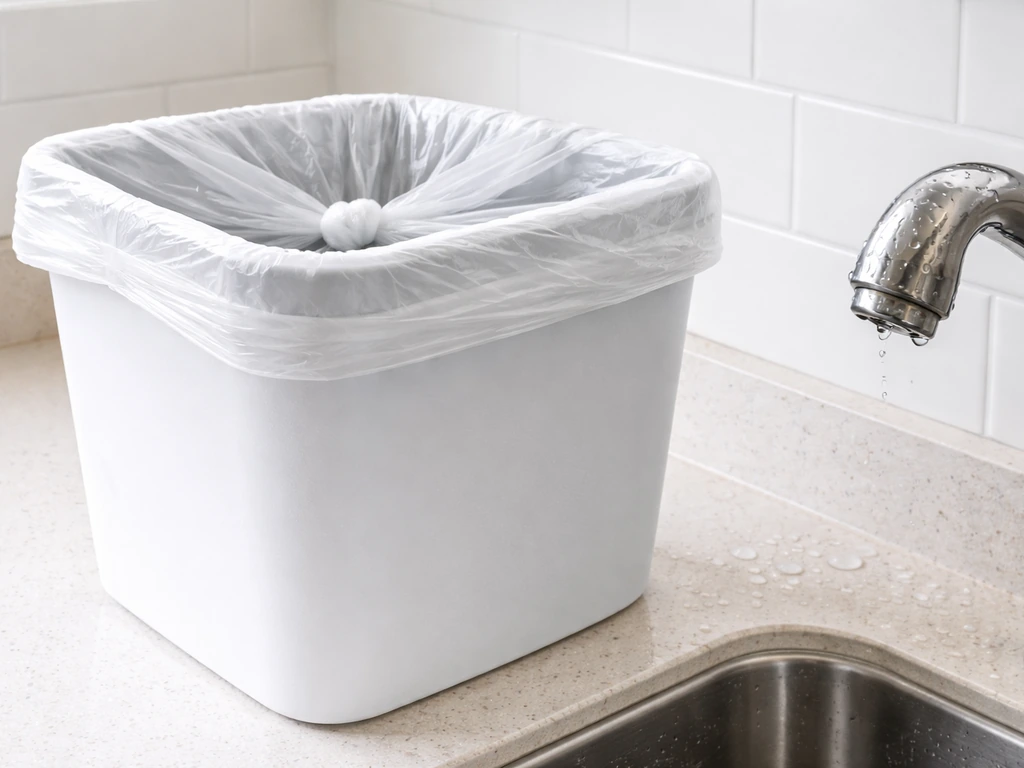
Odor and pests are connected. Odor attracts pests, and pests create mess. Solving odor is the root fix. The single most effective thing you can do is use a liner every time and tie it off before the bag gets too full. Overfull bags are the main reason food debris ends up in the bottom of the bin where it ferments and creates both smell and a breeding ground for flies.
- Line the bin every time, and size your liners correctly so they do not slip down into the can
- Sprinkle baking soda or a commercial bin deodorizer in the bottom of the can each time you replace the liner
- Keep a tight-fitting lid on the can at all times, especially during warmer months
- Rinse the bin with a garden hose and a splash of white vinegar or diluted bleach every two to four weeks
- Let the bin dry fully before replacing the liner to prevent mold and mildew buildup
- For persistent pests, line the inside rim with a thin bead of peppermint oil or use a commercial pest-deterrent disk inside the lid
If your patio bin is near the grill, cooked meat and fat drippings are your biggest odor risk. Wrap greasy food scraps in newspaper or a paper bag before tossing them in. In summer, consider keeping a separate small bin just for food scraps and emptying it daily rather than letting it sit.
Drainage is an often-overlooked issue. If rainwater can collect in the bottom of the can, you end up with a foul soup that dramatically accelerates odor and bacteria growth. Some outdoor bins have small drainage holes in the base, which is a feature worth seeking out. If your bin does not have them, you can drill two or three small holes in the bottom, then place the bin on a slightly raised rubber mat or slatted platform so it drains freely. Make sure that drainage runs away from the patio surface and not toward your house foundation.
Keeping it clean through the seasons and on pickup day
Seasonal changes shift how you manage the bin. In summer, heat accelerates decomposition and odor, so you may need to rinse the bin weekly and empty it more frequently. In winter, frozen waste is less of an odor issue but ice and snow can make lids stick or crack, and bins left exposed can warp or become brittle. Bring lightweight bins inside a garage or shed in hard-freeze conditions if you can. Heavier rollout carts are generally fine outside year-round but benefit from being stored in a shaded or sheltered spot to extend their lifespan.
Create a pickup-day routine and stick to it. A simple workflow prevents the two most common complaints: forgetting to put the bin out, and forgetting to bring it back in. Put a recurring reminder on your phone for the evening before collection. When you bring the bin back, wipe the lid with a damp cloth, check the liner, and replace it if needed. The whole thing takes under five minutes, and doing it consistently means you never face a fouled-out bin at the start of a new week.
At the end of each season, do a deeper clean. Empty the bin completely, rinse it out with a hose, scrub the interior with a long-handled brush and diluted all-purpose cleaner, rinse again, and let it dry fully in the sun before reassembling. If your enclosure is wood, this is also a good time to check for rot or warping and apply a coat of exterior sealant if it has been more than a year.
What to spend now versus later, and when a pro helps
If you need a working solution today, spend $40 to $80. Get a quality lidded outdoor bin in the right size for your household, add a pack of heavy-duty liners and a box of baking soda, and position the bin in your most sheltered corner with a freestanding screen if you need one. That solves the immediate problem without committing to a layout you have not fully thought through yet.
The upgrade path from there is logical. Once you know where the bin lives and how much you use it, you can build or buy an enclosure that fits the space properly. A DIY cedar enclosure is a genuine weekend project for someone comfortable with basic carpentry, and it adds a clean, finished look that ties into most patio styles. If your patio is getting a broader overhaul, consider integrating bin storage into the design from the start, the same way you would plan for a seating zone or an outdoor kitchen area. Built-in enclosures with concrete or masonry bases and matching gate hardware are a professional-level finish worth including in a larger patio build.
Calling a pro makes sense in a few specific situations: if your city or HOA requires a permitted screened enclosure with specific height or setback requirements, if you want the enclosure to be built from masonry or match existing hardscape materials, or if you are integrating bin storage into a broader patio construction project. A landscape contractor or patio builder can spec and build a compliant enclosure as part of a larger scope much more cost-effectively than as a standalone job. For most homeowners, though, a good bin, a smart placement, and a simple DIY screen gets you 90 percent of the way there for well under $200.
FAQ
Can I use a regular kitchen trash can as my garbage can patio bin if I keep it under a screen?
It usually still fails outdoors because thin plastic warps with heat and warping creates lid gaps where odors leak and pests get in. If you must use it temporarily, keep it fully shaded, use a tight-fitting lid, and avoid rain exposure, but plan to replace it with an outdoor-rated bin for long-term use.
What should I do if my bin keeps smelling even when I use liners?
Check for two common causes: bags that are overfilled so food sits at the bottom, and heat buildup from direct sun. Empty before the bag gets too full, tie off the liner every time, and rinse the bin weekly in summer. If possible, add a shaded position or a small windbreak so the lid seals stay closed.
How do I keep raccoons or dogs from getting into the bin?
Prioritize a locking lid (twist, strap, or step with latch) and tie the liner so there are no loose edges. If your area is persistent, avoid exposed corners and use screening on at least two sides, since animals often approach from the gaps around the enclosure.
Is it okay to drill drainage holes in the bin base, and won’t that make it rust or leak?
For plastic bins, a few small holes are typically fine. For metal bins, consider whether your model has a protective coating, and route drainage so it runs away from the patio surface and foundation. Also place the bin on a drain-friendly mat or slatted platform to prevent water from pooling underneath.
What’s the best way to stage my bin for pickup if I have a narrow gate?
Plan your “pull-out” path before you finalize placement. Choose a spot where you can roll or carry the bin out without turning it sideways in tight passages, and ensure you can return it immediately after pickup. If the enclosure gate is narrow or requires keys, it often becomes too much friction on pickup days.
How can I minimize pests if flies are getting into the trash?
Control entry points and timing: tie off the liner before it is half full of wet food, and store the bin as close to collection time as your local rules allow. In summer, consider separating food scraps into a smaller lidded container that you empty daily, then empty that into the patio bin.
Do I need to rinse the entire bin every week, or just the liner?
Rinsing the bin is most helpful when you have odor sources like greasy scraps or meat packaging near the grill. For lighter weekly use, you can often spot-wipe the lid and inside with a damp cloth, but if you notice residue on the bottom or staining, do a full hose rinse and dry thoroughly in the sun.
Will a painted or wooden enclosure trap moisture and cause odors?
It can, especially if the bin sits directly on a non-draining surface. Use clearance so air can move around the bin, keep the enclosure floor or base from collecting runoff, and inspect for warping or rot during seasonal deep cleans. If the enclosure is wood, seal it when it is due, so it sheds moisture instead of holding it.
What size garbage can patio setup should I choose if we host weekend cookouts?
For frequent entertaining, size up. A 13-gallon bin often fills daily once grilling waste, paper plates, and food scraps stack up. A 20 to 32-gallon bin is usually the practical range, and a slim rectangular shape can fit an enclosure better than a round one in tight corners.
How much space do I really need to open the lid and remove bags comfortably?
Don’t just measure your enclosure footprint, measure opening clearance. Plan for about 18 inches in front to fully lift or step-open the lid, and enough side clearance to avoid scraping the liner or pinching fingers when you pull bags out. If the lid hits a post or screen, you will likely stop using the bin as intended.
Can I leave the bin outside in winter, or should I bring it in?
In hard-freeze conditions, bringing lightweight bins into a garage or shed reduces cracking and lid sticking. Heavier rollout carts can often stay out, but they still benefit from being stored in a sheltered spot. After snowstorms, clear any ice around the lid so it can seal when you use it.
How do I know whether my local rules are about height, setbacks, or placement on pickup day?
Treat them as three separate checks: enclosure structure rules (height and setbacks), screening requirements (how much of the bin must be hidden), and pickup-day staging rules (how close to the curb and when carts can be out). If you only address one category, you can still end up with compliance problems or daily workflow issues.