
For most patios, a 20 to 32-gallon trash can with a snug-fitting, hinged lid is the right call. A good trash can for patio use should also stay secure in wind and be easy to clean after pickup day. That size handles a family's daily waste without taking over your outdoor space, and a proper lid keeps rain out, locks odors in, and gives raccoons and other wildlife nothing to work with. The lid type and material matter just as much as capacity, so it's worth taking a few minutes to get all three right before you buy.
Patio Garbage Can With Lid: Sizing, Materials, Setup Tips

Miles Sutton
23 May 2026
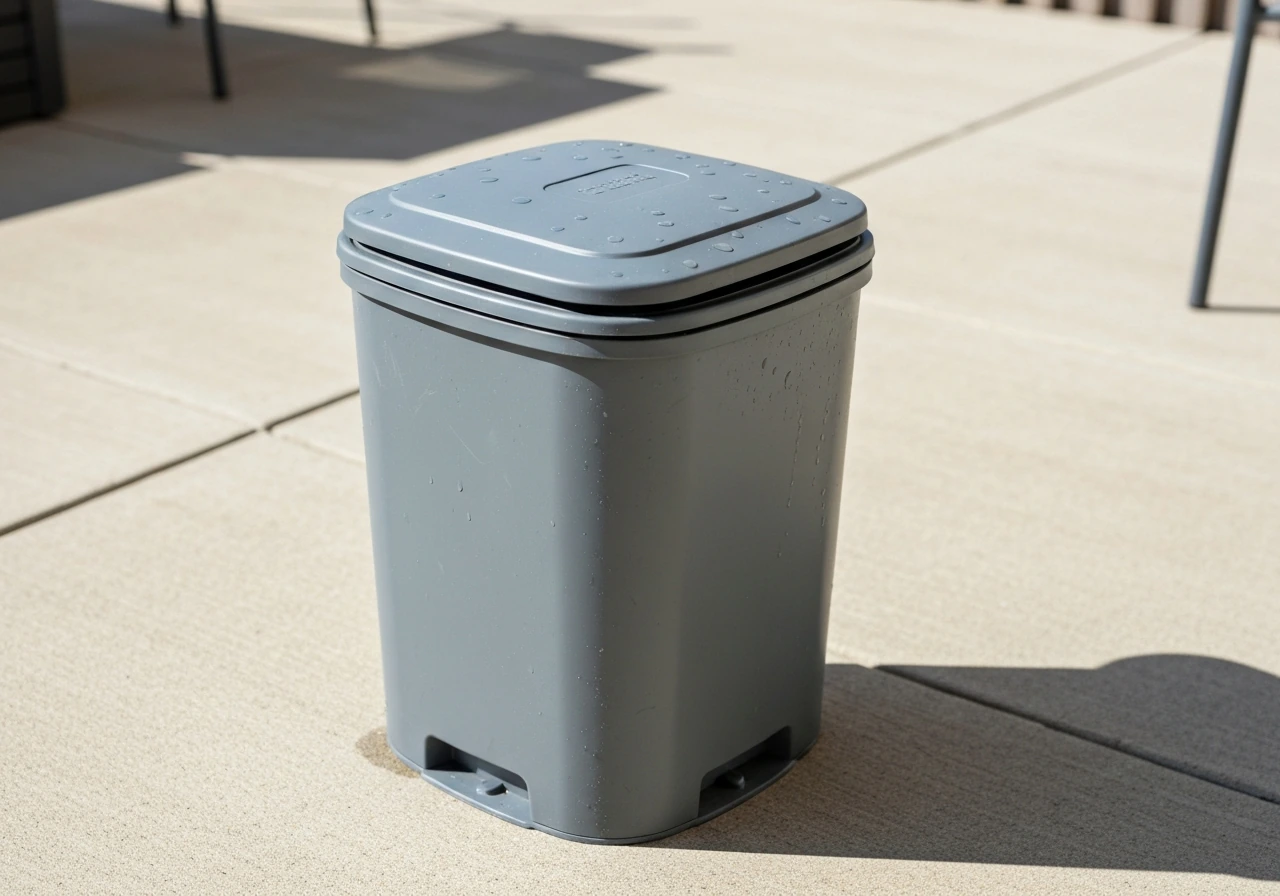
How to choose the right size for your patio
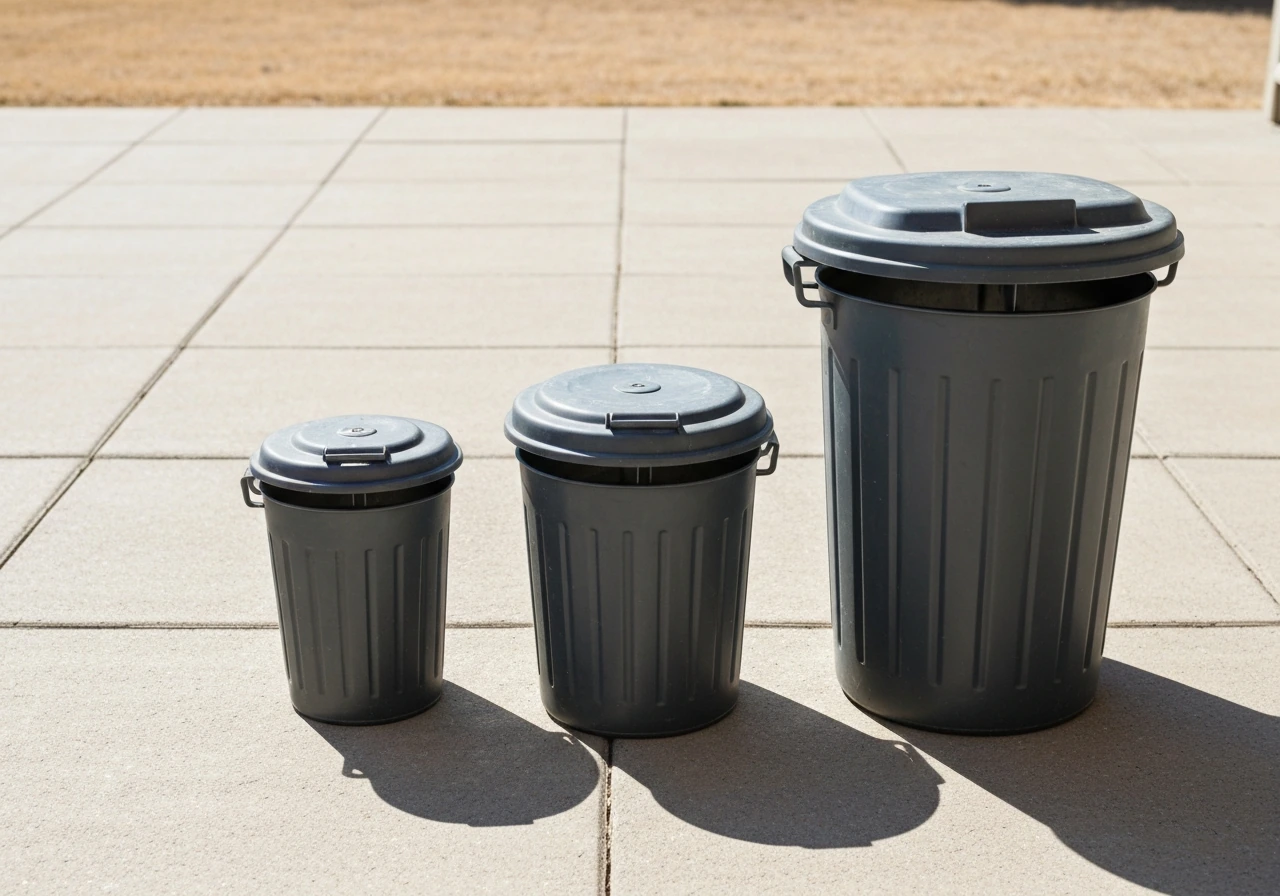
Sizing an outdoor patio garbage can comes down to two things: how many people are generating trash and how often your waste gets picked up. For a household of one or two people on weekly collection, a 10 to 13-gallon can is usually enough. Three to four people can bump that up to 13 to 16 gallons. A 13 gallon patio trash can is a practical option for small households or tighter patio spaces.
Families of four or five who use their patio can as the main accumulation point before trash day should look at 15 to 20 gallons. If you have more than five people or your pickup is every other week rather than weekly, go 32 gallons or larger. Some homeowners on bi-weekly service end up needing 64 gallons or more to avoid overflow.
A 32-gallon can is often described as the practical sweet spot for a North American household on weekly collection. It's big enough to handle heavy weeks, small enough that it doesn't dominate your patio, and easy to wheel to the curb on pickup day. If you entertain outdoors a lot, size up. A smaller separate can nearby works well for guests during parties, and some homeowners keep a compact 7 to 12-gallon can on the patio for casual use while storing a larger can in a more discreet spot for the main haul. A small patio trash can is especially handy when you want something compact for everyday waste but still have room for bigger cans on pickup weeks.
Lid type and weather resistance
The lid is honestly where most outdoor trash cans succeed or fail. Rain gets in, lids crack in the cold, or wind sends them flying across the yard. You want a lid that seals tightly, opens hands-free when possible, and can take a beating through the seasons.
Your main lid options
- Hinged flip lids: The most common outdoor design. They close fully and seat flat, which blocks rain and reduces odor escape. Look for models where the lid snaps or locks into the closed position rather than just resting on top.
- Foot-pedal (step-on) lids: Great for hands-free opening, which is useful when you're carrying food scraps or drinks outside. The spring mechanism can wear out faster outdoors, so check that the pivot hardware is rust-resistant.
- Swivel lids: A weighted swivel-style opening (like a 13-inch by 7-inch slot) lets you toss trash in without fully exposing the interior. These contain odors well but can let rain in if the opening faces up.
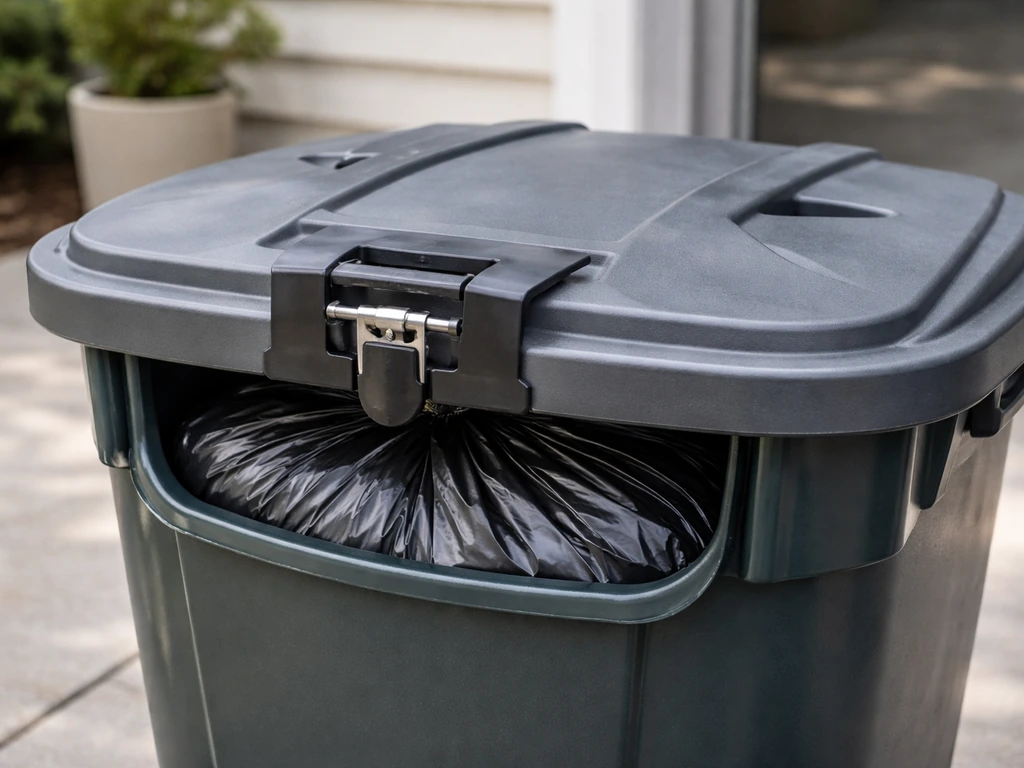
- Locking lids: Either a built-in latch or an add-on strap like a bungee cord or universal lid lock. This is the best option if you have wildlife problems. Bear-resistant models come in 32, 64, and 96-gallon sizes for serious critter pressure.
Wind is a bigger problem than most people expect. A lid that just rests on top will blow off in a decent gust and invite every animal in the neighborhood. If your patio gets wind, either choose a can with a built-in lid latch or add an aftermarket strap lock. Products like a universal lid-lock strap are available at most hardware stores and fit a wide range of standard cans. It's a cheap fix that saves a lot of mess.
UV exposure is the other hidden lid killer. Standard plastic lids can become brittle and crack after a couple of years in direct sun, especially in climates with hot summers. This isn't just cosmetic: a cracked lid lets rain pool inside, odors escape, and pests enter. It's one of the main reasons to pay a little more for a UV-stabilized model upfront rather than replacing a cheap one every season.
Materials that last outdoors
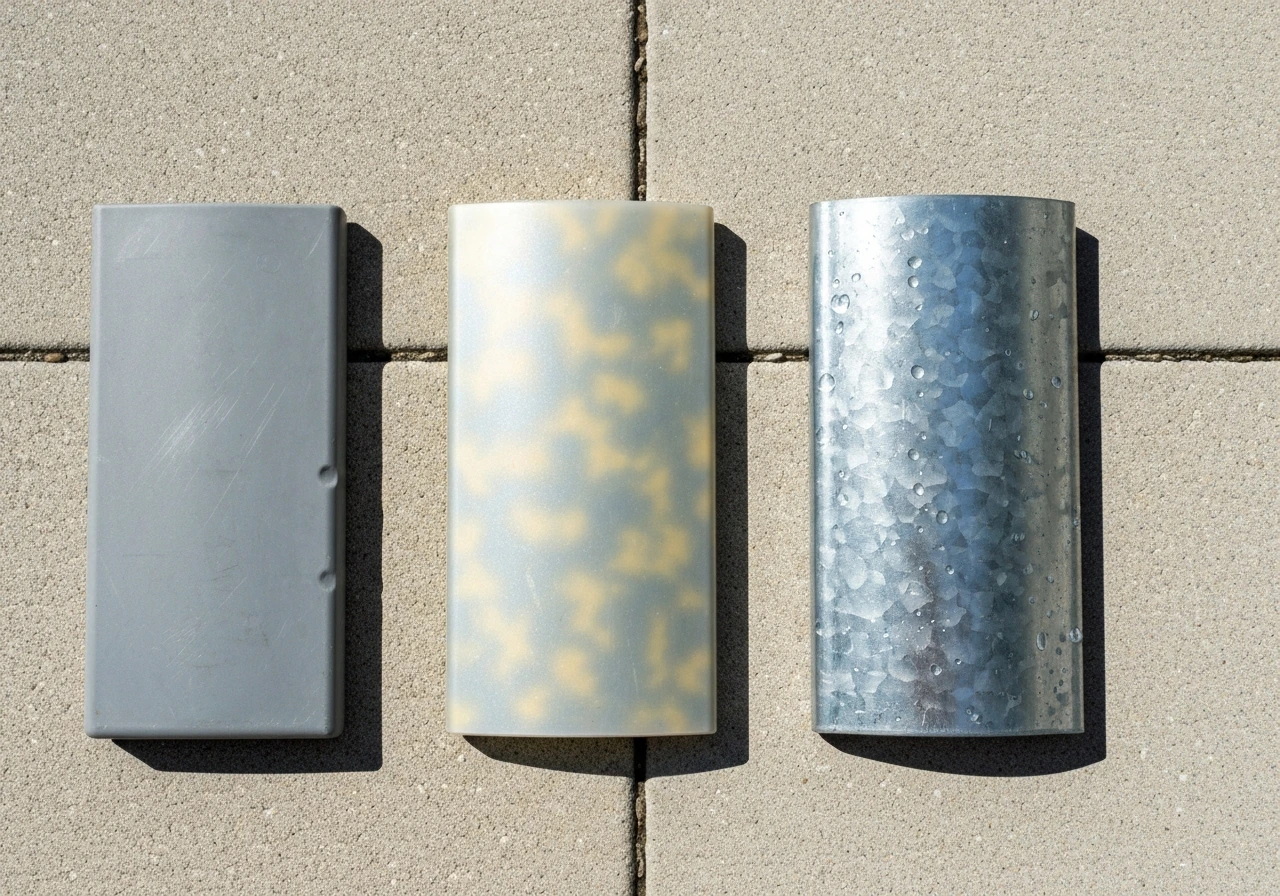
Not all outdoor trash can materials hold up the same way. Sun, moisture, salt air (if you're near the coast), and mechanical bumps all take a toll. Here's how the main options compare:
| Material | Durability | UV Resistance | Weight | Best For |
|---|---|---|---|---|
| HDPE Plastic | High impact resistance, flexible rather than brittle | Good with UV stabilizers; black HDPE performs marginally better; marine-grade HDPE rated 10+ years outdoors | Lightweight | Most patios; everyday use |
| Galvanized Steel / Metal | Very durable; resists animal chewing | No UV degradation but can rust if coating chips | Heavy | Pest-prone areas; heavy use |
| Resin | Rigid; holds shape well in heat | Varies by product; look for UV-rated resin | Medium | Decorative patios; HOA-friendly looks |
| Standard (non-stabilized) HDPE/Plastic | Becomes brittle and chalky over time in direct sun | Poor without additives | Lightweight | Covered/shaded spots only |
HDPE (high-density polyethylene) is the material most outdoor-rated cans use for good reason. It handles impacts without cracking, tolerates moisture, and resists biological fouling. The catch is that standard HDPE does degrade under UV radiation over time, turning chalky and brittle. If your patio gets full sun, specifically look for UV-stabilized or marine-grade HDPE, which uses UV absorbers and is rated for 10 or more years of outdoor service. Black-colored HDPE has slightly better natural UV resistance than lighter colors, which is one practical reason many patio cans come in black or dark gray. Black patio garbage can options often use UV-resistant plastic so they hold up better in full sun.
Metal cans (usually galvanized steel) are harder for animals to chew through and feel more substantial, but they're heavier and can rust if the coating gets scratched and isn't maintained. Resin cans are popular on nicer patios because they look more decorative and blend in better, but quality varies widely. Whatever material you choose, check that any seams, hinges, and hardware are also rated for outdoor use. A plastic can with a rusting steel hinge is going to fail at the hinge first.
Placement and storage setup on the patio
Where you put your patio trash can matters more than people think. The best surface is concrete or pavement, not soil or grass. Placing it on hard ground prevents pests from burrowing underneath and eliminates standing water issues that come with cans sitting in soft earth. It also makes the can easier to clean: you can rinse it out and let the water drain away rather than creating a muddy mess.
Keep the can accessible but out of the direct flow of foot traffic. A corner of the patio near a door or grill area tends to work well for most people, close enough to be convenient but not so central that it becomes an eyesore. If you're running a more polished outdoor setup, a patio cabinet or bin enclosure can hide it entirely while still keeping it ventilated. Some homeowners build a simple slatted wood or composite cabinet around their can to match the patio aesthetic without blocking access.
If you have insect problems, keep the can away from doors and windows where possible. Light attracts insects, and a trash can sitting right next to an exterior light or screen door is going to pull bugs toward it and toward your entryway. A few feet of separation makes a real difference.
Matching capacity to regular vs. heavy trash days
Regular household waste is predictable, but patios tend to generate spikes. Barbecues, parties, and summer entertaining can easily triple what you'd throw out on a normal day. If you entertain outdoors regularly, don't size your can just for daily use. Either go one size larger than you think you need, or keep a second smaller can available for event days. A small 7 to 12-gallon can is easy to bring out for guests and store away after.
For most households on weekly pickup, a 32-gallon outdoor can handles the gap between collection days comfortably, including heavier weeks. If your service is every other week, you'll likely need at least two 32-gallon cans or one large 64-gallon can to avoid overflow. The overflow problem is also where a tight-fitting lid really earns its keep: an overfilled can with a loose lid is an open invitation for animals and a source of persistent odor.
Easy maintenance and cleaning tips
Outdoor trash cans need more frequent cleaning than indoor ones because heat, sun, and trapped moisture accelerate odor and bacteria buildup. A realistic cleaning schedule is every couple of weeks, though a quick rinse right after pickup day goes a long way. Here's a routine that works well without needing specialty products:
- After the bin is emptied on collection day, rinse it out with a hose to remove any residue.
- Mix 1 cup of distilled white vinegar, half a cup of baking soda, and a squirt of dish soap in a bucket of hot water.
- Scrub the inside of the can with a stiff brush, paying attention to the bottom and any seams where residue collects.
- For heavier odor or visible buildup, spray undiluted white vinegar inside and let it sit for a few minutes before scrubbing.
- For disinfection, use a diluted bleach solution: 1 part bleach to 10 parts water. Apply, let dwell briefly, then rinse thoroughly.
- Turn the can upside down or leave the lid open and let it air dry completely before putting in a fresh liner. This step matters: a damp can develops odors fast.
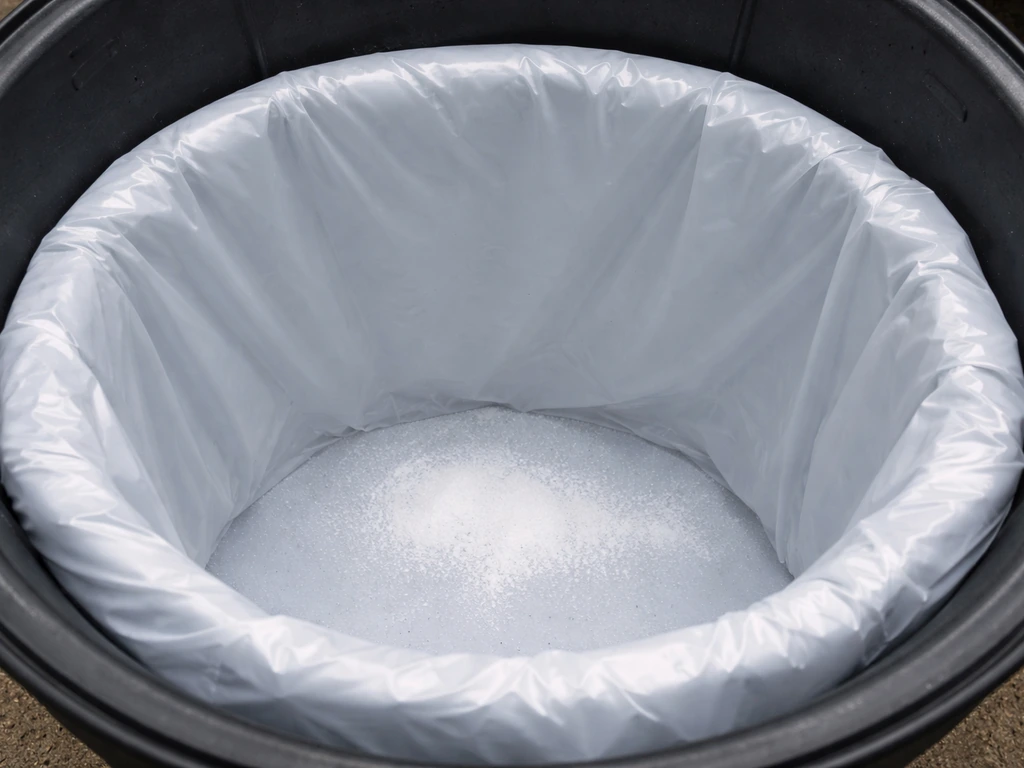
Once the can is dry, sprinkle a layer of baking soda in the bottom before adding your liner. It absorbs moisture and neutralizes odors between cleanings. Replace it each time you clean. If your can doesn't already have drainage holes in the bottom, consider drilling one or two small holes to let any accumulated liquid escape rather than sitting and fermenting.
Safety, pest control, and odor management
Pests and odors are the two things that make people miserable about outdoor trash cans, and they're almost always connected. Odor is what draws animals in, and once they're in, they make an even bigger mess that creates more odor. The good news is that a solid lid, a clean can, and smart placement break this cycle pretty reliably.
Keeping animals out
Raccoons are the most persistent offenders for most patio setups. They're smart, strong, and motivated by smell. A lid that just rests on top won't stop them. Your options are a can with a built-in locking latch, an add-on bungee strap or universal lid lock (available at hardware stores like Lowe's), or a bear-resistant can if you're in an area with heavier wildlife pressure.
Blazer Brand's Strong Strap lid lock is designed to mechanically secure a hinged lid to help reduce animal break-ins, including from raccoons secure the lid so it can't be lifted. The wildlife guidance is consistent: secure the lid so it can't be lifted, and secure the can itself so it can't be tipped over. A can tipped on its side with the lid popped off is a free buffet.
Placing the can against a wall or using a simple anchor strap solves the tipping problem.
Rodents and other scavenging animals may chew through thin plastic if they can smell something worth getting into. Metal cans or thick HDPE with a locking lid close off that access point entirely. The EPA and pest management sources both point to careful bag handling as part of this: seal bags tightly before putting them in the can, and avoid loose trash that spills around the interior or outside the can. Even small scraps on the rim or on the ground nearby are enough to bring animals back repeatedly.
Mosquito prevention
Standing water in the bottom of a trash can is a mosquito breeding site. The CDC recommends emptying, scrubbing, and covering items that hold water at least once a week, and trash containers are on that list. A tight-fitting lid that sheds rain prevents the problem from starting. If water does get in, the drainage holes mentioned earlier let it escape rather than pool. Wisconsin's Department of Health Services specifically flags outdoor trash and recycling cans with tight-fitting lids as one of the key mosquito prevention steps, and it's one of the cheapest fixes you can make.
Staying on top of odor
Odor management is really just a combination of the habits already covered: clean regularly, dry completely before re-lining, keep baking soda in the bottom, seal bags before they go in, and use a lid that closes fully. A 1:1 mix of white vinegar and water sprayed inside after cleaning prevents bacteria from taking hold between washes. If you're dealing with persistent odor despite regular cleaning, check the lid seal. A cracked or ill-fitting lid means odors are escaping (and smells are attracting pests) even when the can looks closed. Replacing a worn lid or upgrading to a locking model often solves the problem completely.
If you're still dialing in exactly what you need, it helps to think about specific variations: a smaller dedicated can for a compact outdoor space, a gray or black model for a particular aesthetic, or a specific gallon size that matches your household. The right patio garbage can with a lid isn't a complicated purchase once you know your size, material, and lid requirements. Get those three things right and the rest of the setup is straightforward.
FAQ
Will a patio garbage can with lid work with kitchen trash bags, or do I need special liners?
Start by matching the lid to your liner and bag size. If you use standard kitchen bags, choose a can with a lid height that still lets you fully close the rim after you pull the bag tight, otherwise odors escape around the edges. For loose or overflowing loads, prefer a can with a deeper inner opening and a lid that seals down evenly, not one that only rests in place.
What should I look for in a patio garbage can with lid for winter or freezing climates?
If you need to use it as a main outdoor bin, prioritize a UV-stabilized lid and a sealed fit around the rim. Even if the container body is durable, a warped lid can leave gaps that rain and odors leak through. For year-round climates with freezing temperatures, also look for hardware that stays flexible in cold weather, so the hinge and latch do not seize.
How can I stop a patio garbage can with lid from tipping over in wind or near a yard edge?
For best results, do not place the can directly on bare soil or grass, and avoid setting it on uneven pavers that wobble. A stable surface reduces tipping, which is a major reason animals get access. If you cannot move the location, use rubber pads to prevent rocking and consider an anchor strap to a wall or nearby sturdy post.
Do I need special hinges or hardware on a patio garbage can with lid, or will any outdoor model last?
You generally do not need a heavy-duty bearing or premium hinge if you pick a model with fully outdoor-rated hinges and hardware, and you keep the area clean. The key is to confirm that the hinge pins and fasteners are corrosion-resistant. Also, regularly rinse around the lid seal because trapped grime can prevent a tight close.
How full should I let my patio garbage can with lid get before pickup day?
If you have weekly pickup, choose a size that reaches about 70 to 80 percent full by day-of-service, not at the overflow line. With heavier weeks (parties, grilling), keep a smaller backup can so you avoid jamming bags in under the lid. Overstuffing forces the lid to stay slightly open, which defeats rain and odor control.
If the can still smells bad, what’s the first thing I should troubleshoot on a patio garbage can with lid?
Most odor issues are caused by a lid seal that is not closing fully, wet trash, or bags that are not tied tight. Before replacing the whole can, check the lid for warping, confirm the latch engages, and clean the rim where the lid contacts the body. If the seal is damaged, upgrading just the lid or choosing a model with a locking strap is often the fastest fix.
Can I use a patio garbage can with lid for food scraps or composting in the yard?
Yes, but keep the lid and the bag as the barrier, then ensure the can has airflow and drainage. Compost and food scraps can create faster moisture and odor buildup than dry waste, so clean more frequently. Use drainage holes if your model allows it, and consider a can with a tight, washable interior because compost residue can cling to seams.
What’s the most effective way to keep raccoons out of a patio garbage can with lid?
For raccoon prevention, the most important factor is preventing lifting, not just keeping rain out. Choose a can with a locking latch, or add a lid-lock strap, then also secure the container so it cannot be tipped when the animal tries to reach under the lid. If the can sits near a wall, leave enough clearance so the animal cannot use the wall as leverage to tilt it.
Are black or gray patio garbage cans with lid better in sunlight, and how long should they last?
If your patio is in full sun, prioritize UV-stabilized materials, especially the lid. Dark colors can help, but the real deciding factor is UV rating or stabilization additives, which reduce brittleness. If you live where summers are very hot, plan on checking the lid seal condition at least once per year for cracks or warping.
Should I add drainage holes to a patio garbage can with lid, and where would they go?
If the can has drainage holes, make sure they are not clogged with debris after rinsing. If you do not have drainage holes and you drill them, do it on the lowest section so you do not weaken the sides near the rim or interfere with tipping stability. After cleaning, let the can fully dry so moisture does not reactivate odors.