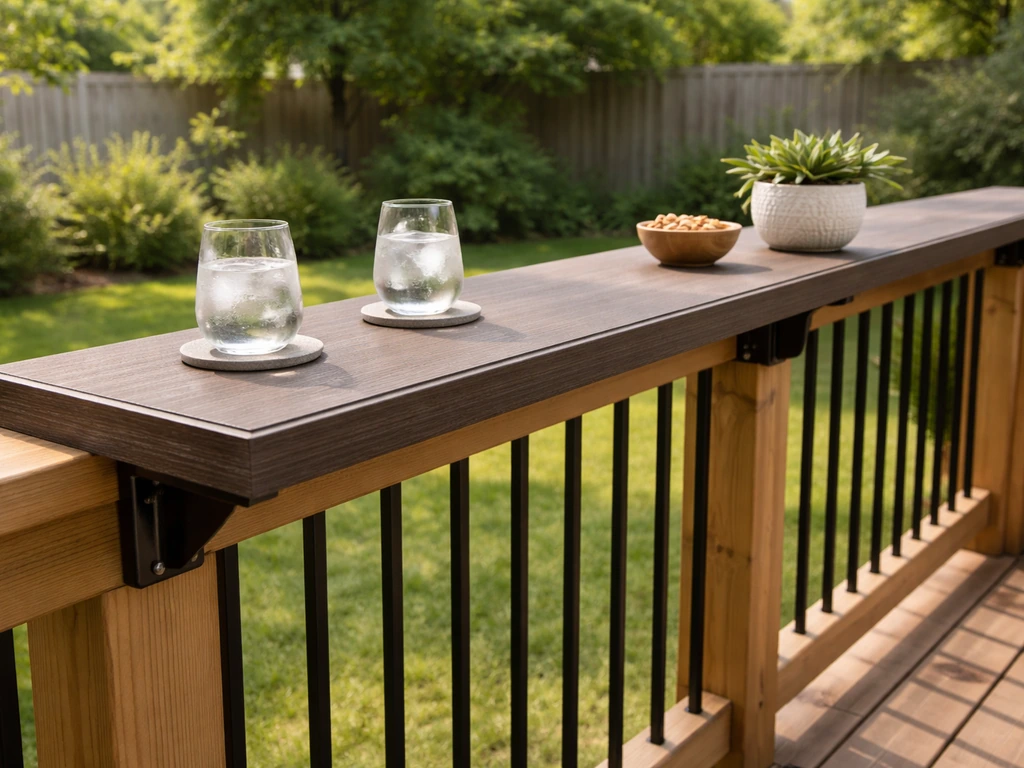
A patio railing bar top is a horizontal surface mounted at or near bar height on your deck or patio railing, turning an otherwise unused rail into a spot for drinks, snacks, or casual seating. If you want a patio setup that serves drinks and also provides warmth, you can pair this kind of high-top bar surface with a fire pit patio high top table with fire pit. Done right, it adds genuine function without blocking movement, messing with code-required guard heights, or compromising the structural integrity of your railing. You can build one yourself in a weekend with basic lumber and a drill, or go more permanent with composite or metal surfaces if you want something that lasts with almost no upkeep.
Patio Railing Bar Top Guide: Planning, Build, and Safety

Miles Sutton
4 Jun 2026
What a patio railing bar top is (and the main styles)
The term covers a few different things, so it helps to nail down which one you actually want before you start buying materials. The most common versions are:
- Portable slip-over bar top: A removable tabletop with a U-shaped base that drops over the top rail. It doesn't require any drilling into your railing, so it's renter-friendly and reversible. YellaWood's popular railing bar top plan uses exactly this approach, with a baseplate cut 1/8" wider than your rail so it slides on and off without forcing.
- Permanent built-in counter: A ledger-mounted or post-attached surface that's fixed in place. This is more like a true outdoor bar counter and requires proper structural attachment to posts or framing.
- Rail-top ledge or bar shelf: A narrower (6 to 10 inches deep) surface that sits along the top of the railing, primarily for resting drinks rather than seating. Low effort, minimal materials.
- Wraparound bar top: A surface that follows a corner or L-shaped section of railing, often seen on covered patios where the railing doubles as a bar wall. More complex to build but very effective if you're designing a full outdoor entertaining space.
Which style fits your situation depends on your railing type, whether you own or rent, how permanent you want the result, and whether people will actually sit at it with barstools or just set drinks there while standing. If you're looking at a dedicated outdoor bar setup that doesn't involve the railing at all, that's more in line with a standalone patio bar top, which is a different project. This guide is focused on surfaces that attach to or integrate with an existing railing.
Sizing and layout planning
Bar height vs. your existing railing
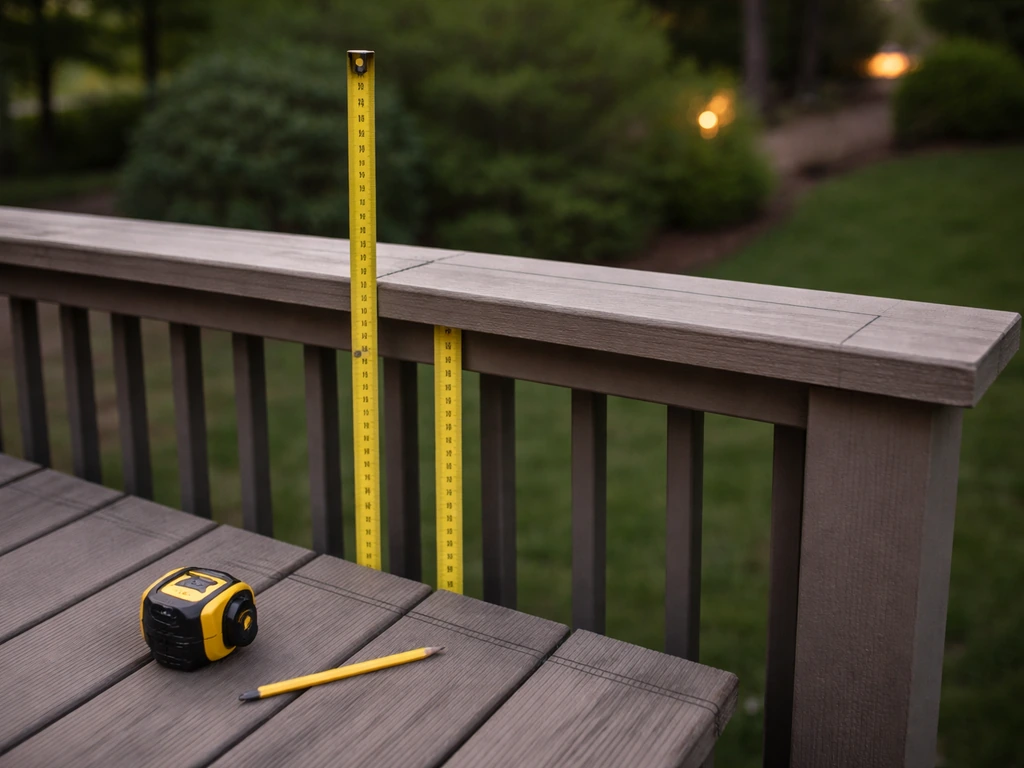
Standard bar height is 40 to 42 inches. Residential deck railings are required by IRC 2021 to be at least 36 inches tall, measured from the deck surface to the top of the rail. Some jurisdictions require 42 inches, particularly for elevated decks or under certain design codes. Before you build anything, measure your existing railing height.
If your rail sits at 36 inches and you add a 1. 5-inch thick bar top surface, you're at 37. 5 inches, which is short for comfortable barstool seating but fine for a drink ledge while standing. If your rail is already at 42 inches, you're in a good range for bar seating.
This measurement matters both for comfort and code compliance, which I'll cover more in the mounting section.
Depth, overhang, and seating clearance
A practical bar top depth for seating is 12 to 16 inches. If you also want an east tea can patio setup, the same approach to depth, overhang, and weatherproof finishes can help you get a comfortable, functional drink area. A patio top view can help you visualize spacing, seating clearance, and how the bar surface will sit relative to your railing and deck edges.
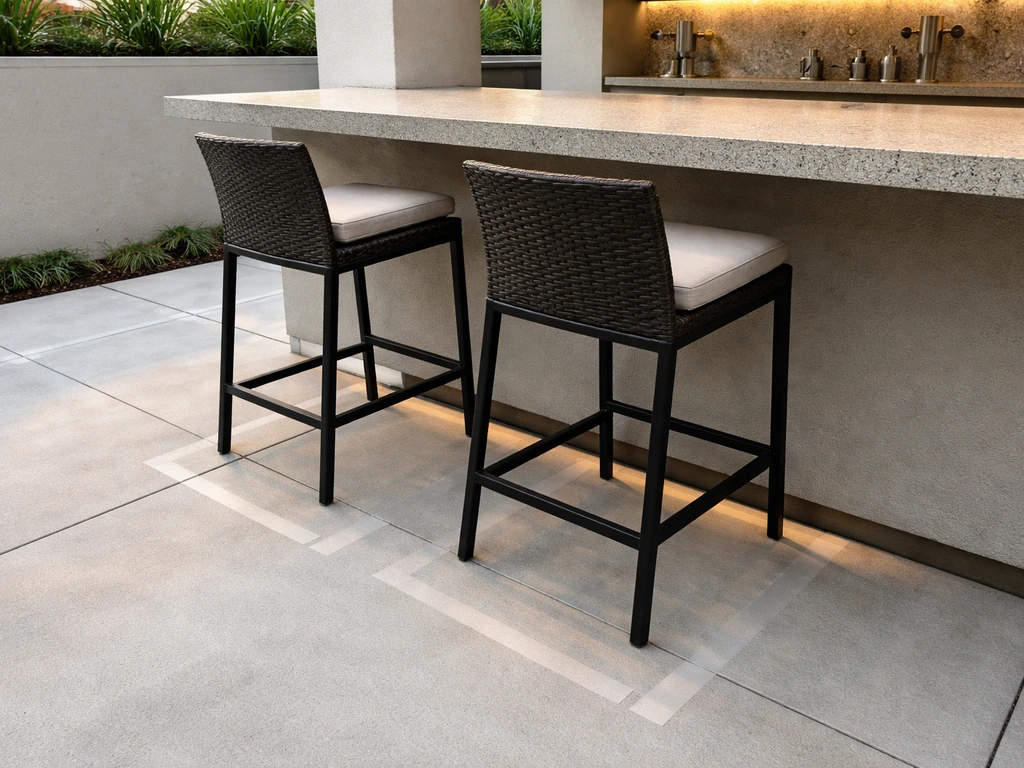
If you're using barstools on the inside (deck side) of the railing, you need at least 10 to 12 inches of overhang toward the seating area. The outside overhang is typically kept shorter, around 2 to 4 inches, both for aesthetics and so it doesn't project too far beyond the railing perimeter. YellaWood's plan centers the bar top pieces to create equal overhang on multiple edges, which works well for a ledge-style build.
For a seating-focused design, deliberately shift the overhang inward. Also plan a knee clearance of at least 24 inches between the bottom of the bar top and the deck surface if barstools will tuck underneath.
Clearances you can't ignore
- Door swing radius: Make sure the bar top doesn't project into the path of any sliding or hinged patio doors. A 3-foot clearance from any door edge is a safe minimum.
- Traffic paths: Leave at least 36 inches of clear walkway along any side of the railing that people pass by regularly.
- Post spacing: For a permanent build, your bar top should either span between posts or be supported by posts at each end. Don't cantilever a heavy surface off a single mid-span attachment point.
- End caps: If your bar top runs between two railing posts, finish the ends cleanly with trim pieces to prevent splintering and to close off gaps where water can pool.
Materials and build options
Each material has real trade-offs. Here's a direct comparison to help you choose:
| Material | Cost Range | Durability | Maintenance | Best For |
|---|---|---|---|---|
| Pressure-treated wood (e.g., 2x6 pine) | Low ($2–$5/linear ft) | Good if sealed | Annual sealing/staining | Budget DIY builds, painted finishes |
| Cedar or redwood | Medium ($4–$9/linear ft) | Very good naturally | Periodic oiling or sealing | Natural look, moderate climates |
| Composite decking boards | Medium-high ($6–$15/linear ft) | Excellent | Minimal (clean annually) | Low-maintenance, hot/humid climates |
| Powder-coated aluminum or steel | High ($15–$40/linear ft fabricated) | Excellent | Very low | Modern look, permanent installs |
| Tile or stone veneer surface | High ($20–$50/sq ft installed) | Excellent if grouted properly | Re-seal grout periodically | Covered patios, design-forward builds |
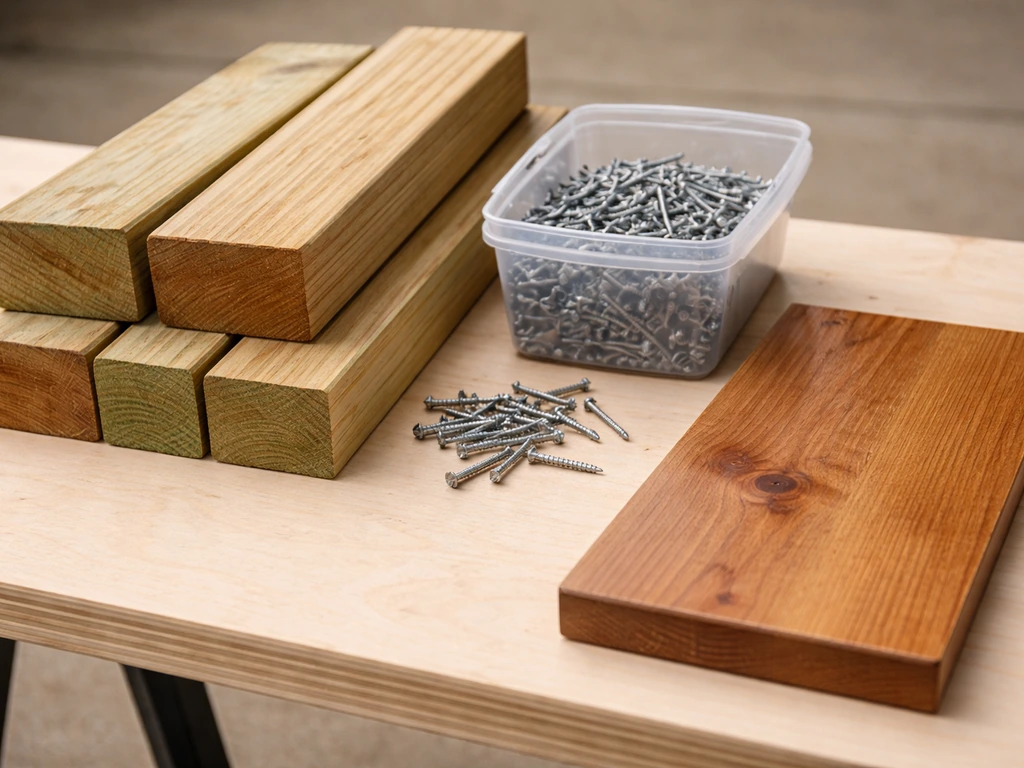
For most DIYers, pressure-treated 2x6 lumber is the practical starting point. It's affordable, easy to cut, and widely available. YellaWood's railing bar top plan is built around exactly this: 2x6 boards for the top surface and baseplate, with 2x2 spacers and trim pieces for the U-channel base and edge containment. If you're in a climate with heavy rain or temperature swings, composite is worth the extra cost because it doesn't warp, rot, or need annual sealing. Just account for thermal expansion: composite boards can shift about 3/16 inch across a 16-foot length between hot and cold extremes, so leave 1/8-inch gaps between boards at installation temperatures above 40°F, and 3/16-inch gaps if you're installing in colder conditions.
Metal surfaces (aluminum or steel) look great on modern railings and pair well with cable or aluminum railing systems. Fabricating them usually means hiring a metal shop or buying prefabricated bar top sections, so the cost goes up. Tile and stone veneer are best reserved for covered patios where freeze-thaw cycles won't crack the grout and direct rain isn't a constant issue.
Mounting and safety: the part most people skip
Understand your railing's structural limits first
Deck guardrails are code-engineered to resist lateral loads and a point load of roughly 200 lbs applied at the top of the post. Adding a bar top increases the service loads on those posts, especially if people lean on the surface or place heavy items on it.
A patio bar top also adds weight at the railing, so it’s important to plan for the extra load before you drill anything in place. Before you attach anything permanently, look at how your railing posts are connected. Posts that are through-bolted to the rim joist or deck framing are generally solid.
Posts that are notched (carved into at the base) or surface-mounted with minimal hardware are a weak point and shouldn't have additional weight or leverage added without reinforcement. If you're not sure how your posts are attached, that's the moment to call a contractor or structural inspector before proceeding.
Code and guard height compliance
Here's where homeowners get into trouble: adding a surface on top of the railing can raise the effective height of the guard, which sounds like a plus but can trigger re-inspection requirements in some jurisdictions. More importantly, if your existing rail barely meets the 36-inch minimum and your bar top obscures access to the top rail (which counts as the graspable surface for stability), you may create a compliance issue. Check with your local building department if you're doing a permanent installation. The IRC's 4-inch sphere rule also still applies to your railing infill below whatever surface you add, so don't let a bar top project block your view of any gaps that might have widened over time.
Attachment options
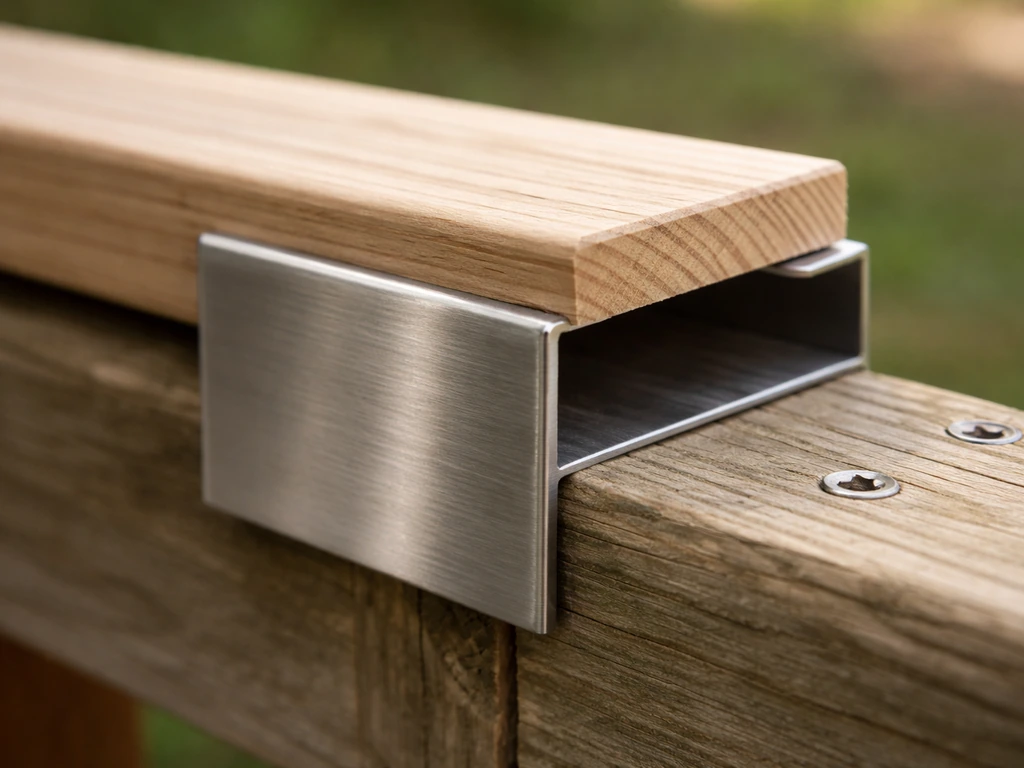
- Slip-over U-channel base: No drilling required. Cut your baseplate boards so the channel is 1/8" wider than your rail. The bar top rests on the rail and can be lifted off. Best for portable or seasonal use.
- Post-mounted brackets: Steel L-brackets or custom-fabricated post caps anchored directly to the railing posts. This distributes load properly and doesn't rely on the rail infill or top cap alone.
- Ledger-board method: For a longer counter span, attach a horizontal ledger to the posts on the inside of the railing, then surface the ledger with your bar top material. This is the most structurally sound permanent approach.
- Clip systems for composite railings: Some aluminum and composite railing systems have manufacturer-approved bar top accessories that clip onto the post caps. Check your railing brand before drilling into it, since some systems void their warranty if you modify them.
Fasteners and slip resistance
For any outdoor wood build, use stainless steel screws or properly rated galvanized hardware. Pressure-treated lumber is corrosive to standard steel fasteners, and you'll see rust streaks and fastener failure within a couple of seasons if you use the wrong hardware. For a permanent deck-side installation with repeated wet exposure, stainless steel is the right call. Pre-drill and countersink all fastener holes to prevent wood splitting, using an 1/8-inch pilot bit inside a combination countersink bit set to the right depth. On the surface itself, consider a slightly textured finish or an outdoor anti-slip coating on any area where people might set wet glasses and then rest their arms. It's a small detail that matters on rainy evenings.
Installation: DIY workflow vs. hiring a pro
DIY workflow for a wood railing bar top
- Measure your railing: Record the total length of the span, the width of the top rail, and the height from the deck surface to the top of the rail. Decide your final bar top depth and overhang ratio.
- Build your cut list: For a basic 2x6 build, you'll need boards cut to the bar top length for the surface, matching boards for the U-channel baseplate arms, and 2x2 spacers to set the channel width. Cut the baseplate channel width to your rail width plus 1/8 inch for easy slip-on fit.
- Assemble the U-channel base: Attach the baseplate arms to the spacers using pre-drilled stainless screws. This creates the cradle that drops over the rail.
- Attach the top surface: Lay your 2x6 surface boards across the U-channel base, centered for your overhang design. Pre-drill and fasten through the base up into the surface boards.
- Add trim and edge pieces: Install 2x2 or 1x2 trim along three edges (both long sides and one end, or all four if it's a standalone section) to keep items from sliding off and to give the build a finished look.
- Sand all surfaces smooth and round over any sharp corners with a router or sanding block.
- Apply exterior finish before final installation if possible, reaching all undersides and end grain.
Tools you'll need for this build: circular saw or miter saw, drill/driver, 1/8-inch pilot bit with combination countersink, measuring tape, square, clamps, and sandpaper (80 and 120 grit). A router with a roundover bit is helpful but not required.
When to hire a pro instead
Hire a contractor or deck builder if any of these apply to your situation: you're not sure how your railing posts are attached and don't feel comfortable inspecting or reinforcing the connection yourself; you need a permanent ledger-mounted installation that requires drilling into structural framing; your local building department requires a permit for railing modifications (more common than people expect); your railing is aluminum, cable, or glass and you don't want to risk voiding the system warranty or damaging the components; or you want a tile, stone, or metal surface that requires fabrication or trade skills. If you do need a patio glass top replacement, the key is matching the thickness and mounting style so the new panel sits level and stays secure. A good deck contractor can typically scope and price a railing bar top addition in a single site visit, and the installation is usually a half-day to one-day job once materials are sourced.
Finishes, weatherproofing, and keeping it looking good
Choosing the right exterior finish for wood
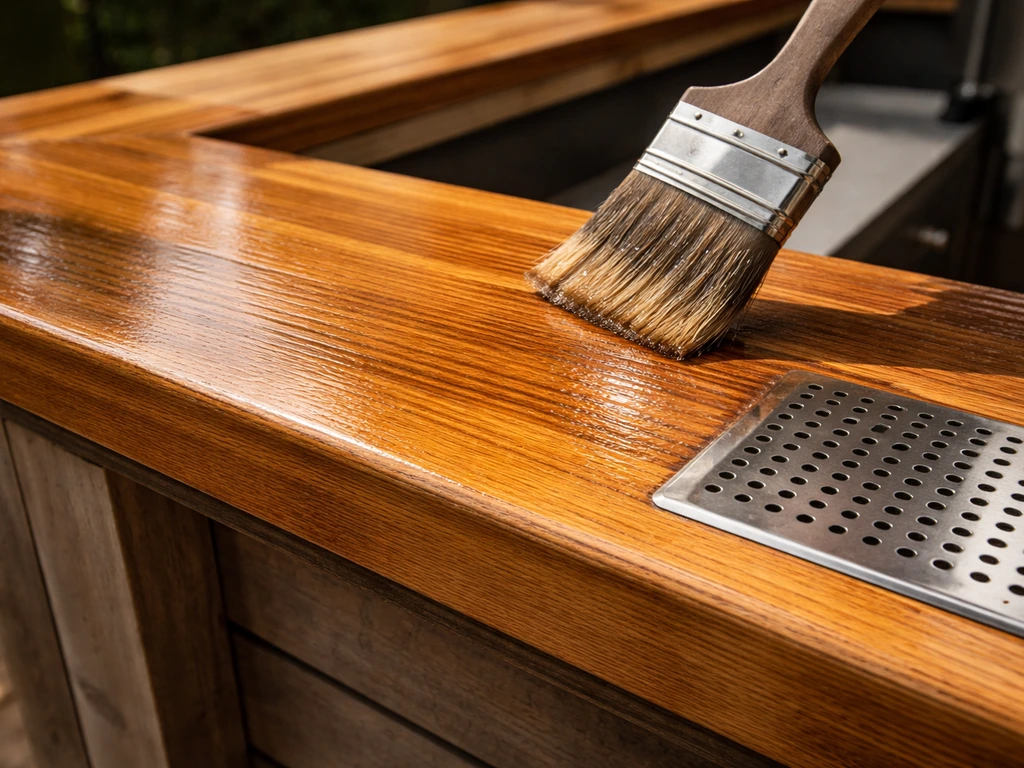
A bar top takes more abuse than most outdoor wood surfaces: direct sun, condensation rings from glasses, spilled drinks, and repeated wiping. You need a finish that can handle all of it. Spar urethane (like Minwax Helmsman) is one of the best choices for a clear protective coat on exterior wood. [Minwax Helmsman Spar Urethane](https://www.
minwax. com/en/products/protective-finishes/indoor-outdoor-helmsman-spar-urethane) is marketed as a protective clear finish formulated for exterior wood exposed to sunlight, water, or temperature changes. It's formulated to flex with temperature and moisture changes without cracking, and it repels water effectively. For maximum protection where sunlight and moisture exposure are heavy, a marine spar varnish (like Rust-Oleum's Marine Coatings Spar Varnish) offers an upgrade in UV resistance and chemical durability, originally designed for boat trim.
Apply at least two to three coats, sanding lightly between coats with 220-grit paper, and make sure to coat the end grain and underside of the surface, not just the top face.
Paint and stain compatibility
If you want a painted finish, use a high-quality exterior oil-based or 100% acrylic latex paint rated for outdoor furniture or decking. Prime bare pressure-treated wood first and let it dry fully before topcoating. For a stained look, a semi-transparent or solid deck stain works well and is easier to touch up than paint when it eventually weathers. For metal surfaces, powder coating is the most durable factory-applied finish, and touch-up spray in matching powder coat colors is available for scratches. Don't use standard interior-grade paint or polyurethane on any outdoor surface; it will peel within one season.
Seasonal maintenance routine
- Spring: Inspect all fasteners for rust or backing out. Tighten any that have loosened. Check the U-channel or mounting hardware for movement or corrosion.
- Spring: Clean the surface with a mild soap and water solution, rinse thoroughly, and let dry. Look for any checking (surface cracking) in wood that signals it's time to re-seal.
- Every 1 to 2 years: Re-apply spar urethane or spar varnish to wood surfaces. Lightly sand with 220-grit before recoating to help adhesion.
- Before winter (if applicable): If you have a portable slip-over design, store it indoors or in a covered area during freeze-thaw months. Permanent installs should be checked for any water pooling areas where ice could cause damage.
- As needed: Clean composite or metal surfaces with a composite deck cleaner or mild detergent. Avoid abrasive scrubbers that scratch powder-coat or composite finishes.
A well-built railing bar top shouldn't need much ongoing attention if you sealed it correctly from the start and used the right fasteners. The biggest mistakes I see are skipping the underside and end-grain finish coats (water wicks in from there first), using zinc-plated screws in pressure-treated wood (they corrode fast), and building on posts that were never inspected. Avoid those three and you'll have a surface that holds up comfortably for years and genuinely earns its place on the patio.
FAQ
Can I install a patio railing bar top if I rent my home or the deck is managed by an HOA?
Usually you can do a temporary or removable version, but permanent attachment to railing posts or decking often triggers written approval. For an HOA-managed setup, ask specifically whether you can drill into the railing system, whether bar tops count as an architectural change, and if there are limits on projection beyond the railing footprint.
What’s the safest way to deal with an existing railing that’s already at or near 42 inches?
If you’re close to the maximum comfortable range, prioritize a slimmer bar top thickness and plan for the graspable portion of the guard. Measure not just the rail height, but also the height where you want people’s hands to rest, and verify the bar top won’t cover the primary grip surface your code uses for stability and impact resistance.
How do I choose between a drink-ledge design and a true barstool seating design?
If people will sit, treat the underside and knee clearance like a seating appliance: you need enough overhang toward the deck interior, and enough clearance below for legs if stools tuck under. If people will mostly stand and set drinks down, you can keep the bar top shallower and focus on a comfortable lip height, slip resistance, and weather sealing.
Should the bar top be centered on the railing, or should it be shifted inward?
Centering helps keep the look symmetrical and is good for a ledge-style surface. For seating, shifting the overhang toward the seating area reduces foot traffic clearance issues while still letting people rest on the bar, but make sure the shift does not increase projection beyond what you consider safe for walkways and door clearance.
Can I add a bar top to a railing that’s cable, glass, or aluminum?
Do it only with parts designed for that railing type, because the mounting points and load paths are different from wood post-and-rail systems. Even if it seems straightforward, you can void warranties or damage infill systems when you add leverage, so plan on prefabricated sections or professional fabrication.
What load risks should I worry about if people lean on the patio railing bar top?
The bar top adds both extra weight and additional leverage at the posts, especially where someone can press down or lean sideways on the surface. Before installing, confirm your post attachment method (through-bolted to framing is generally stronger), and reinforce if you see notched bases, light hardware, or any wobble at the railing.
Is it okay to mount only to the railing and not to the deck framing?
Sometimes, but it depends on how your posts and top rail are engineered. If the bar top becomes a seating or leaning surface, relying on minimal rail components can overload parts not meant to take those service loads. When in doubt, treat the posts and their connection to framing as the load-bearing system, not just the railing cap or trim.
How should I handle expansion gaps with composite or other boards that move with temperature?
Follow an installation-temperature-based gap approach, because composite and similar materials expand and contract noticeably. Keep the gaps consistent along the run, avoid tightening boards so they can’t move, and plan for water management by ensuring any exposed edges are sealed or framed so gaps do not trap standing water.
Do I need to seal the underside and end grain on a DIY wood patio railing bar top?
Yes, and it’s one of the most common failure points when it’s skipped. Water wicks from end grain and the underside first, so coat those faces thoroughly, including any cut edges, and consider a slightly higher number of coats on underside surfaces that stay damp after rain.
What hardware should I avoid on pressure-treated lumber, and why?
Avoid zinc-plated screws and non-rated fasteners, because pressure-treated lumber accelerates corrosion and can lead to rust streaking and loosening. Use stainless steel or properly rated exterior galvanized hardware, and pre-drill and countersink to reduce splitting and improve long-term holding power.
How can I make the bar top safer when glasses are wet?
Add a finish that resists slip when wet, and consider a subtle texture on the top where forearms rest. If you see condensation or frequent spills, choose an exterior anti-slip coating or select a coating system with proven skid resistance for outdoor decks, then test a small offcut before applying the whole surface.
Will adding a patio railing bar top change my railing’s compliance or inspection requirements?
It can, especially if your existing guard barely meets minimum height or if the bar top obscures what your code defines as the graspable portion. Some jurisdictions require re-inspection for any permanent railing modification, so check with your local building department before committing to drilling and permanent attachment.
What’s the fastest way to fix a patio railing bar top that feels wobbly after installation?
Stop using it as-is and re-check the post connection, fastener spacing, and whether the bar top is inadvertently acting like a lever. Tighten only after you verify the underlying issue, and if the posts show movement, reinforce at the post framing rather than simply adding more surface screws to the bar top.
Can I build a bar top for a small patio walkway and keep it from interfering with foot traffic?
Yes, but you need to treat projection like a pathway obstacle. Keep the outside overhang minimal, ensure clearances around doors and stairs, and verify you can pass without contacting the bar with knees or bags, especially during evening use when visibility is lower.