
A ceramic tile patio table top can last 20-plus years and look great doing it, but only if you use the right materials and build it correctly from the substrate up. The biggest mistakes people make are using indoor tile, skipping waterproofing, or setting tile in a standard thinset that can't handle freeze-thaw cycling. Get those three things right and you'll have a table that shrugs off rain, sun, and hard winters. Get them wrong and you'll be chiseling off cracked tiles within two seasons.
Patio Table Ceramic Tile Top: Plan, Install, Repair

Miles Sutton
29 May 2026
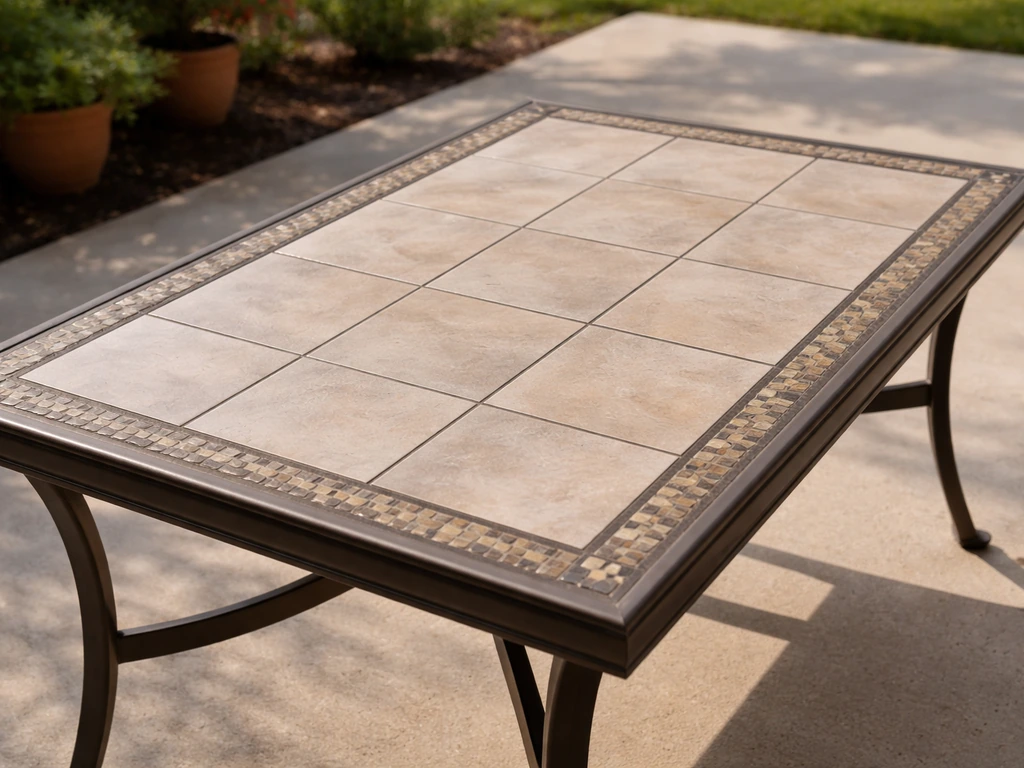
When a ceramic tile top actually makes sense for your patio table
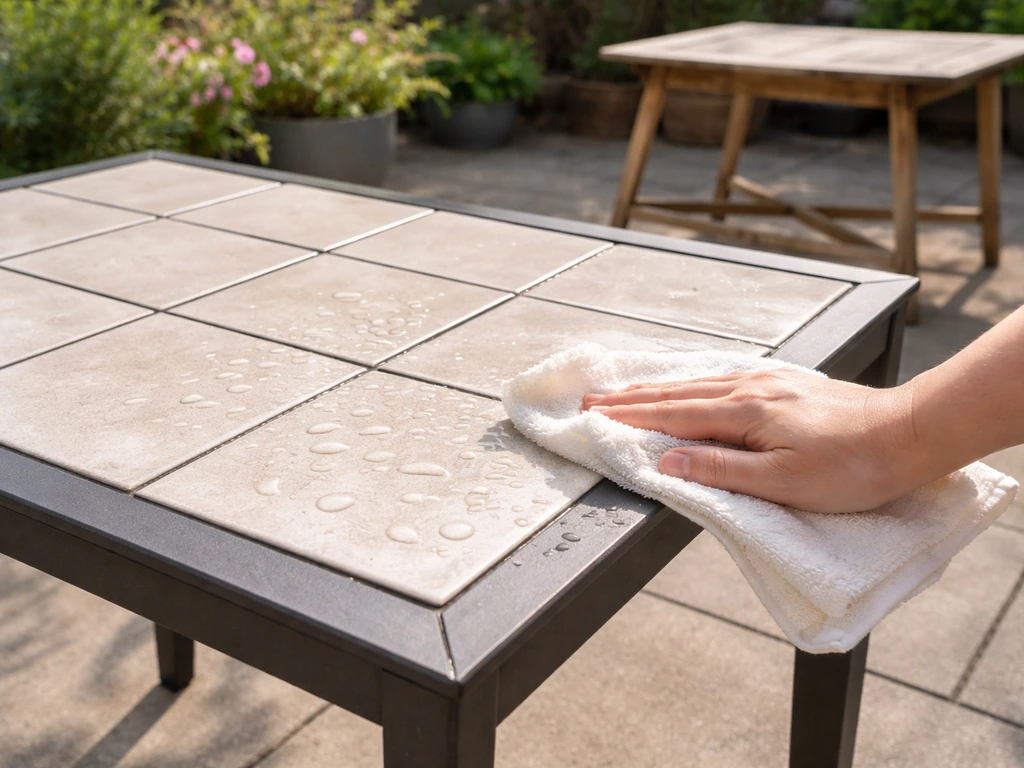
Tile tops are a great choice when you want something durable, heat-resistant, and easy to wipe clean. They hold up better than wood under direct sun and moisture, and they don't need refinishing every year. If you're building a table that will sit outside full-time, a tile top is genuinely one of the smarter surface options, especially in climates that get hot summers and wet falls.
That said, tile tops require a rigid, stable frame. A wobbly table or one built from thin, unsupported steel tubing is a liability, because tile and grout crack when the substrate flexes. If your table frame has significant movement in it, fix that first. Tile rewards a solid build and punishes a flimsy one.
Tile tops are especially practical if you already have leftover tile from a patio or kitchen project, or if you want a custom look that matches your outdoor space. An east tea can patio can benefit from the same durable, weather-resistant tile approach, especially if you want an easy-to-clean surface. They also pair naturally with other fixed outdoor features like a fire pit table or a built-in bar surface. If you're also planning a built-in bar surface, patio railing bar top ideas can complement a tile tabletop and keep the whole outdoor setup visually consistent. For a related build idea, see how a patio bar top should be planned and sealed so it can handle spills and outdoor exposure without grout failure built-in bar surface. If you are also planning a patio high top table with fire pit, keep the same waterproofing and movement-joint approach so everything stays stable as temperatures change fire pit table. The design flexibility is real: you can do a single large-format slab look, a mosaic, or a simple grid pattern, depending on your skill level and taste.
If you're replacing a broken glass top on an existing table, a tile retrofit is a practical and often cheaper alternative to sourcing a replacement glass pane. If your current problem is a cracked or failed glass surface, a patio glass top replacement may be the better route than a full table refresh. The key is confirming the frame can support the added weight and that you can create a flat, waterproofed substrate over it.
Choosing the right tile, grout, and outdoor-rated materials
Tile: porcelain first, then dense ceramic
For any outdoor tile project, water absorption is the number that matters most. Porcelain tile is defined by ANSI A137.1 as having water absorption of 0.5% or less, which puts it in the impervious category. That low absorption is what makes it resistant to freeze-thaw damage, because there's almost no water to absorb, freeze, and expand inside the tile. Standard ceramic tile is not impervious. Depending on the type, it can absorb 3-7% or more, and in a freeze-thaw climate that absorbed water will eventually crack or spall the tile from the inside out.
If you're in a climate that doesn't freeze (USDA zones 9-13, roughly), you have more flexibility with dense ceramic tile, but porcelain is still the better long-term bet because it resists staining and UV fading more effectively. For anyone with cold winters, porcelain is the only responsible choice. Look for tiles labeled frost-resistant or rated for exterior use, and verify the water absorption rate is under 0.5% (the manufacturer's spec sheet will list it, tested per ASTM C373).
For a table-top application, tile thickness of 3/8 in. to 1/2 in. (roughly 10-12mm) is typical. Large-format tiles (anything over 15 in. x 15 in.) look great on a table but require a very flat substrate and a mortar capable of supporting them without lippage. For most DIYers, a 12x12 or 6x12 format is the easiest to work with on a table-sized surface.
Thinset mortar: polymer-modified is non-negotiable outdoors
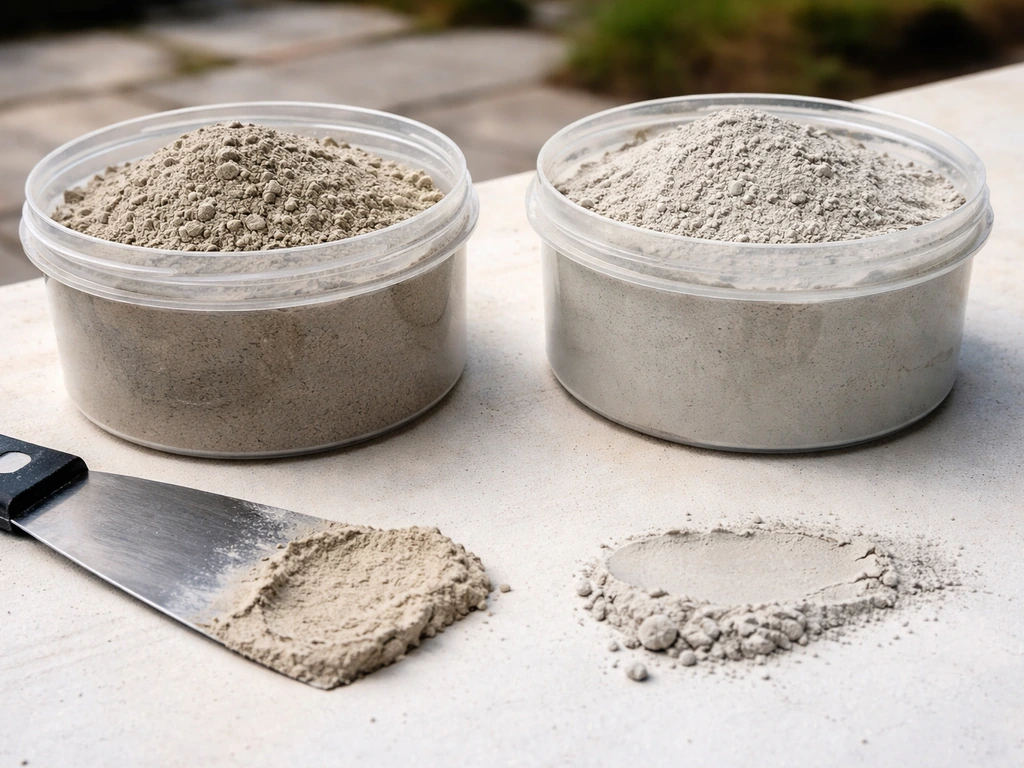
Standard gray thinset is not suitable for exterior tile installations. You need a polymer-modified thinset that meets ANSI A118.4 at minimum, and ANSI A118.15 for large-format porcelain. The polymer modification gives the mortar flexibility and bond strength that holds up through moisture and temperature swings. ANSI A118.11 modified mortar is specifically engineered for bonding tile to exterior-grade plywood substrates, so if your table base is plywood, look for that designation. Brands like LATICRETE, MAPEI, and Custom Building Products all make exterior-rated polymer-modified thinsets that hit these standards. For Schluter DITRA and DITRA-type installations, Schluter specifies which mortars are compatible and clarifies that blank" rel="noopener noreferrer">modified mortars are not universally interchangeable across all Schluter system interfaces.
Grout: go polymer-modified and skip the basic Portland grout
Basic Portland cement grout is porous and will absorb water, which leads to staining, mold, and eventually freeze-thaw cracking at the joints. For exterior use, choose a polymer-modified grout rated for outdoor conditions. MAPEI Ultracolor Plus FA is a solid example: it meets ANSI A118.6 and A118.7, has water absorption of 5% or less, and is explicitly recommended for uncovered exterior applications. MAPEI also recommends Keracolor S/U for exterior use. For the most durable option, especially on a table that will see food, drinks, and regular scrubbing, epoxy grout is worth considering: it's nearly impervious to water and staining, though it's harder to install and requires a full 10-day cure at 70°F before sealing.
Joint width matters too. For outdoor tile, grout joints of at least 3/16 in. are recommended to allow for minor movement. Joints narrower than 1/8 in. don't leave room for the grout to flex, which is why hairline grout joints that look sleek indoors are a bad idea on a patio table.
Sizing, layout, and what to check on your table frame and substrate
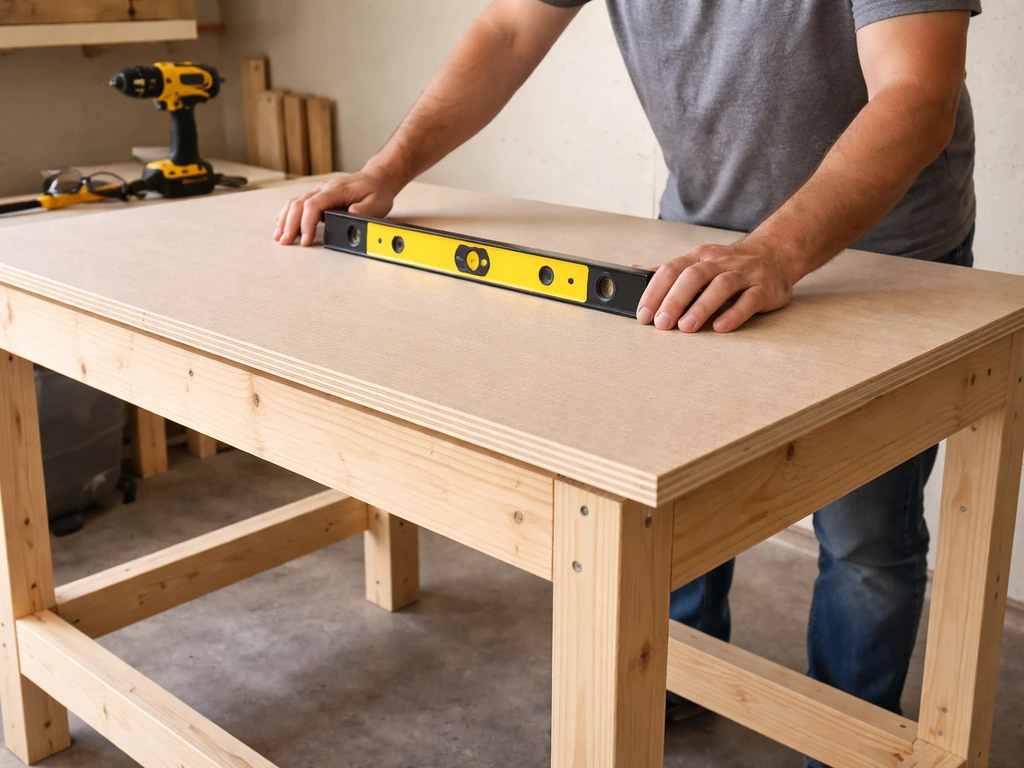
Frame and substrate requirements
The frame has to be rigid. This is the single biggest factor in whether your tile top lasts. Any flex in the frame transmits stress directly to the tile and grout, and tile is not forgiving. Steel welded frames are the best option. Aluminum frames can work but need to be thick-walled and well-braced. Wood frames work only if they're built with exterior-grade lumber and properly sealed, and even then they're more prone to movement over time.
Over the frame, you need a solid substrate board. The two best options for a table top are cement backer board (like Hardibacker or Durock) or Schluter KERDI-BOARD, which is a foam-core waterproof panel. Both are impervious to water damage. Do not use standard plywood as your sole substrate in a wet outdoor environment: it will eventually delaminate. If you must use plywood (for example, if the table frame requires it as a structural layer), use exterior-grade plywood (ACX or marine-grade) and cover it with a cement board or waterproofing membrane before tiling.
Fasten the substrate board to the frame with stainless steel or galvanized screws at no more than 6-8 in. on-center. Gaps between substrate pieces should be taped with mesh tape and skim-coated with thinset before waterproofing. The finished substrate surface needs to be flat within 1/8 in. over a 10-foot straightedge, and for large-format tile, within 1/8 in. over 24 in.
Layout planning and sizing
Before you order tile, dry-lay your tiles on the table surface and plan the layout. A helpful patio top view layout sketch makes it easier to visualize spacing, grout lines, and tile cuts before you start setting anything. Start from the center and work outward, aiming for balanced cuts at the edges. A tile that's cut to less than half its width at the border looks awkward and is structurally weaker at the edge. Standard patio dining tables run 36-48 in. wide and 60-84 in. long, and a 12x12 tile grid on those dimensions typically works well with minimal cuts.
Account for your grout joint width in the layout calculation. If you're using 1/4 in. joints, factor that into your spacing. Mark your center lines on the substrate with a chalk line and use those as your reference points for setting tile.
Movement joints are required for any bonded exterior tile assembly. For a patio table, the practical application is to leave a small perimeter gap (about 1/4 in.) around the field tile where it meets the edge treatment or frame, and fill that gap with a flexible sealant rather than grout. This allows the assembly to expand and contract without building up internal stress. Uncoupling membranes like blank" rel="noopener noreferrer">Schluter®-DITRA include an underside “free space” that allows in-plane movement between the substrate and tile, reducing stress transfer that otherwise contributes to tile and grout cracking. The TCNA EJ171 standard specifies minimum movement joint widths of 3/8 in. for joints spaced 8 feet on-center in exterior conditions, which confirms that the perimeter relief gap is the key joint to get right on a table-sized surface.
Installation steps: prep, waterproofing, setting tile, and grouting
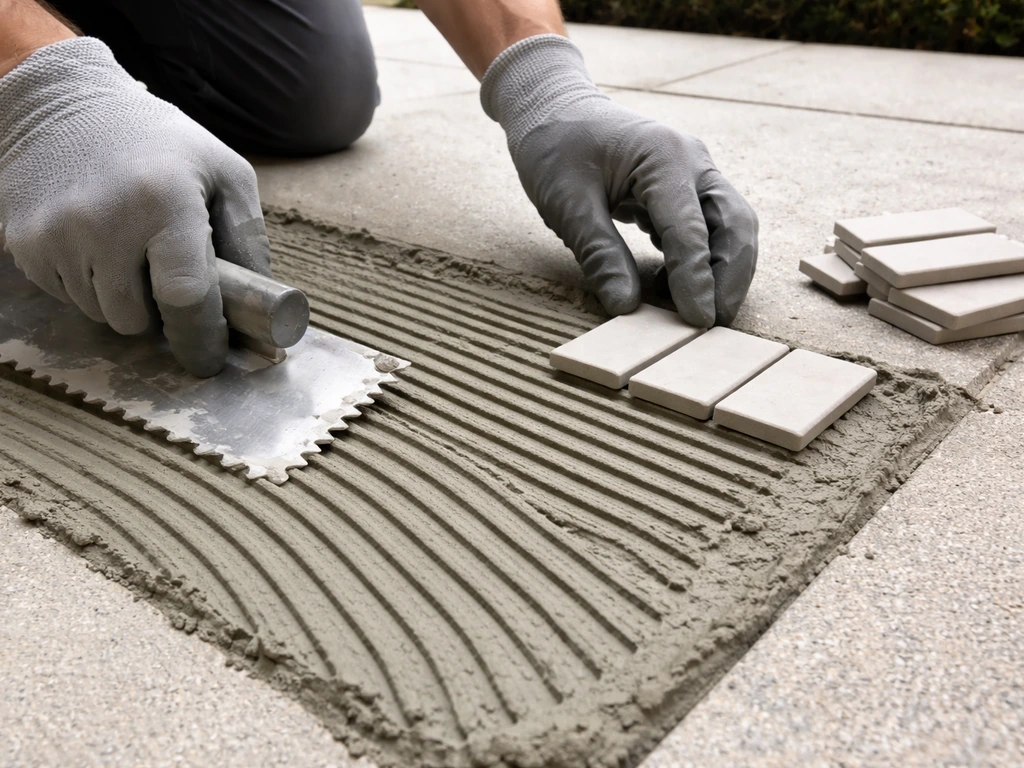
- Clean and inspect the substrate. The surface must be clean, flat, and structurally sound. Fill any low spots or voids with thinset and let it cure fully before proceeding. Any fastener heads that are proud of the surface should be driven flush.
- Apply your waterproofing membrane. For most DIYers, a liquid-applied membrane like LATICRETE HYDRO BAN Quick Cure (ANSI A118.10 compliant) is the easiest approach: brush or roll it on, let it cure (typically 1-2 hours for the quick-cure version), and you're ready to tile. For a more robust system, Schluter DITRA (an uncoupling membrane) or KERDI sheet membrane both provide waterproofing plus stress relief between the substrate and tile. If you use DITRA or KERDI, seal all seams with KERDI-BAND using at least a 2 in. overlap, embedded in unmodified thinset at the seams. Either system works; the liquid membrane is easier for a first-timer, the sheet membrane is more forgiving of substrate movement.
- Mix your polymer-modified thinset. Follow the manufacturer's water ratio exactly and let the mortar slake (rest) for 5-10 minutes after initial mixing before using. Back-butter each tile (apply a thin coat to the back of the tile) and apply thinset to the substrate with the appropriate notched trowel for your tile size. For 12x12 tile, a 3/16 in. V-notch or 1/4 x 3/8 in. U-notch is typical. For large-format tile, use a larger notch and back-butter thoroughly.
- Set tile and check coverage. Press each tile firmly with a slight twisting motion and check coverage with a rubber mallet tap across the surface. Lift a tile every few tiles early on and confirm the mortar is covering at least 95% of the tile back for exterior applications. Use tile spacers to maintain consistent joint width.
- Allow thinset to cure before grouting. Minimum 24 hours at 70°F, longer in cold or humid conditions. Don't rush this step: grouting over uncured thinset traps moisture and weakens the bond.
- Mix and apply grout. For unsanded grout (joints under 1/8 in.) use ANSI A118.6-rated product; for sanded grout (joints 1/8 in. and wider, which is what you want outdoors), use ANSI A118.7-rated polymer-modified grout. Force grout into joints at a diagonal angle with a rubber float, then clean excess with a barely damp sponge in circular motions. Change rinse water frequently. Don't overwet the grout surface during cleanup.
- Cure grout before sealing. Standard polymer-modified grout needs at least 72 hours before sealing. Epoxy grout needs 10 full days at 70°F before sealing is appropriate.
Finishing details: edges, sealing, drainage, and weather-proofing
Edge treatment options
The edges of a tile table top are the most vulnerable area, because tile corners chip and exposed substrate at the edge will wick water. You have a few good options. Schluter JOLLY or RONDEC metal edge trim is the cleanest solution: it's an aluminum or stainless steel profile that caps the tile edge, protects the corner, and looks finished. Install it before setting tile, embed it in thinset, and set the tile against it. Alternatively, bullnose tile (tile with one factory-finished edge) can be used as a border row, giving a clean look without metal trim. A third option is a wood or metal frame that wraps the perimeter and covers the tile edges, which works well if the table frame extends up to table-top height.
Slope, drainage, and weatherproofing the perimeter
Standing water on a tile surface is the enemy of long-term performance, especially in freeze-thaw climates. If possible, set the substrate with a very slight slope toward one edge, roughly 1/8 in. per foot, so water drains off naturally. On a table this is easier said than done since most frames are flat, but even a 1/16 in. per foot slope helps. At minimum, make sure there are no low spots where water can pool.
The perimeter gap between the tile field and the edge trim or frame is your movement joint, and it needs to be filled with a flexible, paintable exterior-grade sealant (silicone or polyurethane, not grout). Match the sealant color to your grout as closely as possible. This joint is what prevents the tile from cracking when temperature changes cause the frame to expand and contract.
Sealing grout and tile
Even polymer-modified cement grout benefits from a penetrating grout sealer, especially on a table surface that will see spills. Apply a penetrating sealer (not a topical coating sealer, which will peel) after the grout has fully cured. Two coats are better than one. Porcelain tile itself typically doesn't need sealing, but natural stone tile absolutely does. Re-seal cement grout every 1-2 years depending on use and exposure.
Maintenance and cleaning to prevent grout and tile failure
Routine cleaning is simple: warm water, mild dish soap, and a soft brush or sponge. Avoid acidic cleaners (vinegar, citrus-based products) because they etch cement grout over time, and skip abrasive scrubbers on glazed tile. For mold or mildew in grout joints, a diluted solution of oxygen bleach (not chlorine bleach, which can degrade some grout sealers) applied and scrubbed with a stiff brush works well.
In freeze-thaw climates, don't let standing water sit on the table in late fall and winter. A simple table cover helps enormously, not because tile fears rain, but because standing water that freezes repeatedly in grout joints is the most common cause of grout cracking over 5-10 year periods. Waterproof table covers or storing cushioned furniture covers over the tile top are both reasonable solutions.
Inspect the perimeter sealant joint every spring. It's a sacrificial joint by design, meaning it's supposed to absorb movement so the tile doesn't have to. When it cracks or pulls away from the edge, clean out the old sealant and re-apply fresh exterior sealant. That five-minute repair can prevent cracked tiles.
Re-seal cement grout annually or every two years. Press a few drops of water onto the grout: if it beads up, the sealer is still working. If it soaks in within a minute or two, it's time to reseal. Clean the surface thoroughly before resealing and let it dry completely first.
Troubleshooting common issues and repair options
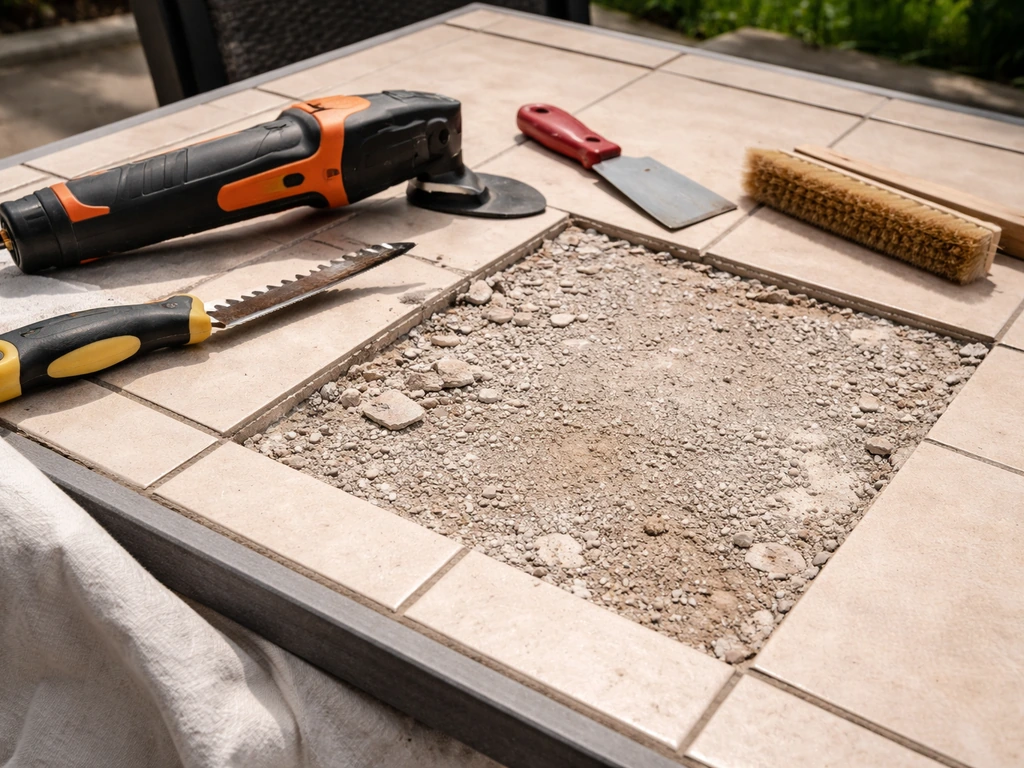
| Problem | Likely Cause | Fix |
|---|---|---|
| Cracked tile | Substrate flex, freeze-thaw expansion, or impact | Remove cracked tile with grout saw and oscillating tool, re-set with polymer-modified thinset, re-grout |
| Loose or hollow-sounding tile | Insufficient thinset coverage or bond failure | Remove tile, clean both surfaces, re-bond with A118.4 or A118.15 thinset, allow full cure |
| Grout cracking along joints | Insufficient movement joints, substrate flex, or porous grout absorbing water | Rake out cracked grout, fill perimeter joints with flexible sealant, re-grout field joints with polymer-modified grout, seal |
| White haze on tile surface (efflorescence) | Mineral salts migrating from substrate or grout through moisture | Scrub with a diluted phosphoric acid efflorescence cleaner, rinse thoroughly, reseal grout after fully dry |
| Water pooling on table surface | No slope or low spots in substrate | Temporarily manageable with a table cover; permanent fix requires removing tile and re-setting substrate with slight slope |
| Grout staining and discoloration | Unsealed grout absorbing food, drink, or mold | Clean with oxygen bleach, re-seal with penetrating grout sealer; if staining is deep, raking and re-grouting is the best option |
| Edge tile chipping | Exposed tile edge without protective trim | Install Schluter JOLLY or RONDEC edge trim, or epoxy a replacement bullnose tile at the edge |
Most tile and grout failures on patio tables are repairable without replacing the entire top. The key is catching problems early: a single loose tile re-bonded promptly is a 30-minute job. If you ignore it and water gets under the neighboring tiles through the open joint, you can end up with a much bigger repair. Annual inspection in spring takes five minutes and is genuinely worth doing.
If you're dealing with widespread delamination across the whole surface, where many tiles are hollow or cracking in a pattern, that usually points to a systemic issue: either a substrate that's flexing, a waterproofing layer that failed and allowed water intrusion, or the wrong type of tile was used originally. In that case, the most cost-effective fix is a full removal and reinstall using the correct materials from the start. It's more work upfront, but a properly built ceramic tile table top won't need to be touched again for 15-20 years.
FAQ
How long should I wait before putting my patio table back into service after tiling and grouting ceramic?
Use the tile and mortar system’s manufacturer guidance for cure times, but as a practical rule, keep the table dry and uncovered for at least 48 to 72 hours before light use, and only stress it fully after the grout has fully cured. If you use epoxy grout, plan for about a 10-day cure window before sealing and before regular outdoor exposure.
Can I tile over existing outdoor plywood on my patio table base?
Yes, but only if you treat the underlayment as an exterior waterproofed assembly. Avoid cheap “waterproofing paints” over plywood, and do not rely on grout to stop water. Use an exterior-rated waterproof membrane or waterproof foam board, then install tile with an exterior polymer-modified thinset and a movement-capable perimeter seal.
If I use epoxy grout on a patio table ceramic tile top, do I still need movement joints and sealing?
Not if the table has any movement or will see freeze-thaw. Epoxy grout is more stain-resistant, but it is not a substitute for a proper perimeter movement joint, and it still needs correct tile substrate flatness. If your table wobbles, fix frame rigidity first, then choose epoxy grout if you expect heavy spills or frequent scrubbing.
Where should I place the slope so water actually drains off a patio table tile top?
For a single top surface, the direction matters most for water drainage, not the whole slope of your patio. Aim for a slight pitch toward the most convenient edge, and confirm there are no low spots by checking with a straightedge and by pouring a small amount of water after substrate installation.
How can I test whether my patio table frame is rigid enough before installing a ceramic tile top?
It’s a common failure. If the frame flexes, grout and tile crack even with the right tile and thinset. Welded steel frames are the most consistent, and if you choose aluminum or wood, add bracing and verify movement by pushing down at multiple corners and feeling for any wobble.
What substrate materials should I avoid for a patio table ceramic tile top installation?
Don’t set tile directly on plywood, particle board, or thin OSB. If you must use plywood as a structural layer, cover it with cement backer board or a waterproof foam board, then tape seams and waterproof appropriately before tiling.
If I’m in a mild climate (no hard freezes), is dense ceramic tile still acceptable for the patio table?
Buy tile with exterior performance specs matched to your climate. In freeze-thaw areas, prioritize porcelain with water absorption under 0.5 percent, and still look for “exterior rated” or “frost resistant” language, since some dense ceramic tiles may not be reliable outdoors despite appearing durable.
Can I use the same thinset I used indoors for a patio table ceramic tile top?
No, typical indoor thinset and standard gray thinset are the wrong risk profile outdoors. Use a polymer-modified thinset meeting ANSI A118.4 for general exterior porcelain or tile bonding, and if you’re installing large-format porcelain, use mortar meeting ANSI A118.15. Check the bag for exterior and large-format suitability.
Should I seal porcelain tile and grout on a patio table ceramic tile top?
If the tabletop is the only surface, sealers for grout are optional depending on grout type, but they are still helpful for stain resistance on a table where drinks and food are common. Do not use “topical” coatings intended for floors without confirming they won’t peel outdoors.
My design calls for very narrow grout lines, is that okay for an outdoor tile table?
Wrong or too-small joints are a frequent cause of failure. For outdoor table work, plan grout joints at least about 3/16 inch when possible, and keep the perimeter gap as a flexible sealant joint rather than grout. Tiny, hairline indoor-style joints leave no room for movement.
If one tile pops loose, can I repair just that spot without redoing the entire patio table?
Yes, and it’s one of the easiest fixes if caught early. Lift and re-bed only the loose or hollow tiles, remove any failing mortar beneath, and allow full cure before grouting. The key is to also correct the reason it loosened, often frame movement or water intrusion through an unsealed perimeter joint.
How do I know when a patio table ceramic tile top repair should turn into a full removal and reinstall?
Replace the entire assembly when delamination is widespread or patterned, because it usually signals a systemic substrate or waterproofing problem. A few isolated failures may be individual, but if many tiles sound hollow or fracture in a repeat pattern, plan for removal and reinstall with the correct exterior layers.
What cleaners are safest for maintaining a ceramic tile top outdoors without damaging grout or sealants?
For cleaning, avoid acids and aggressive abrasives, and use a soft brush with mild soap and warm water. For mildew, use oxygen-based bleach and scrub, then rinse thoroughly. Also re-check the perimeter seal after heavy cleaning because strong pressure washing can dislodge sealant over time.