
The best DIY patio for your space depends on three things: your budget, your soil/slope situation, and how much physical work you want to take on. For most homeowners, a paver patio hits the sweet spot: it's forgiving, repairable, drains well when built right, and costs roughly $12–$30 per square foot installed (or significantly less when you supply the labor yourself). Gravel with stepping stones is the easiest and cheapest option. Concrete gives you the most seamless finish but demands the most skill. Tile looks stunning but requires waterproofing and movement joints or it will fail outdoors. Pick your method, build a proper base, slope everything away from the house, and you'll have a patio that holds up for decades. To make sure your patio must have the right long-lasting drainage and base, don’t skip proper slope and base prep.
Patio Do It Yourself Ideas: Plan, Build, and Maintain

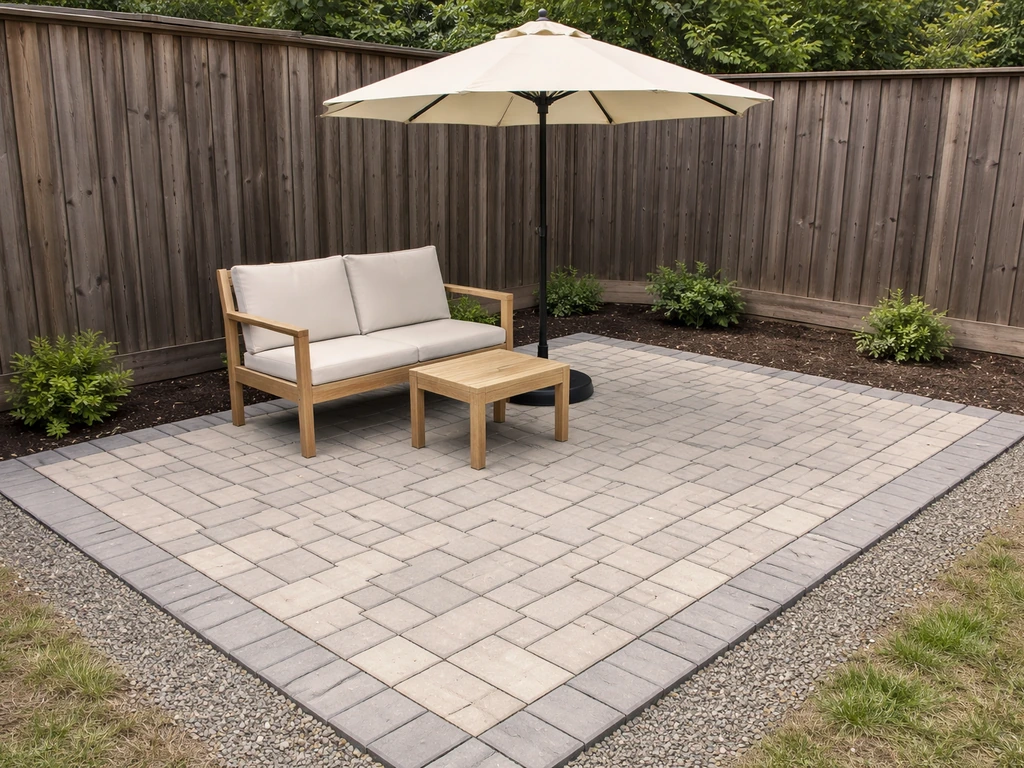
Picking a DIY patio style and layout that actually fits your space
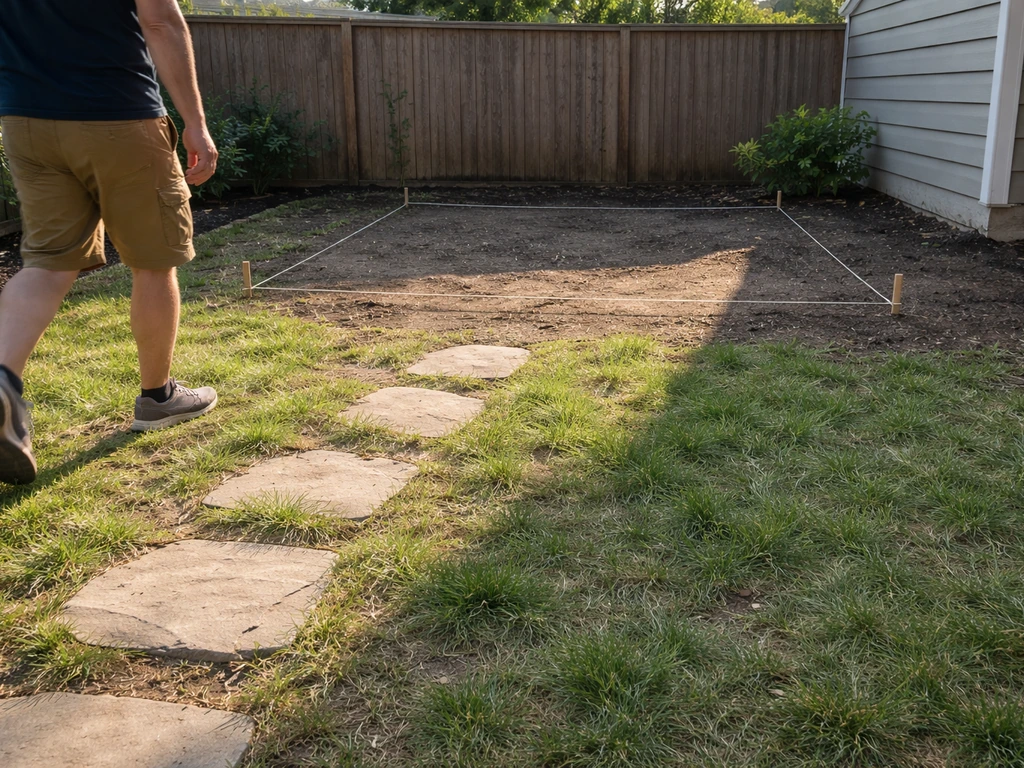
Before you buy a single paver or bag of concrete, spend time walking your yard at different times of day. Where does the sun hit in the morning versus the afternoon? Where does wind come from? Where does water pool after rain? These answers matter more than aesthetics when it comes to a patio you'll actually use and that won't flood every spring.
For a small backyard, a simple rectangular or L-shaped layout attached to the house almost always makes the most sense. It maximizes usable square footage and keeps the connection to indoor/outdoor flow tight. For a front yard patio or courtyard-style build, a freestanding island layout works well, though check your local zoning first since front-yard hardscape coverage is often regulated. For a sloped lot, either terrace the patio into the slope with a retaining edge, or plan for a gravel-and-stepping-stone path that follows the grade rather than fighting it.
In terms of style, here are the most practical DIY-friendly options to consider:
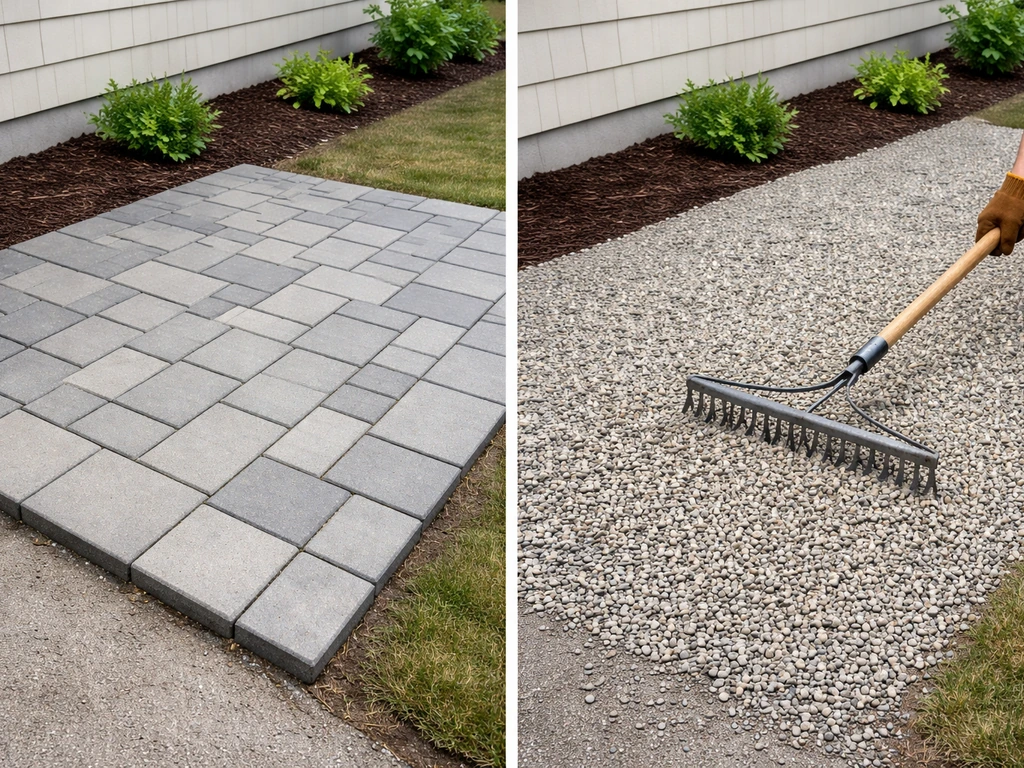
- Paver/interlocking stone patio: the most popular DIY choice, highly repairable, great drainage, works on most flat or gently sloped ground
- Gravel patio with stepping stones: fastest to install, lowest cost, best for informal gardens or tight budgets, pairs well with patio garden beds
- Poured or stamped concrete slab: cleanest finish, lowest long-term maintenance, but the hardest to DIY correctly and difficult to repair if it cracks
- Outdoor tile over a concrete base: the most decorative option, works well for covered patios, but requires waterproofing and expansion joints to avoid cracking
- Flagstone or natural stone: beautiful and durable, can be dry-laid in gravel or mortared, higher material cost but excellent longevity
Think about how the patio connects to the rest of your yard too. A walkway leading from a side gate or back door should be at least 36 inches wide to allow two people to walk comfortably side by side. Planning that connection early means you won't end up with an awkward dead-end slab or a path that bottlenecks your traffic flow.
Planning: size, budget, permits, and site prep
How big should your patio be?
A good rule of thumb: plan for about 25 square feet per person you expect to seat regularly. A dining set for four needs at least 100 square feet, and a comfortable entertaining patio usually lands between 150 and 300 square feet. If you're planning a patio for entertaining this year, a solid size range and a few key patio must haves 2023 will help you design it right from the start 150 and 300 square feet. When in doubt, measure your furniture first, then add at least 3 feet of clear walkway around it. Sketching it on graph paper first will save you from building something too small.
Budget ranges to plan around
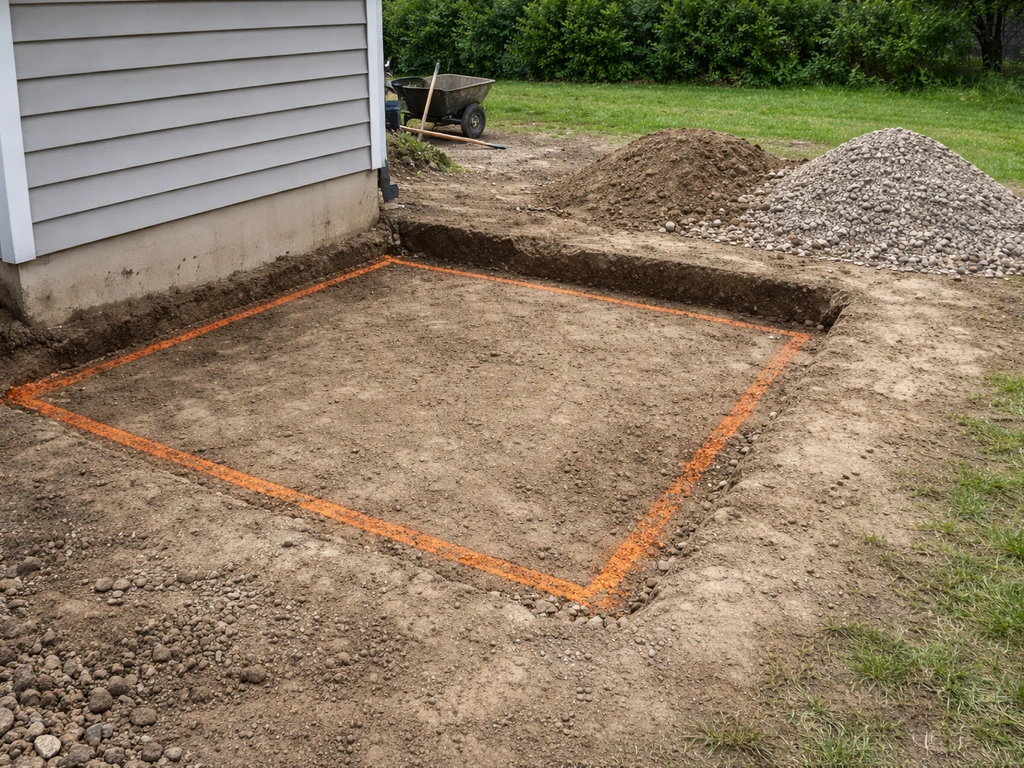
| Patio Type | DIY Material Cost (per sq ft) | Installed by Pro (per sq ft) |
|---|---|---|
| Gravel + stepping stones | $2–$6 | $8–$15 |
| Concrete pavers / interlocking stone | $5–$12 | $12–$30 |
| Poured concrete slab | $4–$8 | $6–$18 |
| Stamped concrete | $8–$14 (materials + rental) | $10–$20+ |
| Outdoor tile | $10–$20 (materials) | $30–$40+ |
Your biggest DIY savings come from supplying your own labor on pavers and gravel work. Concrete is trickier because mixing, forming, pouring, and finishing a slab before it sets requires either a crew or rented equipment. Stamped concrete in particular is hard to DIY without practice; the window to stamp before the concrete stiffens is very short. If you're doing a large concrete pour, be honest with yourself about whether hiring out just the pour is worth the peace of mind.
Permits, zoning, and HOA rules
Many homeowners skip this step and regret it later. Patios count as impervious surface in most municipalities, which means they affect your property's lot coverage calculation. Many counties cap total hardscape (driveways, patios, paths) at a percentage of your lot area, and front-yard paving restrictions are especially common. For example, zoning rules in jurisdictions like Arlington County and Fairfax County (and many others nationwide) explicitly limit how much of a front yard can be paved. If you're in an HOA, check your covenants carefully. Many HOAs require prior written approval for patios and may restrict which materials you can use, such as specifying that only brick, flagstone, pavers, or concrete are acceptable. A quick email to your HOA and a call to your local building department before you start can save you from tearing out work later.
Site prep: the step most DIYers rush
Good site prep is the difference between a patio that lasts twenty years and one that shifts, sinks, and grows weeds in three. Start by marking your patio outline with spray paint or stakes and string. Remove all sod, roots, and organic material from the area. For pavers or gravel, excavate to a total depth of about 10 inches: this accounts for your base layers plus the paver or surface material itself. Slope the excavated base away from your house at 1/8 inch per running foot, and maintain that slope through every layer you add. That drainage slope isn't optional: water that sits against a foundation causes serious long-term damage.
Materials and tools for common DIY patio builds
The materials list varies by method, but some things appear on almost every patio project: a plate compactor (rent one, don't skip it), a rubber mallet, a level and string line, a tape measure, work gloves, safety glasses, and a circular saw with a diamond blade for cutting pavers or tile. Here's what each common build method specifically needs:
| Method | Key Materials | Key Tools/Rentals |
|---|---|---|
| Pavers / interlocking stone | Compacted gravel base (4–6 in), bedding sand (1 in), pavers, polymeric jointing sand, edge restraints | Plate compactor, rubber mallet, screed pipes, diamond blade saw, level |
| Gravel patio | Landscape fabric, crushed gravel (3–4 in depth), edging/border material, stepping stones if desired | Hand tamper or plate compactor, shovel, rake, rubber mallet |
| Poured concrete slab | Ready-mix or bagged concrete (QUIKRETE), 2x4 or 2x6 form lumber, rebar or wire mesh, plastic sheeting | Concrete mixer or mixer rental, screed board, bull float, edger, trowel |
| Stamped concrete | Same as poured slab, plus color hardener/release agent and stamp mats | Same as concrete, plus stamp rental kit |
| Outdoor tile | Concrete base or existing slab, waterproofing membrane, exterior tile mortar, tile, grout, expansion joint material | Tile saw, notched trowel, grout float, rubber mallet, level |
For paver jointing, use polymeric sand rather than regular sand. Polymeric jointing sand is a polymer-modified graded sand designed to fill joints up to 2 inches wide; once activated with water it hardens slightly, which dramatically reduces weed germination and ant intrusion between pavers. It's a small upgrade that makes a big difference over time.
Step-by-step build methods for the four most common DIY patios
Paver patio (the most forgiving DIY build)
- Mark and excavate: Stake out your patio, remove sod and soil to a total depth of about 10 inches. Slope the bottom of your excavation away from the house at 1/8 inch per foot.
- Add and compact gravel base: Pour in 4–6 inches of crushed gravel (not pea gravel; use angular crushed stone). Compact thoroughly with a plate compactor in multiple passes. Check your slope with a level.
- Lay geotextile fabric (optional but recommended): A layer of landscape fabric between the subgrade and gravel helps prevent soil migration into the base over time.
- Screed the bedding sand: Add about 1 inch of coarse bedding sand on top of the compacted gravel. Use two screed pipes set at the right height and drag a straight board across them to create a flat, even surface. Do not compact the sand layer.
- Install edge restraints: Snap plastic or metal edge restraints around the perimeter and stake them into the ground. These lock the edge pavers and prevent the whole field from shifting outward over time.
- Lay pavers: Start from a corner or straight edge and work outward, keeping joints tight. Use a rubber mallet to tap each paver flush. Check frequently with a level.
- Cut pavers as needed: Use a diamond blade saw or a chisel and hammer for cuts at borders and obstacles.
- Compact the pavers: Run the plate compactor over the finished surface (put a rubber pad on the base plate to protect the paver surface). This seats the pavers firmly into the sand.
- Sweep in polymeric jointing sand: Pour polymeric sand over the surface and sweep it into all joints. Compact again, add more sand if needed, then lightly mist with water to activate the binder.
Gravel patio with stepping stones
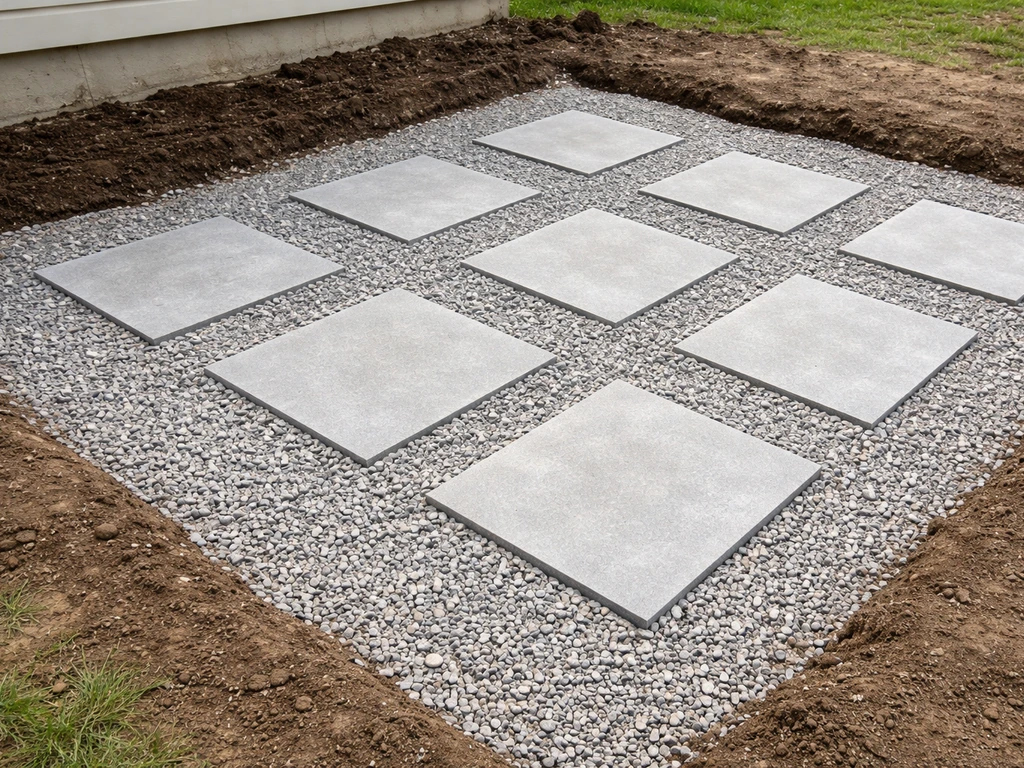
- Mark the area and remove sod and soil to about 4–5 inches deep.
- Slope the ground away from the house at 1/8 inch per foot.
- Lay landscape fabric across the entire excavated area, overlapping seams by at least 6 inches.
- Add 3–4 inches of crushed gravel (pea gravel works for comfort underfoot; angular crushed stone drains faster and stays put better). Rake level.
- Place stepping stones or flagstones by setting them on top of the gravel and pressing or tapping them level. Aim for consistent spacing (about 18–24 inches center to center for natural walking stride).
- Install border edging around the perimeter to contain the gravel and define the space.
- Top dress with a finer decorative gravel if desired, then rake smooth.
Poured concrete slab
- Excavate to 6–8 inches deep (4 inches for the slab itself, plus 2–4 inches of compacted gravel sub-base). Slope away from house at 1/8 inch per running foot.
- Build wood forms from 2x4 or 2x6 lumber, staked level and sloped correctly. Oil or coat forms so they release cleanly.
- Compact the gravel sub-base thoroughly.
- Lay wire mesh or rebar on chairs to keep reinforcement centered in the slab. Add an isolation joint (foam backer) where the slab meets the house foundation to allow independent movement.
- Mix and pour concrete: for patios, a 4-inch thick slab is standard. If your patio is larger than 10 x 10 feet, plan control joints in a grid no wider than 10 feet in each direction. This controls where cracks happen so they stay hidden.
- Screed the surface flat with a 2x4 pulled across the forms. Follow with a bull float to close the surface.
- Cut or tool control joints once the surface can support your weight without leaving deep impressions (usually 4–12 hours depending on conditions).
- Finish and cure: use a broom finish for traction. Cover with plastic sheeting and keep damp for at least 7 days for proper curing.
Outdoor tile over a concrete base
- Ensure you have a solid, crack-free concrete base (either existing or newly poured as above). Tile is unforgiving of any base movement.
- Apply a waterproofing membrane over the entire concrete surface, per manufacturer instructions and ANSI/TCNA movement joint guidelines. This step is critical: water that gets behind exterior tile and freezes will lift and crack the entire installation.
- Plan and mark expansion joint locations before tiling. Expansion joints are required at all changes of plane, at columns, and across large field areas per ANSI guidelines.
- Apply exterior-rated tile mortar (not standard indoor thinset) with a notched trowel matched to your tile size.
- Set tiles with a slight back-butter coat, press firmly, and check alignment and level constantly.
- Allow mortar to cure fully (typically 24–48 hours) before grouting.
- Apply exterior grout, tool joints smooth, and seal grout once cured.
Design upgrades that make a patio feel finished
Edging and borders
Edge restraints aren't just structural; they're a design element. Soldier-course pavers (laid vertically along the border), metal edging painted to match, or a double-wide border in a contrasting paver color all define the patio's footprint clearly and keep grass from creeping in. Even on a gravel patio, a clean timber, steel, or concrete border makes the space look intentional rather than just dumped.
Built-in seating and zones
If you're building a paver or concrete patio, consider adding a low seat wall (typically 17–19 inches high) along one or two edges. A seat wall doubles as extra seating during gatherings and as a border that ties the patio into surrounding landscaping. You can build these from the same pavers stacked dry or mortared, from concrete block, or from treated lumber. Planning a separate dining zone and a lounge zone, even on a modest 200-square-foot patio, makes the space feel much larger.
Lighting and electrical
The best time to plan electrical is before you pour or lay anything. If you want an outdoor outlet, string lights overhead, or in-ground path lights around the patio perimeter, have an electrician rough in conduit and a GFCI outlet before your surface goes down. Low-voltage LED path lights and solar post lights are easy DIY installs after the fact, but a hardwired outlet is much harder to add once the patio is finished. Even if you run conduit and cap it now, you'll thank yourself later.
Privacy screens and overhead structure
A patio without some sense of enclosure can feel exposed and less usable. DIY privacy options include a simple lattice panel on a post frame (easy, about $100–$200 in materials), a cedar privacy screen, a trellis with climbing plants, or a row of tall ornamental grasses planted in containers. Overhead, a shade sail or pergola structure dramatically changes how much time you actually spend on the patio. Pergola kits designed for DIY installation are widely available and most attach directly to a ledger board on the house.
Drainage: the detail that prevents expensive problems
Every layer of your patio needs to carry water away from the house. The 1/8-inch-per-foot slope rule applies from your excavation all the way up to your finished surface. For a 12-foot-wide patio, that means the far edge sits about 1.5 inches lower than the house side. On a paver patio, permeable gravel base and sand bedding help water drain vertically as well as laterally. On a concrete or tile patio, water must exit via slope alone, so accuracy matters more. If your yard is flat or slopes toward the house, consider a channel drain (linear French drain) at the outer edge of the patio to capture surface runoff before it pools.
Keeping your patio looking good for years
Paver maintenance
Pavers are one of the easiest patio surfaces to maintain because individual units can be lifted and re-leveled if they settle. Every year or two, inspect for pavers that have rocked or sunk, pull them up, add or remove sand as needed, and reset them. For weed control in joints, polymeric sand is your first line of defense; reapply it every few years as it erodes. A pressure washer on a low fan setting cleans pavers effectively, but don't blast the joint sand out. Sealing pavers is optional but recommended every 3–5 years; it enhances color, reduces staining, and helps the polymeric sand last longer.
Gravel patio upkeep
Gravel patios need the least structural maintenance but the most regular tidying. Rake the surface every spring to redistribute gravel that has shifted or compressed. Top-dress with fresh gravel every 2–3 years since some always migrates. Landscape fabric under the gravel suppresses most weeds, but some will still punch through over time; spot-treat with a non-selective herbicide or pull by hand. If stepping stones have settled unevenly, simply lift them, adjust the gravel beneath, and reset.
Concrete slab maintenance
Concrete is low maintenance but not zero maintenance. Concrete Network suggests a rule of thumb for control joint spacing: the spacing in feet should be no more than about 2, 3 times the slab thickness in inches control joint spacing in feet should be no more than about 2–3 times the slab thickness in inches. Hairline cracks are normal and mostly cosmetic; fill them with a concrete crack filler before water infiltrates and widens them through freeze-thaw cycles. Seal a concrete patio with a penetrating concrete sealer every 2–3 years, especially in climates with freezing winters. For stamped concrete, a topical acrylic sealer keeps the color vivid and protects the stamped texture; reapply every 1–2 years or when water stops beading on the surface. Power wash annually with a mild concrete cleaner to prevent mold and staining.
Tile patio maintenance
Outdoor tile is relatively easy to clean (sweep and mop with a pH-neutral cleaner) but the biggest long-term risk is water infiltration under the tile causing the mortar bond to fail. Inspect grout joints annually for cracks and regrout any compromised areas promptly. Seal grout every 1–2 years with a penetrating grout sealer. If tiles crack, individual replacements are possible but matching discontinued tiles is notoriously difficult, so always purchase 10–15% extra tile when you first install.
General tips that apply to any patio
- Clean the surface every spring before patio season starts to prevent organic buildup that causes staining and slipping
- Check and clear your drainage slope after the first heavy rain to make sure water is actually moving away from the house
- Trim back any plants or grass touching the patio edge annually to prevent roots from lifting edge restraints or working into joints
- Reapply joint sand (polymeric) whenever you notice gaps forming between pavers, especially after a wet spring
- In freezing climates, avoid rock salt for ice removal on concrete and pavers; use sand or calcium chloride instead since rock salt accelerates surface spalling
A well-built DIY patio doesn't just add outdoor living space, it adds real value to your home and gives you a spot you'll actually want to spend time in. If you are looking for patio gardening tips, start by choosing plants that match your sunlight and water conditions DIY patio. Your patio will feel more complete if you include a few patio must haves like comfortable seating, smart lighting, and durable surfaces. Start with a style and material that matches your skill level and budget, build the base correctly, plan your drainage from day one, and the maintenance side of things becomes almost effortless. If you're just getting started, a patio garden for beginners can be a simple way to add plants and comfort without overcomplicating the project. Whether you're going with a casual gravel-and-stepping-stone setup or a full interlocking paver installation, the fundamentals are the same: prepare the ground properly, slope everything away from the house, and finish the joints well. Get those three things right and everything else follows.
FAQ
What’s the easiest patio do it yourself ideas option if I’m on a budget and want minimal long-term hassle?
Gravel with stepping stones is usually the lowest cost and lowest skill. To keep it from turning into a muddy mess, use a weed barrier under the gravel and add a firm edging (steel, concrete, or timber) so the gravel doesn’t spread. Also plan your stepping stone spacing around your stride, typically about 24 to 30 inches center-to-center for comfortable walking.
How do I know if my yard slope is enough, or if I need a drain channel?
Measure the grade from the house outward and confirm water will move away during and after rain. If you have a flat spot or any area that repeatedly pools, add an outer linear drain along the downhill edge before you install the patio surface. A drain helps even if you build the correct 1/8 inch per foot slope, because it reduces how much runoff arrives at the patio edge.
Can I build a patio do it yourself ideas project over existing grass or old concrete?
Usually not over grass or intact slabs. Grass and organic material break down and cause settlement. Over old concrete, problems like cracking, moisture migration, and uneven height can transfer through the new surface, especially for pavers that require a stable base. In most cases the best DIY move is to excavate to the correct depth and rebuild the base properly.
What’s the most common paver mistake that leads to shifting or weeds?
Using the wrong jointing sand or skipping joint maintenance. Regular sand washes out or fails to lock, so pavers loosen and weeds move in. Use polymeric sand for paver joints, compact bedding correctly, and reapply polymeric sand every few years as it erodes, especially in rainy climates or heavy freeze-thaw areas.
How far should patio edges be from the house and sidewalks to avoid water problems?
Keep the patio sloped correctly away from the house, and avoid making the surface level with door thresholds. A practical check is to ensure the finished far edge is lower by your target slope (1/8 inch per running foot). If you have to cross a walkway or driveway area, build transitions deliberately, since uneven edges can create water traps and trip hazards.
Do I need a permit or can I just start building patio do it yourself ideas right away?
In many places, patios that add impervious surface, extend into setbacks, or connect to utilities may require a permit. Even if a permit is not required for a small backyard patio, local rules on lot coverage and front-yard paving restrictions often apply. The safest approach is to call your building department and check HOA covenants before excavation.
What electrical planning choices can prevent having to redo patio do it yourself ideas later?
Plan for any hardwired outlet and landscape lighting conduit before you pour or lay pavers. If you want in-ground lights, run conduit early and place junction boxes where they stay accessible. Also choose GFCI protection for outdoor outlets, and keep wire routing protected in conduit so you can troubleshoot without lifting the entire surface.
How big should the patio be if I’m not sure how many people I’ll seat?
Start by measuring your exact furniture footprint, then add clear walking space. A good planning method is to budget around 25 square feet per person for regular seating, and add at least about 3 feet of clearance around the main arrangement so chairs can pull out and people can pass comfortably.
How do I maintain polymeric sand joints without washing them out?
Clean with caution. Use a low fan pressure washer setting if you clean pavers, and do not target the joints aggressively, since the polymeric sand needs to stay in place to lock pavers. When you reapply polymeric sand, activate it with the correct amount of water and avoid heavy rain immediately afterward.
Is outdoor tile a bad idea for DIY if I’m worried about cracking or failure?
Outdoor tile can work well, but it is less forgiving than pavers or gravel because movement and water infiltration are the main failure points. The key DIY decision is to include proper movement joints and ensure the waterproofing system is designed for exterior use. If your base might shift, pavers are often a safer DIY choice.
How often should I seal concrete or pavers, and what climate changes that schedule?
Concrete sealing is typically needed every 2 to 3 years, and faster schedules can be required in freeze-thaw regions or where de-icing salts are used. Paver sealing is optional but usually recommended every 3 to 5 years to reduce staining and help the look last. In humid or rainy areas, inspect annually for water beading, that’s a practical indicator the sealer is still performing.