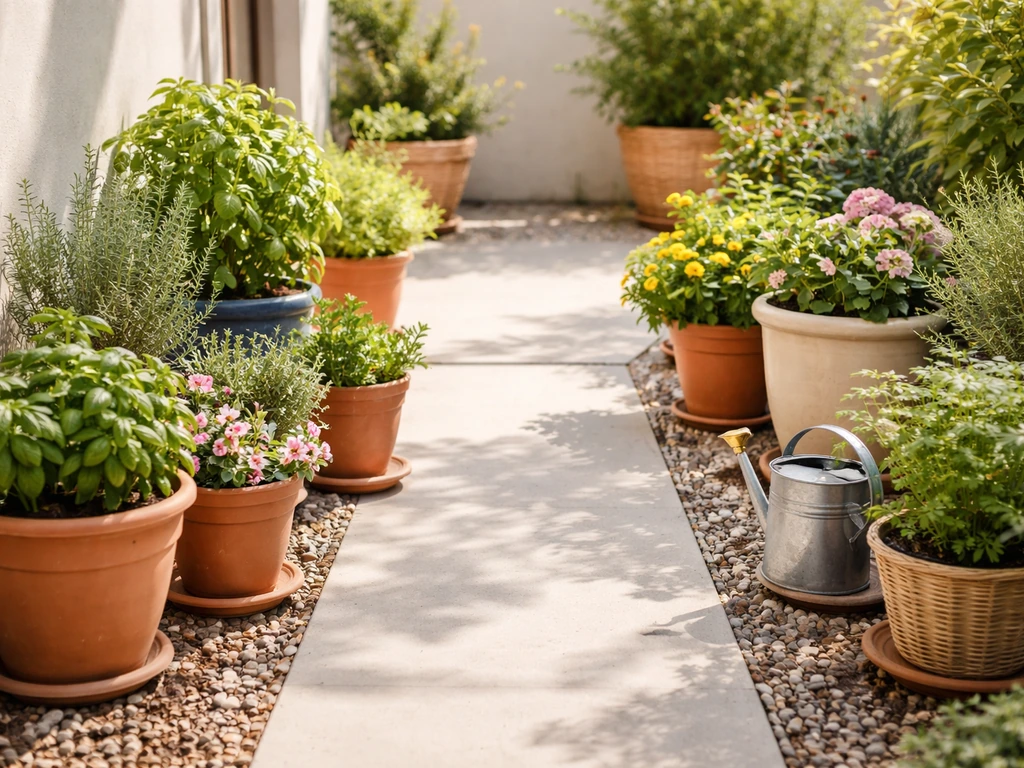
The single most important thing you can do for a patio garden is match your plants to your actual conditions before you buy a single pot. Most failures come down to putting a shade-lover in a sun-baked corner, or drowning a drought-tolerant succulent in a container with no drainage. Get those fundamentals right and the rest of patio gardening falls into place quickly, even on a tiny balcony or a small concrete slab with limited options.
Patio Gardening Tips: Step-by-Step Container Plan

Miles Sutton
16 Jun 2026
Read your patio before you plant anything
Spend one full day watching your patio before you spend any money. If you want a patio that performs well season after season, start with the patio must haves like proper light, drainage, and a layout that supports how you’ll actually use the space. Note where direct sun hits in the morning, midday, and late afternoon. A spot that gets 6 or more hours of direct sun daily is full sun. Four to six hours is part sun or part shade. Fewer than four hours is shade territory. Most edibles and flowering plants need at least six hours, so if your patio is mostly shaded, you'll be working with ferns, hostas, impatiens, and leafy greens rather than tomatoes and zinnias.
Wind is the factor most beginners skip. A rooftop or elevated deck can be brutal on plants, drying out containers two to three times faster than a sheltered ground-level patio. If you have consistent wind, plan for windbreaks (more on that in the privacy section) and commit to more frequent watering. Heat reflection is also real: dark pavers, concrete walls, and metal railings absorb heat and radiate it back at your containers. In midsummer that can push soil temperatures well above air temperature, stressing roots even when the air feels comfortable. Light-colored containers and moving pots away from south-facing walls in July and August makes a measurable difference.
Layout basics and picking the right plants for small spaces
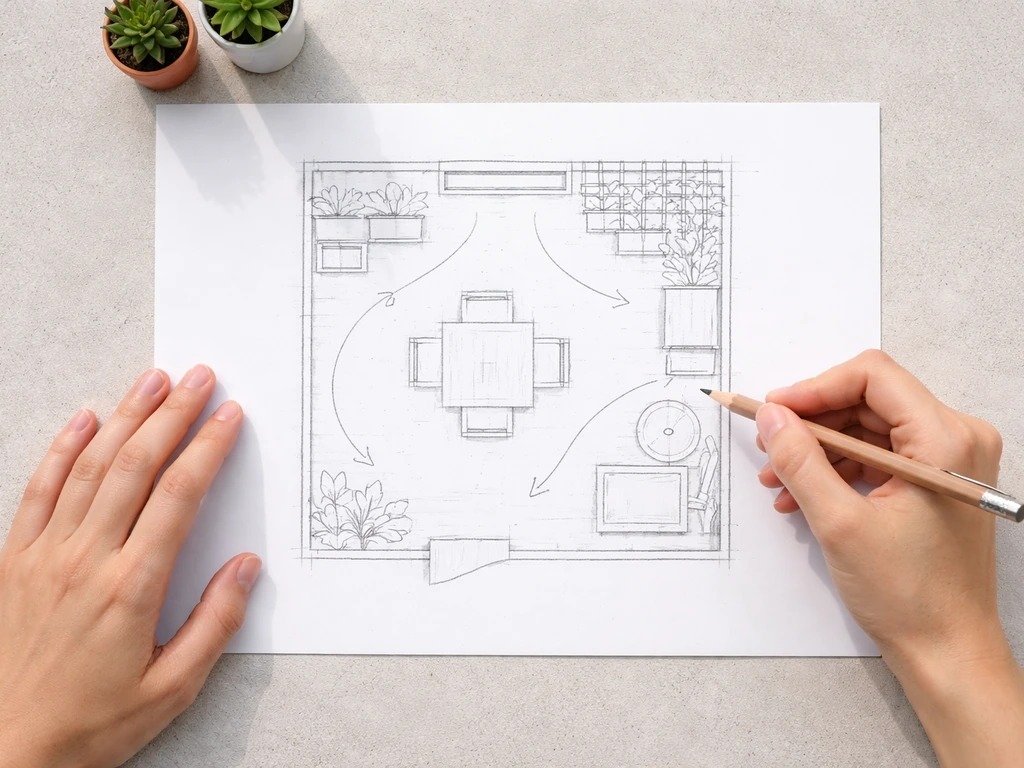
Before buying containers, sketch out your patio to scale. Even a rough drawing on paper showing where the door, furniture, and foot traffic lanes are will prevent you from crowding plants into spots you'll constantly bump into or where they'll block airflow. A good rule: leave at least 18 to 24 inches of clear walkway between any container grouping and your main seating area. Group containers in odd numbers of three or five for a more intentional look, and vary heights by using plant stands, upturned pots, or tiered shelving.
For small patios, think vertically. A wall-mounted planter, a trellis with climbing beans or jasmine, or a tall columnar planter takes up almost no floor space but adds serious visual impact. Use the tallest plant as a back anchor, medium-height plants in the middle, and trailing plants at the front or edges of containers. This 'thriller, filler, spiller' approach works for both edibles and ornamentals and makes a single large pot look intentional.
Plant selection really comes down to three questions: How much sun do you have? How much space can you give? And are you growing for looks, food, or both? Here are reliable picks organized by condition:
| Condition | Reliable Plant Picks | Notes |
|---|---|---|
| Full sun (6+ hrs) | Tomatoes, peppers, basil, zinnias, petunias, lavender, succulents | Water daily in summer; use light-colored pots to limit heat stress |
| Part sun (4-6 hrs) | Leafy greens, herbs (mint, parsley), fuchsia, begonias, impatiens | More forgiving of irregular watering; great for beginners |
| Shade (under 4 hrs) | Ferns, hostas, coleus, astilbe, lettuce | Avoid fruit-bearing plants; focus on foliage and texture |
| Windy/exposed | Ornamental grasses, lavender, sedum, geraniums | Low, compact plants resist wind damage better than tall ones |
| Compact/vertical space | Dwarf tomatoes, climbing nasturtiums, strawberries in towers | Choose dwarf or patio-specific varieties labeled for containers |
Containers, soil, and getting drainage right
Container choice matters more than most people think. Terracotta is breathable and great for plants that prefer drying out between waterings, like lavender and succulents, but it dries out fast in heat and is heavy once filled. Glazed ceramic holds moisture longer and works well for moisture-loving plants, but it's also heavy and can crack in hard freezes. Plastic and resin containers are lightweight, cheap, and hold moisture well, which makes them practical for large plantings and vegetables. Fabric grow bags have become popular for tomatoes and root vegetables because they air-prune roots and drain beautifully. Size up whenever you're unsure: a minimum of 5 gallons for most vegetables, 1 to 2 gallons for herbs, and 3 to 5 gallons for flowering annuals.
Never use straight garden soil in containers. It compacts, drains poorly, and suffocates roots. Use a quality potting mix (not potting soil, which often has similar compaction issues). Look for a mix that lists perlite, bark fines, or coir on the label. These ingredients keep the mix loose and fast-draining. For succulents and Mediterranean herbs, add extra perlite at about a 1:3 ratio. For moisture-loving plants like lettuce, you can add a small amount of water-retaining crystals, though fresh potting mix with coir already does a decent job.
Drainage is non-negotiable. University of Illinois Extension points out that proper drainage matters as much as how much water you add, and that multiple drainage holes outperform a single one. If your decorative pot has no holes, either drill some (a masonry bit works on ceramic and terracotta) or use it as a cachepot, setting a plastic nursery pot inside it and removing the inner pot to drain after watering. Skip the layer of gravel at the bottom of containers entirely: research consistently shows it actually raises the saturated zone higher in the pot, not lower.
Watering and fertilizing: the routines that prevent most failures
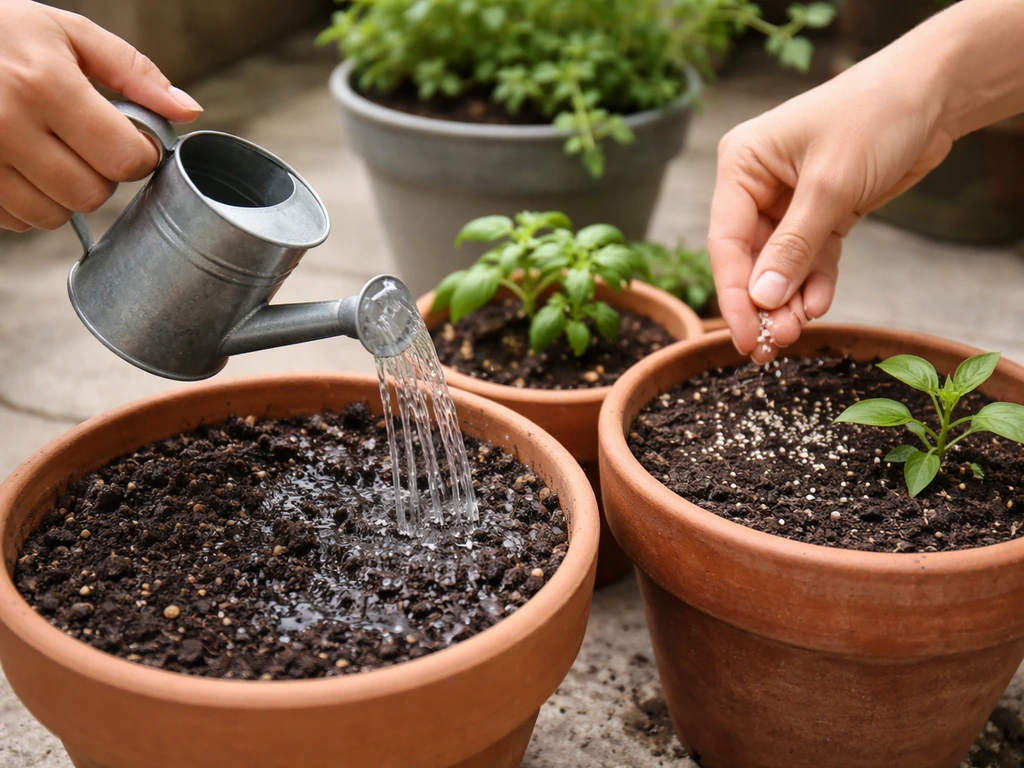
Overwatering kills more container plants than underwatering does. The RHS is clear on this: container plants should stay moist, never soggy, and you should avoid swinging between bone dry and saturated. The fix is simple: check before you water. Push your finger an inch into the soil. If it feels moist, wait. If it feels dry, water thoroughly until it runs freely from the drainage holes, then stop. In midsummer heat, many containers on a sunny patio will need daily watering. In cooler spring or fall weather, every two to three days is often enough. The RHS also notes that container plants dry out much faster than in-ground plants, so never assume a schedule will work every day of the season.
For a larger setup (six or more containers), a simple drip irrigation system with a timer is one of the best investments you can make. Basic kits run around $30 to $60 and take an afternoon to set up. They also save plants when you travel.
Container plants exhaust the nutrients in their potting mix quickly, especially with frequent watering flushing things through. University of Minnesota Extension recommends starting fertilizer applications somewhere between 2 and 6 weeks after planting, depending on your potting mix, how often you water, and how fast plants are growing. For flowering and fruiting plants like tomatoes, petunias, and peppers, choose a fertilizer with relatively higher phosphorus and potassium compared to nitrogen. Too much nitrogen and you get lush leaves but few flowers or fruits. For foliage plants and leafy greens, a balanced fertilizer or one slightly higher in nitrogen is fine. A slow-release granular fertilizer worked into the top of the soil at planting, topped up every 4 to 6 weeks, is the easiest approach. Liquid fertilizers work faster and let you adjust mid-season, but require weekly attention.
A seasonal planting and care calendar
Patio gardening follows a rhythm once you learn it. Here's a practical month-by-month framework built around a temperate climate (adjust 4 to 6 weeks earlier if you're in a warmer zone, or later if you're in a cold one):
| Season / Month Range | What to Do |
|---|---|
| Late Winter (Feb-Mar) | Order seeds and plan your layout. Clean and inspect containers from last year. Refresh potting mix or buy new bags. |
| Early Spring (Mar-Apr) | Start seeds indoors for tomatoes, peppers, and herbs 6-8 weeks before last frost. Plant cool-season crops (lettuce, spinach, pansies) directly in containers outdoors once temps stay above freezing at night. |
| Late Spring (Apr-May) | After last frost, transplant warm-season starts into containers. Begin fertilizing 2-4 weeks after transplanting. Set up drip irrigation if using it. |
| Summer (Jun-Aug) | Water daily in heat. Fertilize every 2-4 weeks. Deadhead flowers to keep blooming. Watch for pests and heat stress. Move heat-sensitive containers to afternoon shade if needed. |
| Early Fall (Sep-Oct) | Plant a second round of cool-season crops. Cut back spent summer plants. Reduce watering as temperatures drop. Add ornamental kale or mums for fall color. |
| Late Fall / Winter (Nov-Jan) | Move frost-sensitive plants or pots with plants you want to overwinter indoors or into a sheltered spot. Empty, clean, and store containers. Plan next year's layout while it's fresh. |
Lighting, privacy, and design touches that tie it all together
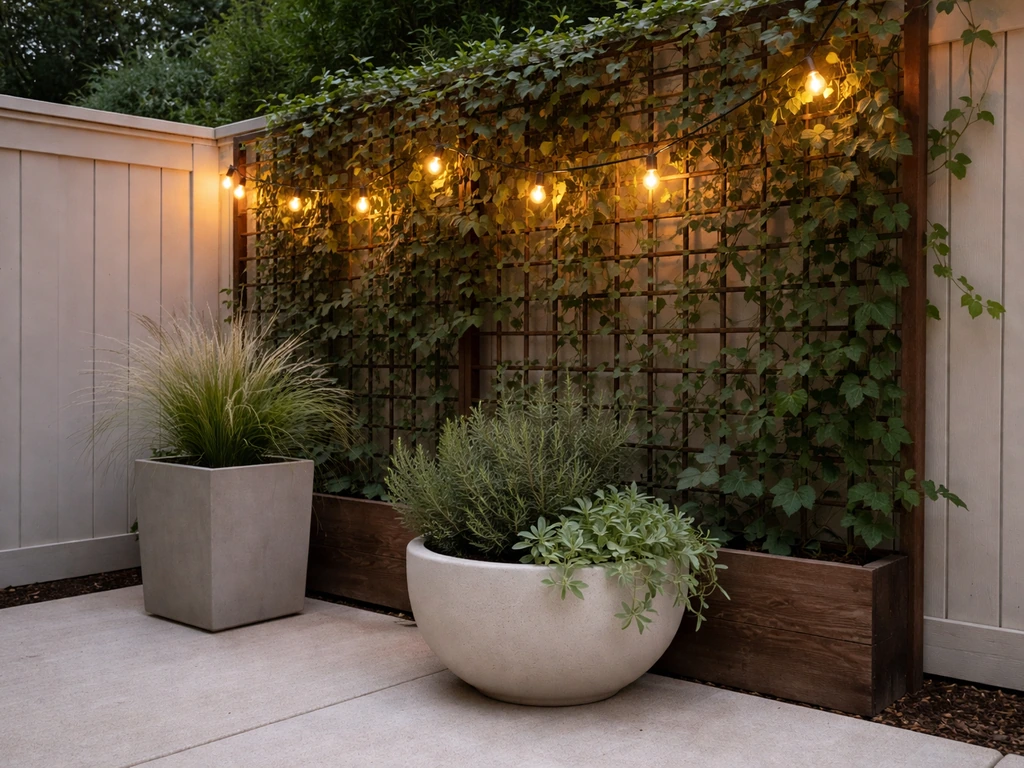
A patio that looks good is one you'll actually use, which means you'll also tend your plants better. Lighting and privacy screening are the two upgrades that make the biggest visual difference for the least effort. Using patio tips and tricks like these upgrades can help you get better results with less effort. For lighting, solar-powered string lights or low-voltage path lights require no electrician and can be installed in an afternoon. Anchor string lights between a fence post, a sturdy trellis, or a market umbrella pole to create a canopy effect. For plants used near lighting, make sure the heat from any non-LED fixtures doesn't dry out foliage.
For privacy, think of living green screens as a dual-purpose solution: they block sightlines and also act as windbreaks, which helps your other containers. Bamboo (clumping varieties, not running ones) in large containers grows fast and stays manageable. Tall ornamental grasses, climbing roses on a trellis, or a row of columnar evergreens in 15-gallon containers can screen a fence line or neighbor's view within one growing season. Lattice panels with climbing plants like clematis or jasmine also work well and add fragrance.
Design-wise, the easiest way to make a patio look intentional is to limit your container colors to two or three finishes (all terracotta, or all dark charcoal with one or two white accents, for example). Mix textures freely but keep the containers visually unified. If you want your patio to look just as good as it grows, patio decorating tips like choosing a cohesive color palette and adding smart lighting can elevate the whole space. If you're interested in going further with the overall patio look, the kinds of details covered in patio decorating tips and patio must haves content are worth exploring alongside your planting plan, since furniture placement and container placement really do work together.
Troubleshooting pests, plant problems, and when to ask for help
The most common problems and what actually causes them
| Symptom | Likely Cause | Fix |
|---|---|---|
| Yellowing leaves | Overwatering or nutrient deficiency (nitrogen) | Check drainage first. If soil is soggy, let dry out and improve drainage. If soil is fine, apply a balanced fertilizer. |
| Wilting despite moist soil | Root rot from overwatering or compacted, poorly draining mix | Unpot the plant, check roots (brown and mushy = rot). Trim affected roots, repot in fresh mix with better drainage. |
| Leggy, stretched growth | Not enough light | Move container to a sunnier spot or switch to shade-tolerant plants. |
| White crust on soil or pot rim | Mineral salt buildup from water and fertilizer | Flush the container thoroughly with water several times; reduce fertilizer concentration. |
| Holes in leaves or sticky residue | Chewing insects (caterpillars, slugs) or sap-suckers (aphids, scale) | Inspect undersides of leaves. For aphids, knock off with water or apply insecticidal soap. For slugs, use copper tape around pot rims. |
| Pale or mottled leaves | Spider mites (common in hot, dry conditions) | Look for fine webbing on undersides. Spray with water or neem oil solution; increase humidity around plants. |
| No flowers on flowering plants | Too much nitrogen fertilizer or insufficient light | Switch to a lower-nitrogen, higher-phosphorus fertilizer and confirm the plant is getting enough direct sun. |
When DIY is enough and when to bring in a pro
Most patio gardening problems are DIY-solvable. Pest identification, soil amendment, repotting, and even building simple raised bed planters on a hardscape all fall well within what a motivated homeowner can handle on a weekend. But there are a few situations where professional help genuinely pays off. If you want to install a built-in irrigation system with a backflow preventer (often required by local code), a plumber or irrigation specialist handles that faster and more reliably than a DIY attempt. If you're considering major structural changes to support heavy planters (some large containers and raised beds filled with wet soil can weigh 200 to 400 pounds), having a contractor assess your deck or patio surface is worth the consultation fee. And if you're dealing with a persistent pest or disease problem you can't identify, a local cooperative extension office often offers free plant diagnosis, which is a better resource than random internet advice.
Your first week action checklist
If you're starting from scratch or starting over, here's the practical sequence to follow this week:
- Spend a day (or at least a morning and an afternoon) tracking sun and wind across your patio. Write down hours of direct sun in each zone.
- Sketch your patio to scale and identify the best spots for containers based on sun, traffic flow, and visual impact.
- Choose two to four container sizes and a unified color or material palette before buying anything.
- Buy quality potting mix (not garden soil) and containers with multiple drainage holes, or plan to drill them.
- Select plants that match your confirmed sun hours: no guessing.
- Set a watering reminder and check soil moisture before watering, not on a fixed schedule.
- Plan your first fertilizer application for 2 to 4 weeks after planting.
- Add one simple design element this week: string lights, a trellis, or a grouping of three containers in graduated heights.
Patio gardening has a genuine learning curve the first season, but most of it happens fast. If you want patio garden for beginners guidance, focus on sun and drainage first, then choose a simple layout you can maintain. Once you've matched your plants to your real conditions and sorted out a watering routine that works for your setup, the maintenance side becomes almost automatic. The big wins come from getting those early decisions right, and you now have what you need to make them.
FAQ
How do I figure out my patio’s sun exposure if it changes with the seasons or moving furniture?
Track light on the same spots you’ll actually use for containers, re-check in both mid-summer and early spring. If chairs, umbrellas, or railings shift the sun, note when shade starts, because plant performance follows the daily pattern, not the “average” for the yard.
What should I do if my containers dry out too fast, even though I’m using a good potting mix?
First, confirm the pot has drainage holes and that the mix is not filling the entire volume too tightly. Then reduce heat stress by using lighter-colored containers, add a thin mulch top layer (like bark or cocoa shell), and group pots closer together to slightly moderate evaporation.
Can I use a decorative container without holes and still avoid root problems?
Yes, use it as a cachepot. Place a plastic nursery pot with holes inside the decorative shell, water into the inner pot until water drains out, then empty any runoff. This prevents standing water from contacting the roots.
Is it really true that gravel in the bottom of containers makes drainage worse?
Yes. A gravel layer reduces usable mix volume and can create a higher, slower-draining “saturated” zone. The better approach is to use the right potting mix plus a container with multiple drainage holes.
How often should I water container plants if I can’t check them daily?
Aim for consistency rather than a rigid schedule. Check moisture at least every other day at first, then adjust. If you truly can’t monitor daily during heat, consider self-watering planters or a drip setup with a timer, and choose larger pots because they buffer missed waterings.
What’s the best way to prevent overwatering when the weather is cloudy or cool?
Use a finger-check, but also look for signs like slow growth, yellowing that starts low on the plant, or a musty smell. In cool weather, wait until the mix is drying an inch down before watering, and empty saucers after each watering.
How do I choose container size for vegetables and herbs beyond the basic gallon guidelines?
When in doubt, size up based on plant type and growth speed. Fruiting plants (tomatoes, peppers) need more root volume than leafy greens, and plants in wind-exposed corners need extra buffering, so a larger pot helps stability during hot spells.
What fertilizer ratio should I use if my patio plants are growing leaves but not flowering or fruiting?
Reduce nitrogen emphasis and lean toward a formula with relatively higher phosphorus and potassium. For mixed plantings, avoid “all-purpose” heavy-N products on blooming crops, and consider switching to a bloom-focused fertilizer once you see the first flower buds.
Should I repot or top-dress if my plants look healthy but seem to stall mid-season?
Often you need fresh nutrition rather than a bigger pot. Start with top-dressing slow-release fertilizer and check drainage, because a mix can compact over time. Repotting is best when roots are circling, the plant dries out in hours, or water runs straight through instead of soaking in.
How can I reduce patio pest problems without spraying everything?
Use prevention first, inspect undersides of leaves weekly, and remove any heavily infested stems early. Keep containers spaced for airflow and avoid wet foliage at night. If pests persist, isolate the affected pot immediately so they do not spread to neighboring containers.
Is it safe to move containers in summer if I’m trying to protect plants from intense sun or heat?
Yes, but move them gradually and watch for “sunshock.” Shift a couple of hours at a time over several days, and prioritize protecting containers from south-facing heat reflection by moving them away from hot walls and using lighter containers when possible.
When is it worth calling a professional for patio gardening projects?
Call an irrigation specialist if you want a system tied into your water supply, especially where backflow preventers are required. Also get deck or patio structural advice if you plan heavy raised beds or many large planters, since waterlogged soil can add significant weight beyond what many surfaces can handle.