
A patio safety gate blocks your child or pet from getting to the patio door opening itself. A door bar (sometimes called a patio door safety bar or security bar) locks the door in place so it cannot be opened. Both solve related problems, but they are not interchangeable. If your goal is to stop a toddler from sliding open the door and walking out onto a raised deck or near a pool, you may need one or both, depending on how determined your kid is and what type of door you have. If you have concerns about a patio warning situation, make sure the barrier you choose will physically prevent access to the exit point as intended.
Patio Safety Gate Guide: Choose, Measure, Install, Test

Miles Sutton
29 Apr 2026
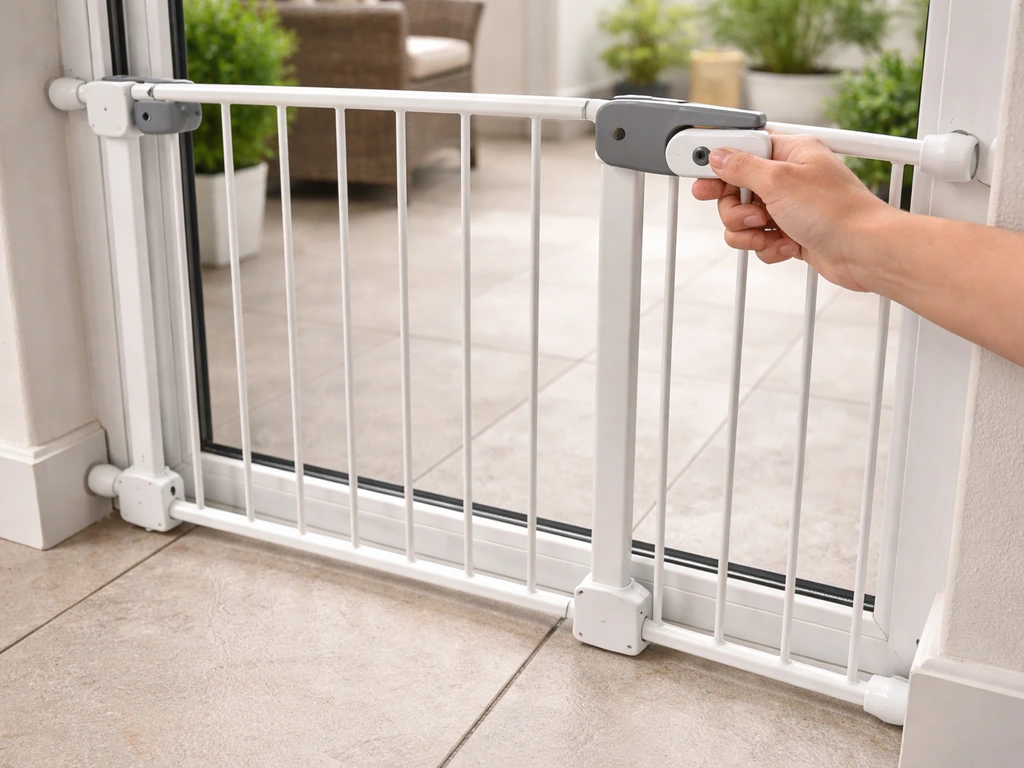
What a patio safety gate actually prevents (vs. a door bar)
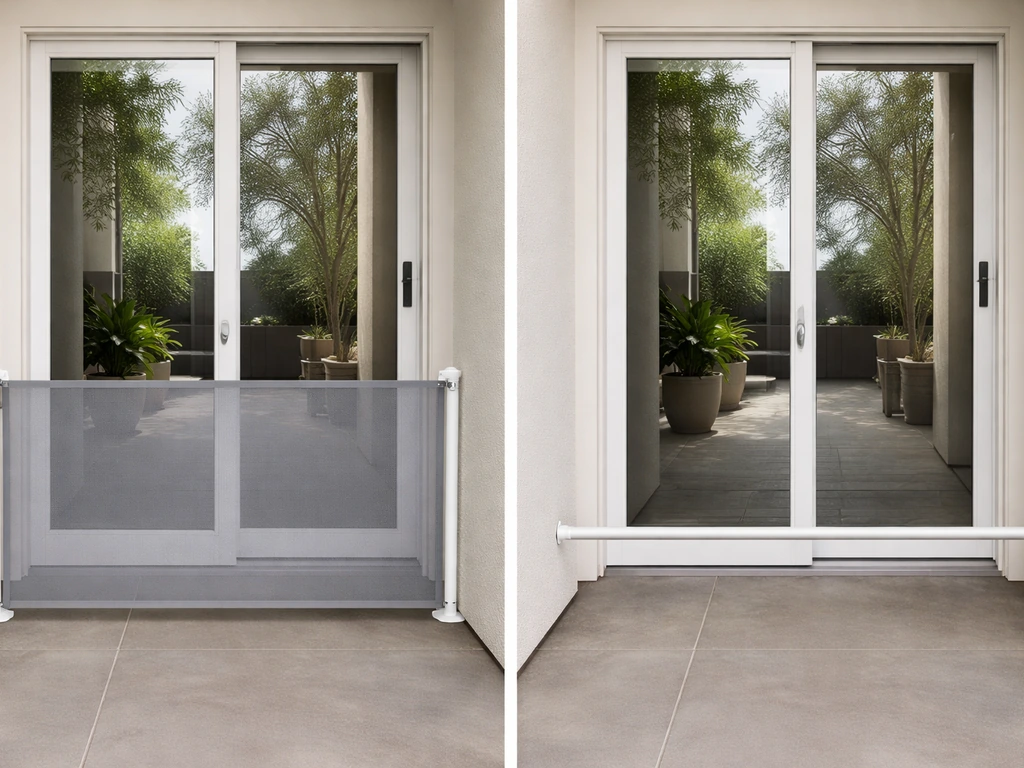
A gate-style barrier physically blocks the path to the door. It sits in front of the door frame, usually pressure-mounted between walls or hardware-mounted to the door frame or adjacent wall studs. It creates a gated checkpoint a child or dog has to pass through before even reaching the door handle or sliding panel. A safety bar, by contrast, drops into the door track or braces against the frame to prevent the door from sliding open at all. Products like the Ideal Security SK110W are a good example: they adjust from 25. The Sutherlands product listing for the Ideal Security SK110W states it is adjustable from about 25.5, 47.5 inches and includes an anti-lift lock feature Ideal Security SK110W adjustable range of 25.5–47.5 inches and anti-lift lock. 75 to 47.5 inches to fit standard sliding doors and include an anti-lift lock feature that stops kids from simply lifting the bar out of position.
The real-world difference matters more than it sounds. A toddler who can reach and manipulate the sliding door latch might be stopped by a bar alone. But a determined three-year-old, or any child old enough to figure out the bar, needs a gate in front of the door as the first line of defense. Pets, especially dogs, can hit a sliding door with enough force to dislodge a bar that is not locked. For households with both kids and dogs, layering a gate in front of the door plus a bar on the door track is the safest setup.
It is also worth knowing what these products do not prevent: they do not replace patio safety railings or netting on an elevated deck once someone is already outside. A gate at the door handles the exit point. Once you have secured the door, consider what else needs attention on the patio side, especially for raised patios where falls are a real risk.
Choosing the right barrier for your patio door type
The single most important factor is whether your door slides or swings. Getting this wrong means buying a product that simply will not work on your door.
Sliding patio doors
Standard two-panel in-line sliding patio doors are the most common setup in North American homes, and most patio door safety bars and gate systems are designed specifically for them. Products like the Bolo Stick and the SK110W drop into or brace against the lower track. Gate-style barriers mount beside the door opening. One important compatibility note: if you have a tilt-and-slide or lift-and-slide European-style patio door system, standard bars will not work. Safety Assured's SlideSafe product, for example, explicitly states it is not intended for tilt-and-slide or lift-and-slide systems. Check your door type before ordering anything.
Hinged (French-style) patio doors
French doors and hinged patio doors require a gate that swings open rather than one that pressure-mounts across a track opening. A standard hardware-mounted walk-through gate installed in the doorway or just inside it works here, as long as the gate does not swing into the door's swing arc. Measure carefully so the gate does not block the door from opening in an emergency.
Quick comparison: gate vs. bar by door type
| Door Type | Gate-Style Barrier | Door Security Bar | Best Combined Approach |
|---|---|---|---|
| Standard sliding (2-panel in-line) | Works well, mount beside opening | Fits most bars, 25.75"–47.5" range covers standard sizes | Gate in front + bar in track with anti-lift lock |
| Tilt-and-slide / lift-and-slide | Gate works if mounted beside opening | Most bars NOT compatible — verify before buying | Gate only, or door-specific hardware |
| Hinged / French patio door | Hardware-mounted walk-through gate | Door bolts or deadbolts at child-safe height | Gate mounted inside doorway + high deadbolt |
| Single hinged patio door | Pressure or hardware mount beside door | Door chain or top bolt | Gate at the opening + top-of-door chain |
How to measure and confirm fit before you buy
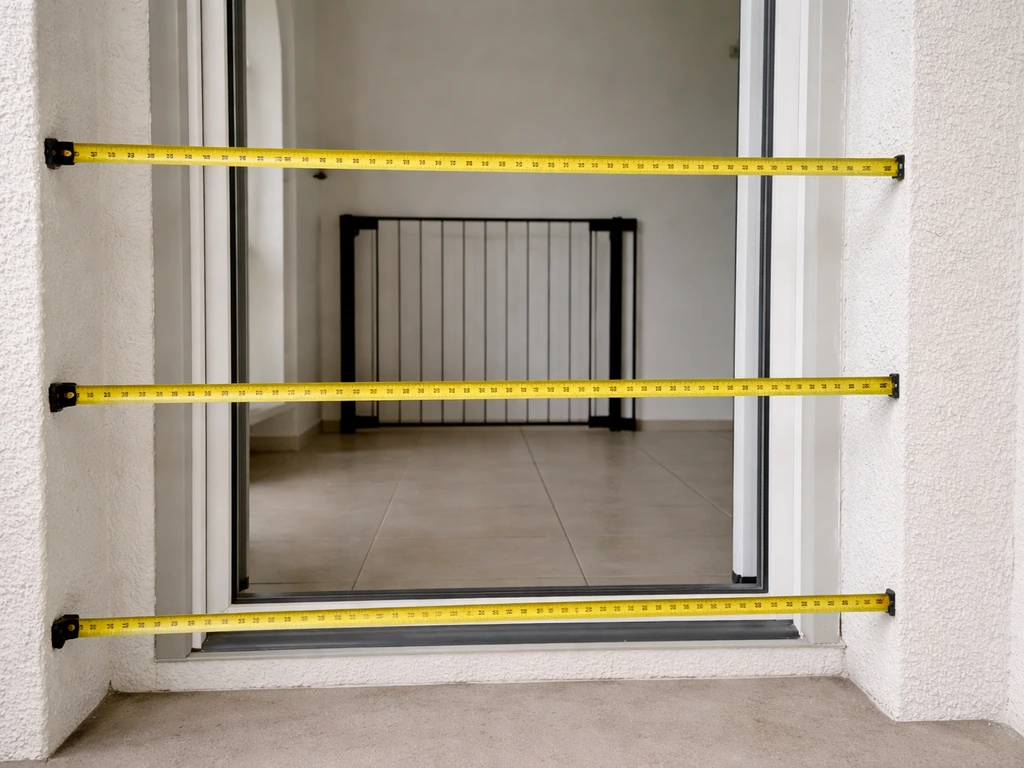
Measure the opening width where the gate will mount, not the door itself. For a gate going between two walls beside a sliding door, measure wall-to-wall at three heights: floor, mid-point, and top of where the gate will sit. Use the narrowest measurement. Check whether the walls are drywall over studs, tile, or masonry, because that determines what anchors you need. For a door bar on a sliding door, measure the width of the door track opening when the door is in the fully closed position. The SK110W's 25.75 to 47.5-inch adjustable range covers most standard sliding doors without cutting, but double-check your track width before ordering.
Check clearances next. A gate needs at least an inch of clearance from any part of the door frame, track cover, or handle hardware so it can open and close without binding. For a sliding door bar, check that nothing in the track (no raised ribs, roller covers, or debris) will prevent the bar from sitting flush. If your door has a built-in pet door insert, be aware that drilling into the frame may void its warranty, so opt for a track-mounted bar rather than a wall-anchored bracket wherever possible.
Write these measurements down: opening width, wall material, available stud locations, and the gap between the bottom of the door frame and the floor. That last number matters because any gap larger than about 3.5 inches under a gate creates an entrapment risk for small children based on CPSC guidance on gate and enclosure standards. Choose a gate with an appropriate bottom bar or one that sits close to the floor.
Installation: step by step and where people go wrong
Installing a door security bar (sliding doors)
- Clean the door track with a damp cloth and let it dry. Grit in the track causes bars to sit unevenly.
- Adjust the bar to the correct length so it fits snugly between the door frame and the inside edge of the sliding panel when the door is fully closed. It should require a little force to drop in and remove.
- Install the anti-lift lock mechanism if your bar includes one (the SK110W's anti-lift component attaches to the door frame with screws). Mark your drill locations carefully and drill pilot holes to avoid cracking the frame.
- Avoid drilling inside any panel rib lines on glass-panel door inserts, and stay at least half an inch from any edge of the door frame.
- Test that the door cannot be lifted off the track with the bar in the locked position. Push upward on the door panel firmly. It should not move.
Installing a gate-style barrier
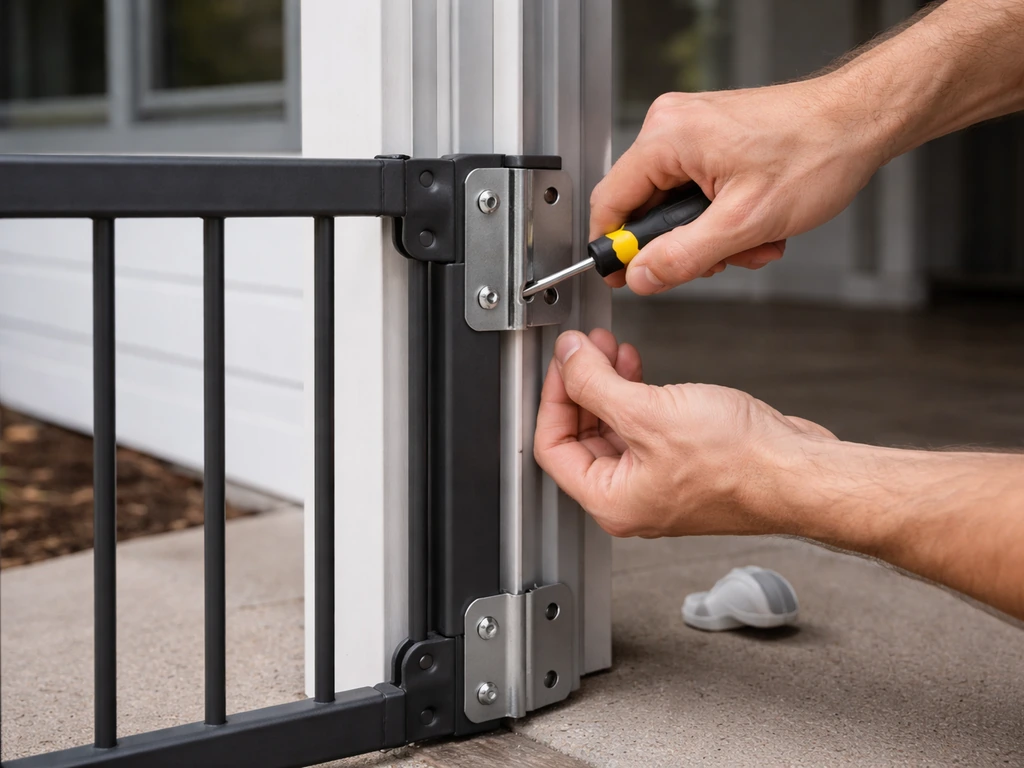
- Decide between pressure-mount and hardware-mount. Hardware-mounted gates are significantly stronger. Consumer Reports lab testing pulls gates with up to 100 pounds of force, and hardware-mounted gates consistently outperform pressure-mounted ones. For a patio door where the risk is a child or large dog, hardware-mount is the right call.
- Locate studs in the mounting walls using a stud finder. Mark them clearly. Most gate mounting plates need to hit a stud or use a wall anchor rated for the load.
- Hold the gate in position and mark the bracket holes on the wall. Double-check it is level before drilling.
- Drill pilot holes, attach the mounting hardware, and hang the gate. Tighten all hardware until there is zero wobble in the frame.
- Adjust the latch mechanism so it self-latches when the gate swings closed. Many gates include a red-to-green indicator when the latch is fully engaged. If yours has one, confirm it shows green every time the gate closes.
- Check that the gate swings away from the patio door side, not toward it, so it does not interfere with the door opening in an emergency.
The most common mistakes
- Pressure-mounting a gate in front of a patio door and assuming it is strong enough. It is not. Use hardware-mount for any gate protecting a door to an outdoor area.
- Not checking the gap at the floor. A gap bigger than 3.5 inches is a CPSC-flagged entrapment risk. Add a threshold filler or choose a gate with a lower bottom rail.
- Installing a bar that is too loose. A bar that rattles or can be lifted easily is no barrier at all. Fit should be snug.
- Blocking the only emergency egress. Never install a gate in a way that requires a key or tool to open from either side. Adults need to be able to exit quickly.
- Stepping over the gate while carrying a child or other load. This is a common fall cause. Always open the gate and walk through.
Testing your gate for real-world safety
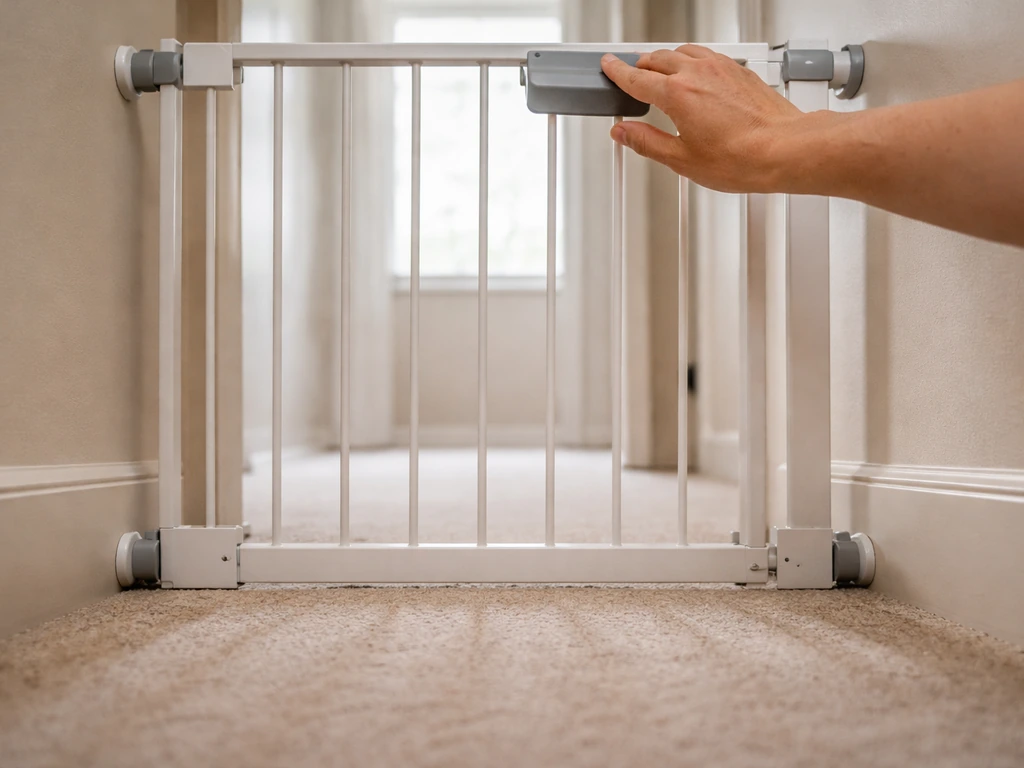
After installation, do not just look at it and assume it works. After installation, Consumer Reports recommends testing gate safety performance, including how well the gate blank" rel="noopener noreferrer">resists being dislodged or pulled horizontally. Run a proper test. Close the gate, verify the latch engages (check for a visual indicator if one exists), then push on it firmly from both sides with your full body weight. It should not flex, move, or unlatch. Apply upward pressure to the top of the gate to check that the mounting hardware holds. This aligns with Consumer Reports guidance that secure mounting matters, especially in higher-risk locations blank" rel="noopener noreferrer">mounting hardware holds. If anything shifts, tighten the hardware and re-check. For a door bar, push and pull the sliding door hard from the inside. Then try lifting the door panel to confirm the anti-lift feature holds.
Scan every gap. Get down at child or pet height and look at the space under the gate, between gate panels, and between the gate edge and the wall. Any gap that feels large enough for a head or torso to fit through is worth addressing. CPSC recalls have included gates removed from the market specifically for torso entrapment risk, so this is not a hypothetical concern.
Watch how your actual child or pet interacts with it during the first week. Kids are creative. If they figure out the latch mechanism, look for a double-action latch (requires two simultaneous movements to open) rather than a single-press release. If your dog is pushing the gate with significant force, consider adding a second hardware anchor point on the latch side of the gate frame.
Make sure you have read the manufacturer's instructions and warning labels carefully. Safe Kids Worldwide notes this explicitly because not all gates are rated for all uses, and using a gate outside its intended application can create more risk than having no gate at all.
Maintenance, weatherproofing, and when to replace
Patio gates are exposed to sun, rain, humidity, and temperature swings in a way that interior baby gates are not. Metal hardware corrodes. Plastic components become brittle in UV exposure. Wood frames can swell and cause latches to stick or fail to engage completely. Check your gate every three months: wiggle the mounting hardware to confirm it is tight, inspect the latch mechanism for smooth operation, and look for rust or surface corrosion on any metal parts. A stiff latch is a latch that may not fully engage, which means the gate looks closed but is not.
For metal gates or bars, wipe down with a dry cloth after rain and apply a light coat of a rust-inhibiting spray (like WD-40 or a dedicated metal protectant) to hinges and latch hardware once or twice a year. For sliding door bars sitting in the track, clean the track itself every few months. Dirt and grit in the track not only degrade bar fit but also accelerate wear on the door rollers.
Replace a gate or bar immediately if the latch no longer self-closes reliably, if the frame is bent or cracked, if mounting hardware cannot be tightened further (stripped screws or wall anchors), or if your child's weight or height has changed enough that the current gate height is no longer an effective barrier. A patio safety lock can be a practical next step once the gate can be bypassed, especially for sliding or hard-to-reach doors. If a gate can be bypassed, a patio safety lock is often a practical next step for patio safety. Most hardware-mounted gates are rated to a specific child weight or age range. Once your child can reach over and manipulate the latch from the other side, the gate has reached the end of its useful life for that purpose and you need to move to a different security approach, such as a high-mounted patio safety lock or a different barrier configuration. A high-mounted patio safety lock can add an extra layer of protection once kids can reach the latch from either side.
If you have a raised patio or deck, the gate at the door is just one part of the picture. For added protection on an elevated area, you may also want to review options for raised patio safety. Patio safety netting can help block falls and reduce risk if a child can slip through gaps below railings on an elevated deck patio or deck. Patio safety railings, safety fencing around the perimeter, and patio safety netting for gaps below railings all work together. A gate that is in perfect condition does not help if a child can get around it or through a gap elsewhere on the patio.
FAQ
Can a patio safety gate alone secure both the patio door and the patio area?
Not always. Most patio safety gate systems are only meant to block access to the door opening, but they can only do that if the latch and mounting prevent any “workarounds” (pushing through, lifting out, or stepping over). If your door has a built-in pet door insert or unusual track components, a track-mounted patio door safety bar is often safer than drilling into the frame, since wall-mounted brackets can weaken the assembly or void the insert warranty.
What should I do if my patio door is not a standard sliding door?
Yes, and it is usually the biggest reason gates fail. Before buying, confirm whether you have a standard sliding door, a tilt-and-slide system, or a lift-and-slide system. Many common patio door safety bars are not compatible with European tilt-and-slide or lift-and-slide tracks, even if the door looks “similar” from the outside.
Why does my gate fit at the store but not at home?
Use the narrowest measurement for the mounting location, but also account for gate swing or the bar’s needed sit-flat contact. Pressure-mounted gates and between-wall mounting rely on consistent wall spacing, while door-track bars require a clean, debris-free track so the bar sits flush. If you measure once and the top width changes by more than about a quarter inch from floor to top, re-check at the exact heights you plan to mount.
How tight does the bottom of a patio safety gate need to be to the floor?
Because most “entrapment” problems come from the bottom edge. Even with a correctly sized gate, a large floor gap (around 3.5 inches or more) can create a serious risk. If your gap is larger, choose a model with an appropriate bottom bar, a closer-to-floor design, or a different mounting method that reduces the under-gap.
What is the correct way to test a patio safety gate after installation?
Do not rely on a single quick check. After installing, verify the latch engages with a visual indicator if present, push on the gate firmly from both sides, then apply upward pressure to confirm the mounting does not lift or shift. For a door bar, push and pull the sliding door hard from the inside, and then attempt to lift the door panel to confirm the anti-lift feature actually holds.
How do I find hidden gaps where a child or pet could get through?
Many gates can be bypassed through gaps, not by unlatching. Get down at child or pet height and check for spaces under the gate, between gate sections, and at the edges where the frame meets the wall. If a head or torso could fit, add a compatible filler panel or choose a different gate style instead of assuming “small gaps are fine.”
What should I change if my child learns how to open the patio safety gate quickly?
If a double-action latch is available, it can help when kids start learning the routine. For pets that push hard, consider adding a second hardware anchor point on the latch side (only if the product instructions allow it). Avoid modifying the latch mechanism unless the manufacturer explicitly permits it.
How often should I inspect and maintain a patio safety gate in outdoor conditions?
Sun and rain can reduce performance over time, especially for plastic latches and metal hinges. Plan to inspect at least every three months: wiggle mounts to ensure they remain tight, test that the latch self-closes smoothly, and look for rust or corrosion. A latch that feels stiff may not fully engage, which means the gate can look closed but be unreliable.
When is it time to replace a patio safety gate instead of repairing it?
Replace it. If the latch no longer self-closes reliably, if the frame is bent or cracked, or if mounting hardware cannot tighten further due to stripped screws or failed anchors, the protection level drops immediately. Also re-evaluate once the child grows, since a gate that once blocked access may become ineffective when the latch becomes reachable.
Is it worth using both a patio safety gate and a patio door safety bar?
Layering matters. A door bar plus a gate in front of the door is often the safest approach when you have both kids and pets, because the gate blocks physical access to the door handle while the bar prevents the door from sliding open if it gets nudged with force. This is especially helpful for stubborn dogs that can dislodge a bar if it is not fully locked.
Can I add a patio safety lock if the gate can be bypassed?
Yes, and timing matters. If your door becomes difficult to secure after the gate is bypassed or the latch is reachable, a patio safety lock on the door can provide additional protection. Choose a lock style intended for patio doors and verify it works without interfering with any required emergency egress considerations for your home.