
If your patio surface sits more than 30 inches above the ground at any point within 36 inches of an open edge, you need a safety railing, full stop. That is the threshold set by the 2021 International Residential Code (IRC Section R312), and most states and municipalities have adopted it. When you do need one, the railing must be at least 36 inches tall and have no openings large enough to pass a 4-inch sphere through. Those three numbers, 30 inches of drop, 36 inches of height, and 4 inches of maximum opening, are the core of everything you need to plan a safe patio railing. When you are planning a new barrier, compare options like patio warning signs and how they work alongside your railing.
Patio Safety Railings: How to Choose, Install, and Maintain

Miles Sutton
29 Apr 2026
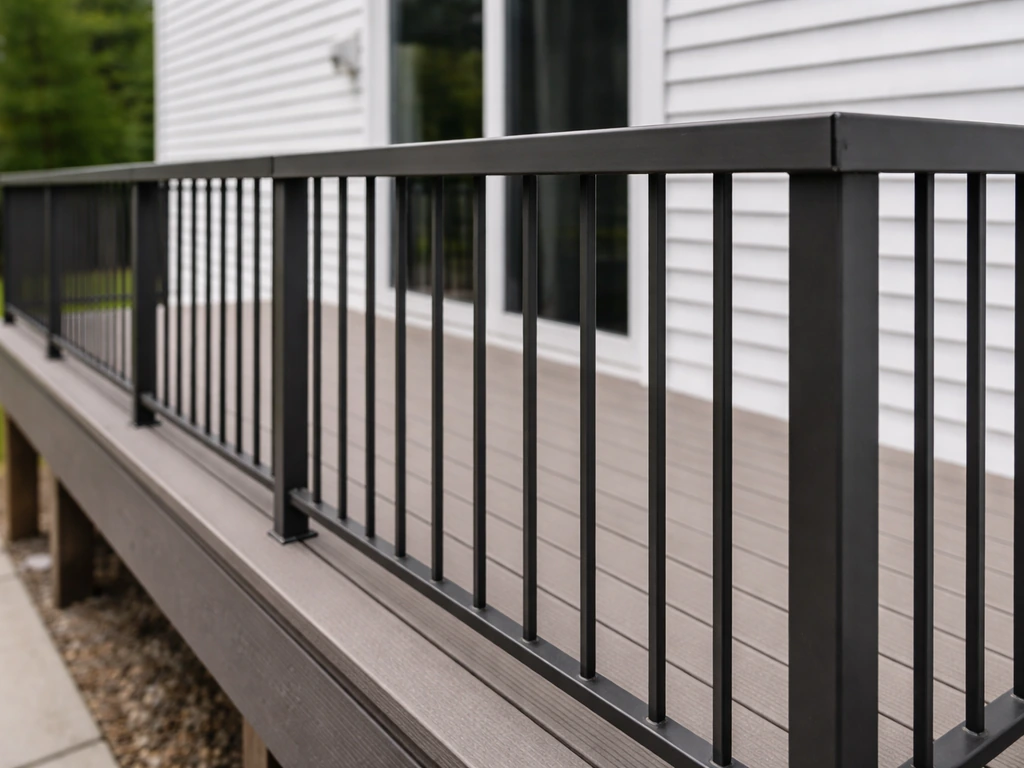
When you actually need patio safety railings
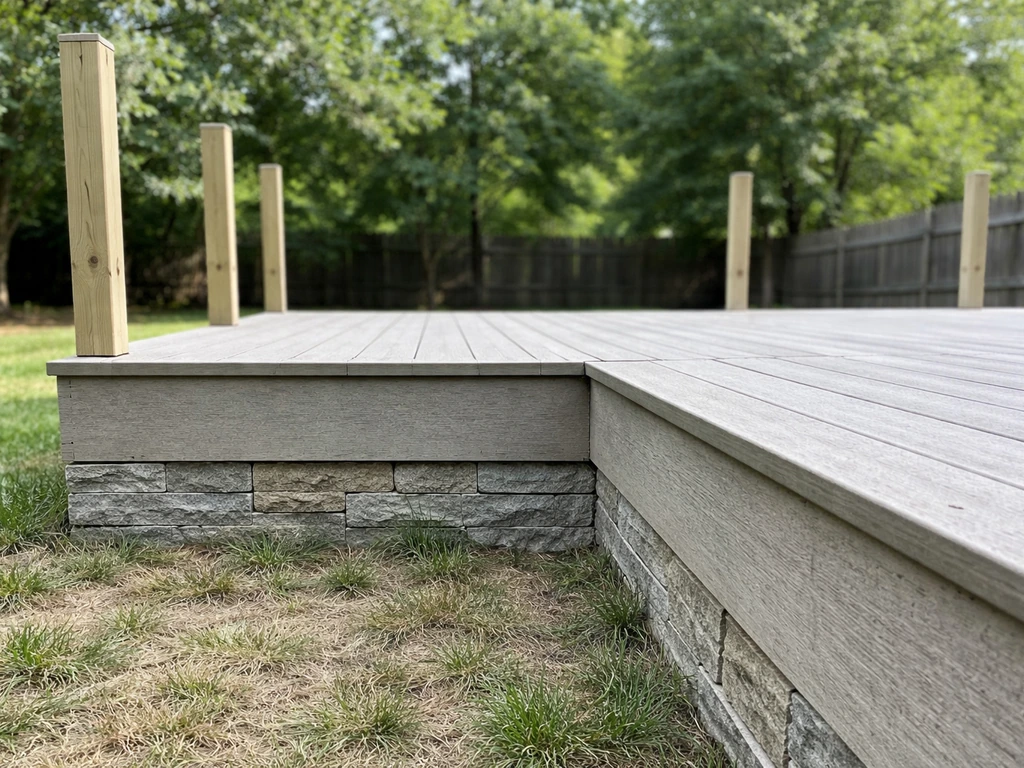
The code trigger is simpler than most people think. Under IRC R312.1.1, a guard (the code's official word for what most of us call a railing or barrier) is required on any open-sided walking surface, including patios, porches, balconies, decks, landings, and raised floors, where the surface is more than 30 inches above grade at any point that falls within 36 inches horizontally of the open edge. A 2021 IRC Section R312 guards tip sheet similarly states that guards are required when open-sided walking surfaces are more than 30 inches above floor or grade at any point within 36 inches horizontally of the open side more than 30 inches above grade at any point within 36 inches horizontally of the open edge. That 36-inch horizontal measurement matters because sloped yards can create a drop-off condition partway back from the edge, not just right at it.
In practice, this means a ground-level patio that sits flush with or just a few inches above your yard does not legally require a railing under most codes. But a raised patio, second-story deck, or any elevated porch almost certainly does. And honestly, even if your patio is borderline (say, 24 to 29 inches of drop), I would still install a railing if young kids or elderly guests use the space regularly. I would still install a railing if young kids or elderly guests use the space regularly patio safety. The code is a floor, not a ceiling on safety.
Beyond elevation, there are other risk triggers worth thinking about. A patio that wraps around a corner, borders a pool, or has a steep slope on one side all create fall hazards even at modest heights. If you have a raised patio, the companion topics of raised patio safety and patio safety fencing are worth reviewing alongside railing requirements, since the full perimeter picture matters more than any single barrier. If you want added containment on top of (or instead of) a railing, a patio safety fence can help keep kids and pets away from the edge patio safety fencing.
Choosing the right railing type for your patio setup
The railing that works best depends heavily on what your patio looks like and who uses it. There is no universal answer, but there is a pretty clear decision tree.
Raised decks and balconies
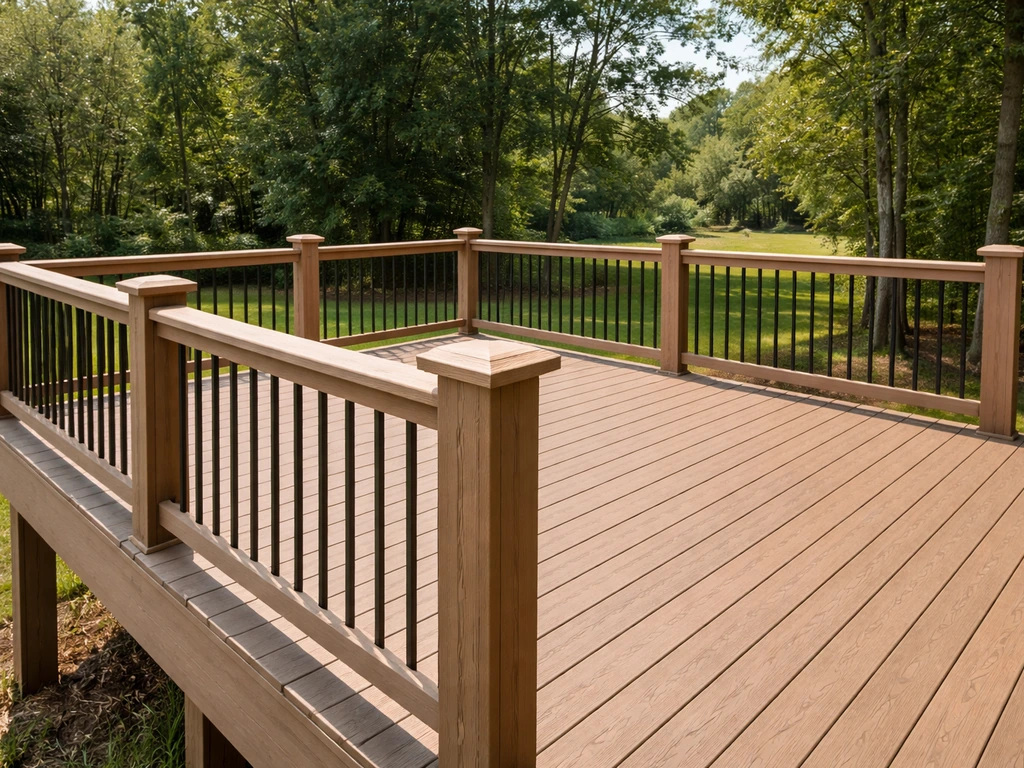
For elevated surfaces, a full perimeter guard system is non-negotiable. Here your choices come down to style and material: traditional wood balusters, metal cable railing, aluminum or steel panel systems, or glass panels. Cable and glass give you sightlines, which is great for views or for watching kids in the yard below. Solid wood or aluminum picket systems look more traditional and provide a more defined visual boundary that some kids and pets respond to better as a clear stop point.
Ground-level and semi-raised patios
If your patio does not meet the 30-inch trigger, you have more flexibility. Many homeowners use low decorative railings (12 to 24 inches tall) simply to define the patio edge, add a visual cue, or keep pets from wandering off. These are not code-required guards, so you have latitude on height and spacing, but you should still make sure they are structurally anchored so no one can lean on them and have them give way.
Patio stairs and gate openings
Any stair sections need continuous railing on at least one side (both sides if the stair is 44 inches or wider under most codes). If you have young children, a patio safety gate at the top of any stair is one of the most practical add-ons you can make, since a railing alone will not stop a toddler from going over the edge or down the steps unsupervised. If you already have a gate or latch near your patio edge, a patio safety lock can add extra protection against unsupervised access patio safety gate.
Sizing, spacing, and height rules that actually matter
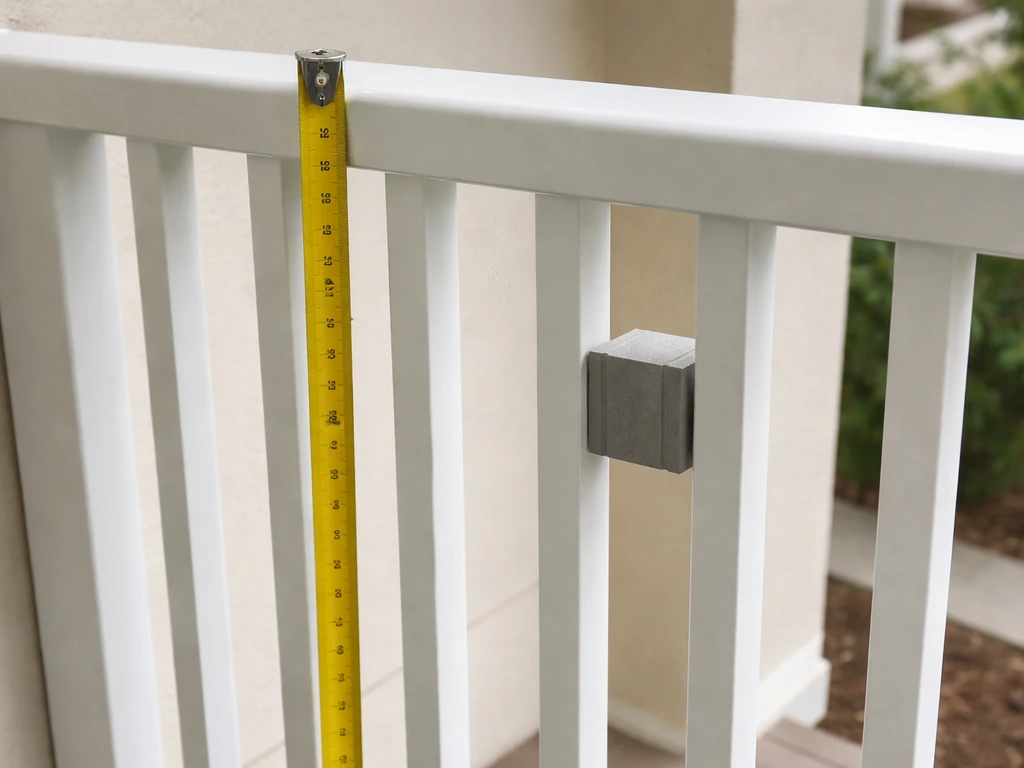
Let me give you the specific numbers you need, drawn directly from IRC R312.
| Requirement | Minimum Standard | Notes |
|---|---|---|
| Guard height | 36 inches | Measured vertically from the walking surface; some commercial codes require 42 inches |
| Maximum baluster/opening size | 4-inch sphere cannot pass through | Applies from the walking surface up to the full guard height |
| Bottom rail gap | 4 inches maximum | Same sphere rule applies at the floor level too |
| Post spacing | Typically 4 to 6 feet on center | Check your specific railing system specs; shorter spans are structurally stronger |
| Drop trigger height | More than 30 inches above grade | Measured at any point within 36 inches horizontally of the open edge |
The 4-inch sphere rule is the one people miss most often. It applies to every opening in the railing assembly, including the gap between the bottom rail and the deck surface. A common shortcut is running the bottom rail a few inches above the decking for aesthetics, but if that gap exceeds 4 inches, it is a code violation and a real hazard for small children. Measure your bottom gap before you finalize any design.
One more thing on height: the 36-inch minimum is for residential patios and decks. If your patio is attached to a commercial property or a multi-family building, many jurisdictions require 42 inches. When in doubt, call your local building department before you buy materials.
Materials, durability, and what to expect outdoors
Outdoor railings take a beating. Sun, rain, humidity, freeze-thaw cycles, and salt air (if you are near the coast) all work against you. Choosing the right material upfront will save you years of frustration.
| Material | Durability | Maintenance | Best For | Rough Cost Range |
|---|---|---|---|---|
| Pressure-treated wood | 10 to 15 years with maintenance | Annual sealing or staining, check for rot every few years | Budget builds, traditional look | $15 to $30 per linear foot installed |
| Composite (wood-look) | 20 to 30 years | Low: rinse occasionally, no sealing needed | Low-maintenance suburban patios | $25 to $60 per linear foot installed |
| Powder-coated aluminum | 30+ years in most climates | Very low: rinse with soap and water | Coastal areas, modern aesthetics | $30 to $70 per linear foot installed |
| Stainless steel cable | 25+ years | Periodic tension checks, occasional wipe-down | Views, contemporary look | $50 to $100 per linear foot installed |
| Tempered glass panels | 20+ years if properly framed | Regular cleaning to avoid mineral deposits | Premium patios with views | $80 to $150 per linear foot installed |
| Wrought iron / steel | Variable (prone to rust without coating) | Annual inspection, touch up paint, rust treatment | Traditional/ornate look on covered patios | $40 to $90 per linear foot installed |
If you are in a humid climate or anywhere near saltwater, aluminum is my first recommendation. It does not rust, holds a powder-coat finish well, and requires almost no upkeep beyond a yearly rinse. Pressure-treated wood is the most affordable starting point, but you have to commit to sealing it every one to two years or it will gray, crack, and eventually rot at the post bases where moisture collects.
For wrought iron or steel, rust is the real enemy. Any chip in the paint or coating will let moisture in, and rust spreads under the surface faster than it looks from the outside. If you already have steel railings, inspect the post bases and welds annually, sand back any rust spots immediately, and apply a rust-inhibiting primer before repainting. Ignoring a small rust spot for one winter season can mean replacing the whole post by spring.
Cable railings are durable but need an occasional tension check, especially after the first winter. The cables can stretch or loosen at the fittings over time, and a sagging cable creates an opening wider than 4 inches, which is both a code issue and a fall risk. A quick tug test once a year is all it takes to catch this early.
DIY or hire a pro: how to decide today
Here is my honest take: installing patio railings is one of those projects that looks DIY-friendly but has a few critical steps where mistakes create real danger. Whether to DIY depends mostly on your patio's structure, not your general handiness.
DIY makes sense if...
- Your patio has a solid wood or composite deck frame with accessible joist locations where you can bolt post bases securely
- You are installing a pre-engineered railing kit (most aluminum and composite systems come with detailed instructions and pre-drilled components)
- You are comfortable using a drill, level, and post hole digger, and reading a technical spec sheet
- The project does not require a building permit, or you are comfortable pulling and managing one yourself
- Your patio is at or near ground level and this is a decorative or low railing application
Hire a pro if...
- Your patio is elevated and the posts need to be anchored into concrete footings or into the structural rim joist of the deck (post anchoring is where most DIY railing failures happen)
- You are working with cable or glass panel systems, which require precise tensioning or framing to perform safely
- Your local jurisdiction requires a building permit and inspection, and you are not familiar with the permit process
- The existing patio frame is old, soft, or questionable in condition, since a railing is only as strong as what it is attached to
- You are replacing a railing that failed or was damaged, which suggests the underlying structure may need evaluation too
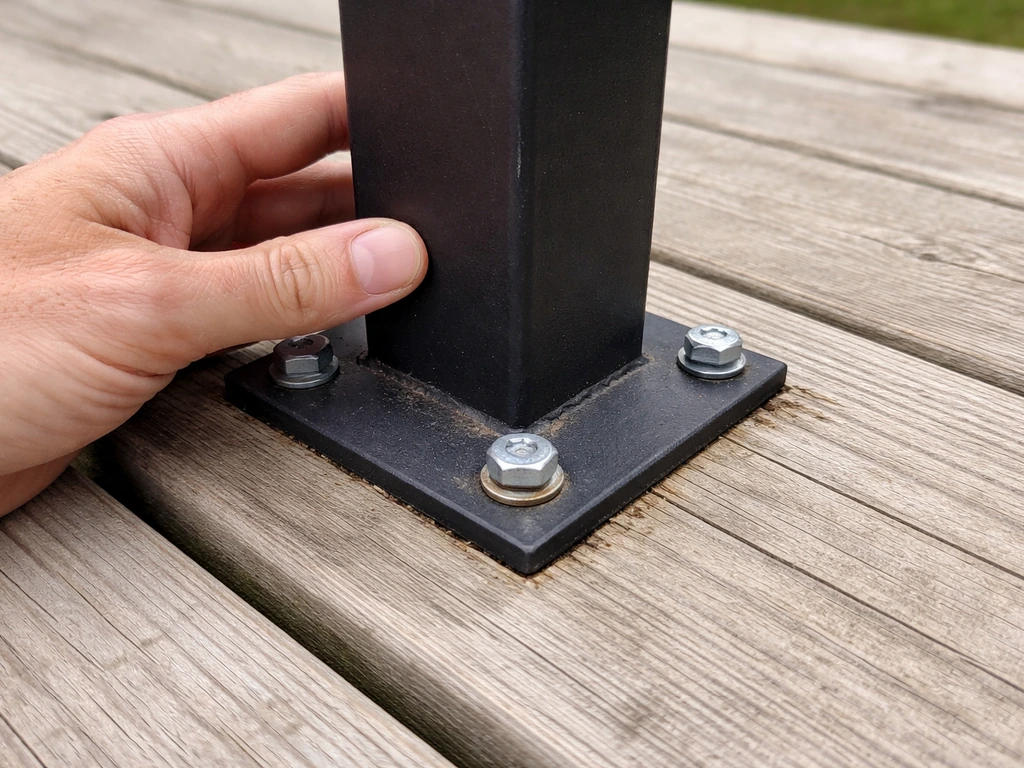
Post anchoring is the step I see DIYers underestimate most. A railing post needs to resist lateral force, meaning someone leaning or falling into it hard. Surface-mounted post bases (the kind that sit on top of the decking) are easy to install but significantly weaker than through-bolted bases that go through the decking and attach directly to the joist or rim board. For any elevated patio, use through-bolted or fascia-mounted posts, not surface mounts.
If you hire out, get a contractor who is familiar with your local building code and will pull the permit for you. A permitted installation means a final inspection, which is essentially a free code compliance check you do not have to do yourself.
Common mistakes, inspections, and how to upgrade what you have
Mistakes that undermine safety
- Bottom rail gap too large: Leaving more than 4 inches between the bottom rail and the deck surface. Measure this before you call the job done.
- Weak post attachment: Surface-mounted posts on an elevated deck will wobble and eventually fail under load. Retrofit with through-bolts if you have this situation.
- Posts spaced too far apart: Spacing posts more than 6 feet apart without engineering review puts too much bending stress on the rails between them.
- Horizontal rails that act as a ladder: Using horizontal balusters or rails that are easy to climb creates a climbing hazard for kids. Vertical balusters are safer wherever children are present.
- Skipping the permit: Unpermitted railings may not be inspected, leaving hidden errors in place. They can also complicate home sales.
- Ignoring post base corrosion: Post hardware at the base collects water and corrodes faster than the visible railing. Check and treat it annually.
How to inspect your existing railing
Do this twice a year, once in spring and once in fall. Stand at each post and apply firm lateral pressure with both hands. There should be minimal movement. Then check every baluster by hand, looking for any that spin, wobble, or have loosened at the rail connections. Walk the entire bottom rail and measure any gap you are unsure about with a 4-inch ball or a simple ruler. Finally, look at every post base for rust, rot, or cracking in the surrounding deck material.
Planning upgrades for an existing patio
If you have an older patio with a railing that just does not feel solid, the most impactful upgrade is almost always the post attachment, not the visible parts. Retro-fitting surface-mounted posts with through-bolted hardware is a half-day project on most wood decks and transforms the feel of the entire system. After that, replacing worn or cracked balusters and adding a bottom rail trim strip to close any gap over 4 inches covers the remaining safety concerns at modest cost.
For patios that need a full railing added, start by confirming your local permit requirements before buying anything. Then measure your total linear footage, choose your material based on climate and maintenance preferences from the table above, and price out at least two or three system options before committing. Pre-engineered aluminum kits from manufacturers like Trex, TimberTech, or Fortress are genuinely good products that a careful DIYer can install in a weekend on a straightforward deck. For anything complex, elevated, or requiring concrete work, a one-time investment in professional installation gives you a structurally sound, code-compliant result that will protect your family for decades.
FAQ
If my patio is close to 30 inches, do I still need to follow the full guard rules?
Even if your patio meets the 30-inch trigger in code language, some jurisdictions treat partial-height railings differently. If a railing is installed for “edge definition” only, make sure it is still physically capable of stopping a fall, and do not assume decorative panels or half balusters satisfy guard requirements. When in doubt, ask your local building department whether they will measure from the finished walking surface to finished grade, and whether a permit is required for non-code-height railings.
How do I handle the 4-inch opening rule if I have a gap under the railing?
The 4-inch sphere test is about what can pass through any opening, but the “bottom area” is a common gotcha. If your railing has a gap at the bottom rail, a decorative trim strip that closes the space can fix it, but only if the new piece is securely fastened and cannot be pried loose. After installing any bottom closure, re-check the maximum opening with a 4-inch sphere or an equivalent template.
Do stair rail requirements work the same as patio edge railings?
Yes, continuous railings on stairs are not the same as guards along the patio edge. For stair runs, you typically need a handrail plus a guard depending on height and local code, and the requirement may apply to one side or both sides based on stair width. If you are adding a gate at the top of the steps, confirm that it does not create a new opening larger than the 4-inch sphere rule when it is latched.
What features should a patio safety gate have to actually improve safety?
A gate is most effective when it self-closes and self-latches, so it stays closed after normal traffic. Look for a latch mechanism designed for outdoor use, then verify that when the gate is shut it does not leave a bottom opening that exceeds the 4-inch rule. Also confirm the gate opening width, because some codes restrict how wide a barrier opening can be even when a gate is present.
Can I reuse an existing handrail or low railing if it seems tall enough?
Not necessarily. Some handrail or “drink rail” systems look like they provide height, but they are not built to resist lateral forces the way a guard must. If you plan to reuse existing components, check that the system is rated and anchored as a guard, not just a handhold, and ensure the guard height is measured from the walking surface, not from the deck trim.
Why are surface-mounted railing posts weaker, and how can I tell if mine are adequate?
Surface-mounted bases can shift under a sideways push, and that can widen openings over time. For elevated patios, through-bolted or fascia-mounted posts generally maintain alignment better because they tie into structural members. Before committing to a retrofit, test for looseness by applying firm lateral pressure to posts, then measure whether the bottom opening changes when force is applied.
Are pre-engineered patio railing kits always compliant?
Pre-assembled kits often make installation easier, but the key is whether the kit’s components match your deck construction and local guard height rules. Before buying, confirm the kit’s adjustable range, post spacing, and whether it includes details to keep openings below the 4-inch maximum at the bottom and around any baluster connections. If your deck has irregular framing or unusual thickness, you may need custom anchoring rather than forcing the kit.
How often should I inspect cable railing tension, and what should I look for?
Cable systems can lose tension, but “invisible” sag is the bigger issue because it can create a larger-than-allowed opening without obvious visual cues. Plan to inspect cable tension after the first winter and after any major weather events, then keep spare parts available for re-tensioning. If your system uses stainless hardware near coastal air, verify compatibility and avoid mixing components that react differently.
What should I check if my railing meets the code dimensions but still feels loose?
A railing can meet height and opening rules yet still be unsafe if the post bases or surrounding deck material deteriorate. Check for rot around post penetrations, rust staining that suggests corrosion underneath, and cracking in fascia or trim where fasteners bite. If the deck board around a base is soft, replacing the deck section or adding proper structural reinforcement is usually necessary before the guard can be considered reliable.
How should pool-side or wraparound patio areas change my railing plan?
If your patio is near a pool, hot tub, or a sloped grade, consider treating it as a “whole perimeter” risk area. A railing that is code-compliant for the open edge might still leave an unsafe access route at a gate, service door, or adjacent boundary wall. During planning, map every path to the edge and verify that fences, gates, and any adjacent barriers work together without creating a new oversized opening.